

|
Assembly of the Box
|
||||||||
| Secure on this page means moisten joint, put glue on both sides of joint and secure with brad, screw, nail, etc.
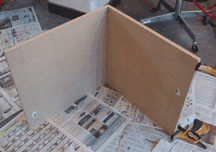
Secure one side and the back piece |
||||||||
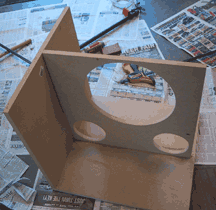
| Make sure the inner brace corner is tight at the side/back corner and at the place you marked on back and side piece during the dry fit up, then secure the inner brace to top and side | ||||||||
| Add the second side piece, make sure the inner brace is where you marked it and joints match up, then secure the new side piece to top and inner brace | ||||||||
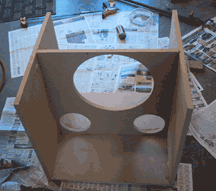
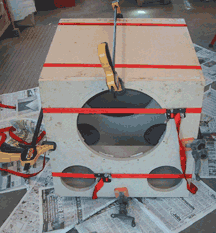
| Add the front piece, making sure that the inner brace is where you marked and all joints match up, then secure front piece to sides and inner brace. Once this is done, clamp the box. | ||||||||
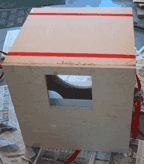
| Once box is clamped, moisten and put glue on top and brace joints, then slide the top with brace attached on the box and secure once joints match up. Note that the inner brace has a relationship to the amplifier plate opening. | ||||||||
| Moisten and put glue on bottom and brace joints, then slide the bottom with brace attached into box and secure bottom to box once joints match up. Note that the inner brace and bottom holes match up. This allows the Precision Ports to fit properly.
Then let glue set. |
||||||||
| Copyright 2005, Trtinkerer | ||||||||