Ford Super Duty
Rear Brake Pad & Rotor Replacement
2004 F250 4x4 XLT Sport Crew Cab
Click Here for a PDF version of this article
*** NOTE *** Some of you may remember my first article about working on the rear brakes. This was from 2009 when I replaced my front brakes & ball joints. Back then, my rear rotors were fine and I only replaced the pads. Fast forward three years and 30k miles and its time for rear rotors. So, I updated this article accordingly. Some of the pictures below are re-used from the original article, as denoted in the caption.
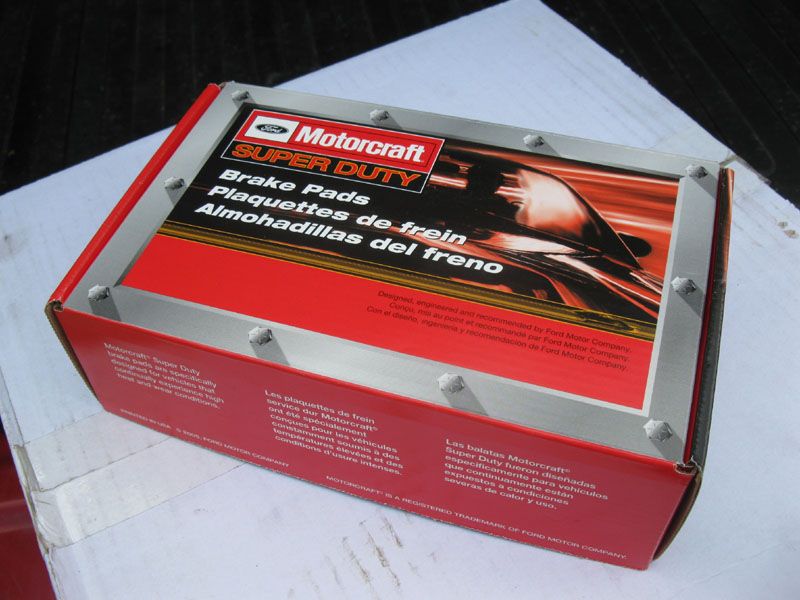
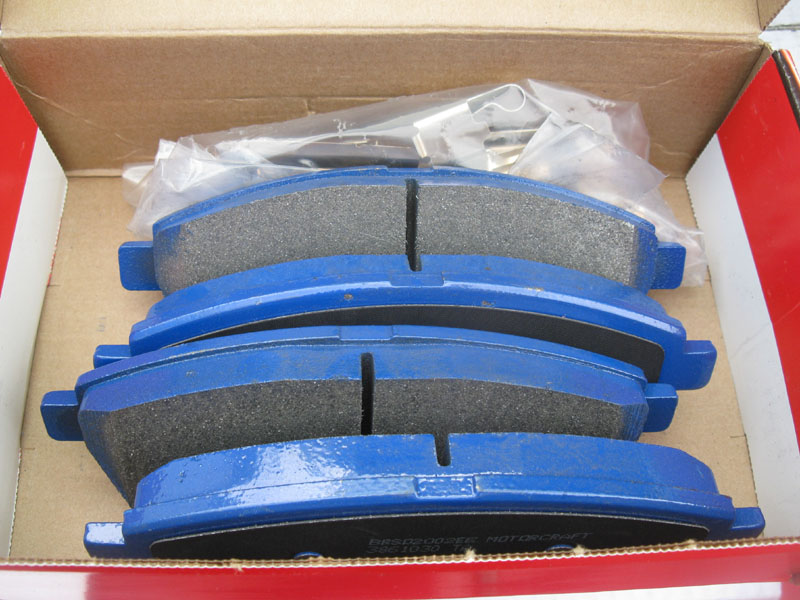
Here's the new pads this go-round. Motorcraft part number 2U2Z-2V200-FB
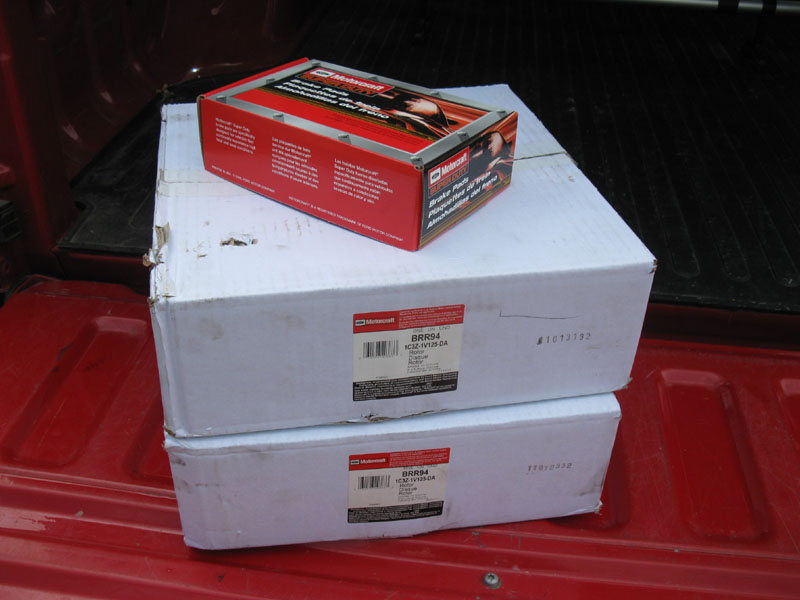
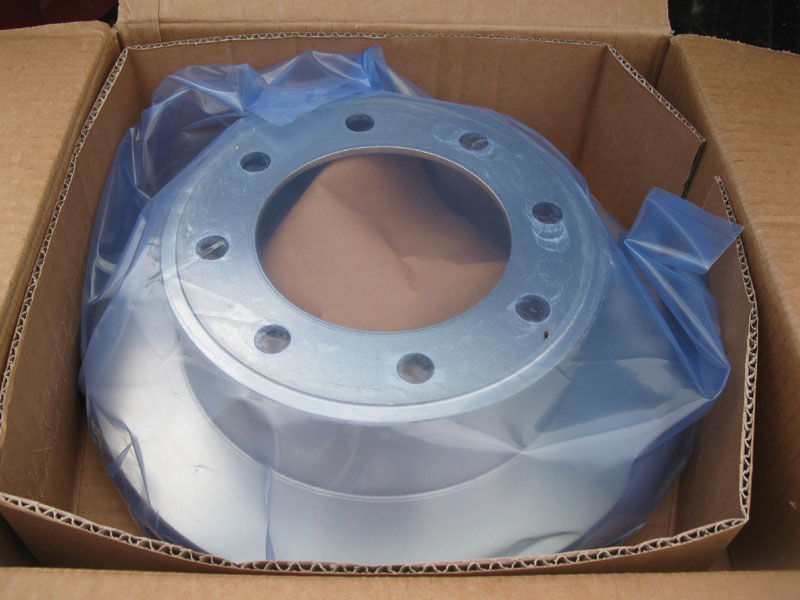
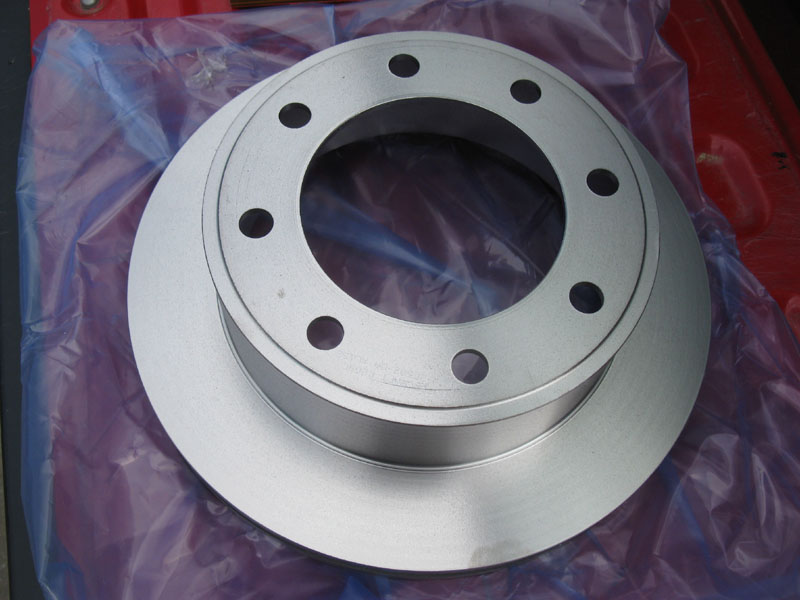
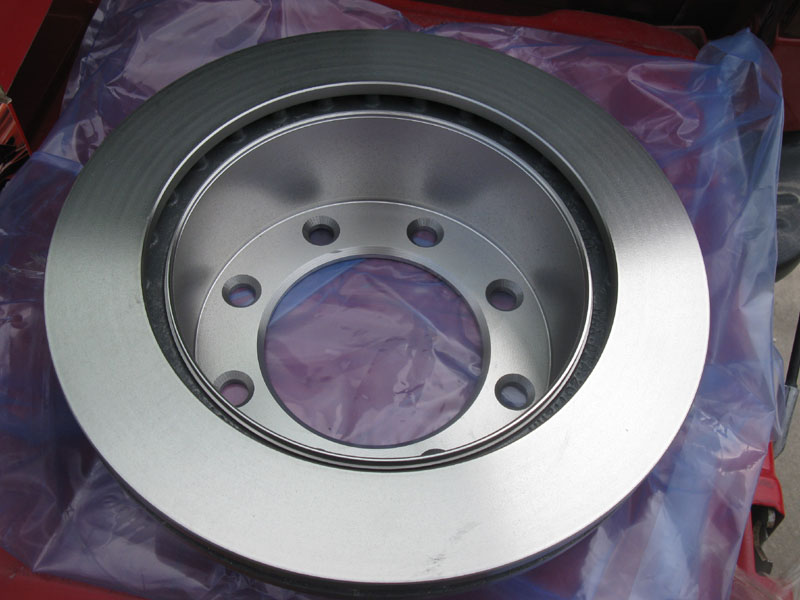
And here are the new rotors. Both are Motorcraft part number 1C3Z-1V125-DA. I had always planned to go with Powerslot Cryos on the rear like I have on the front, but I couldn't justify the cost difference between those and OEM rotors on the rear. Time will tell if this was a mistake.
Now on to the procedure...
First thing to do is to remove one of the rear tires. I started with the driver's side. Be sure to chock the front wheels and put a jackstand somewhere under the rear.
(pic from 2009)
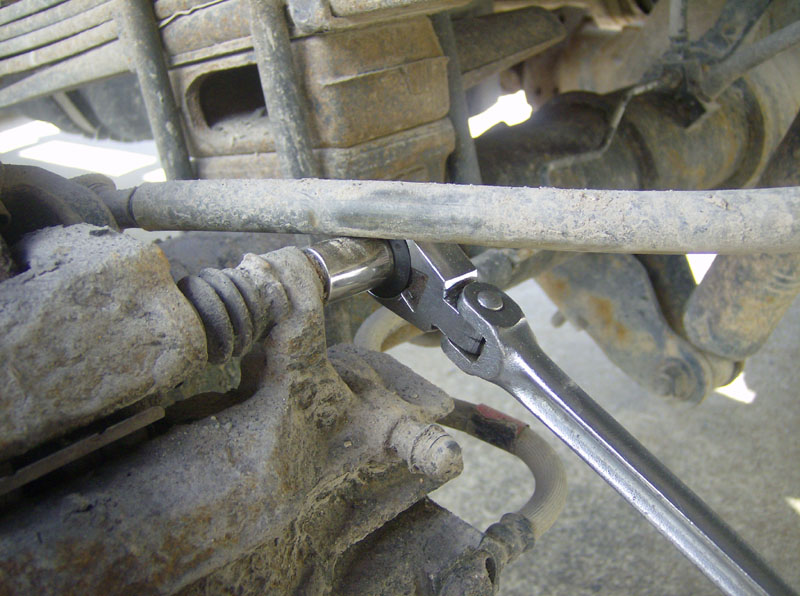
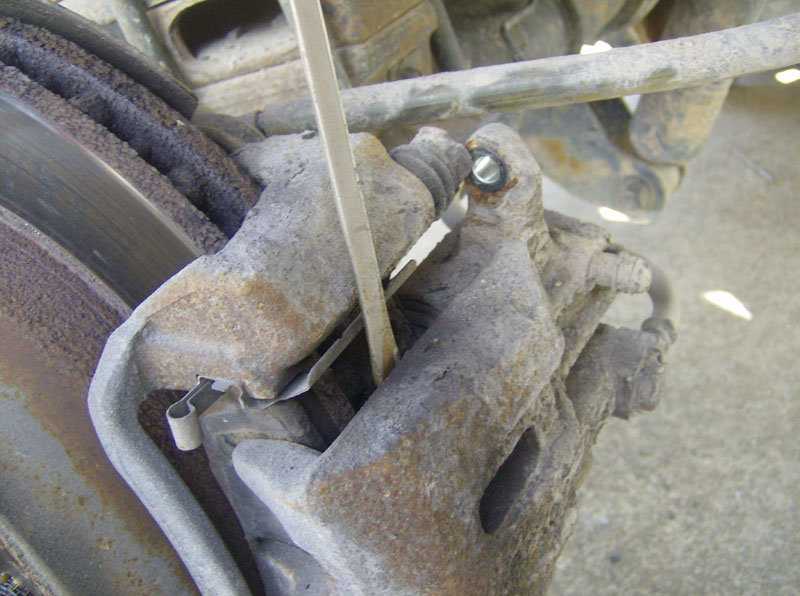
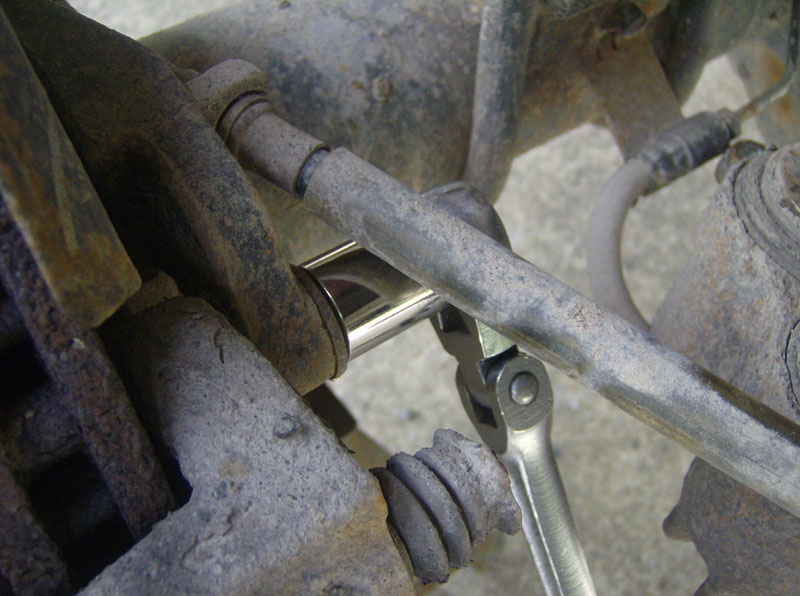
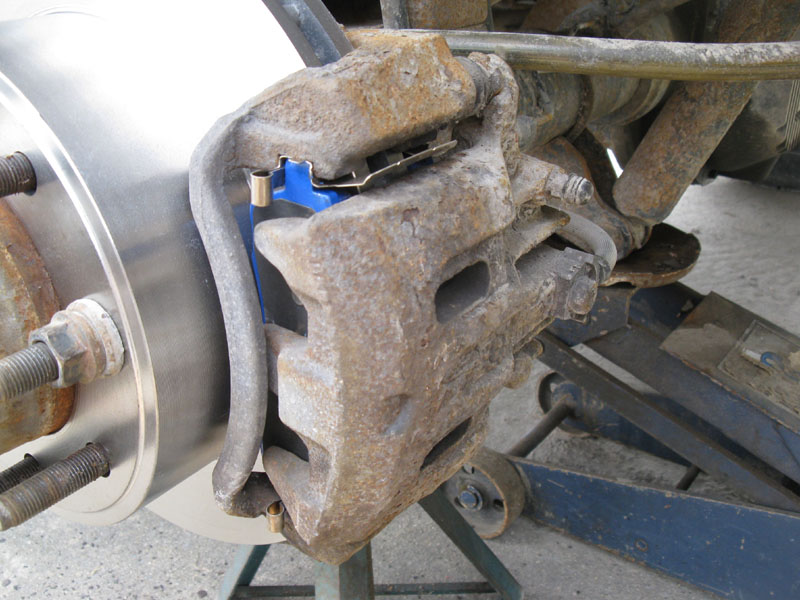
Next, remove the two 12mm bolts that attach the caliper to the bracket.
(pic from 2009)
(pic from 2009)

Then, pry the bracket away from the rotor. If its real tight, you might need to use a c-clamp or another method to slightly compress the caliper pistons to relieve a little pressure. I was able to pry mine off with ease. Either tie up the caliper to the springs or place it on something like a milk crate to keep from damaging the brake hose.
(pic from 2009)
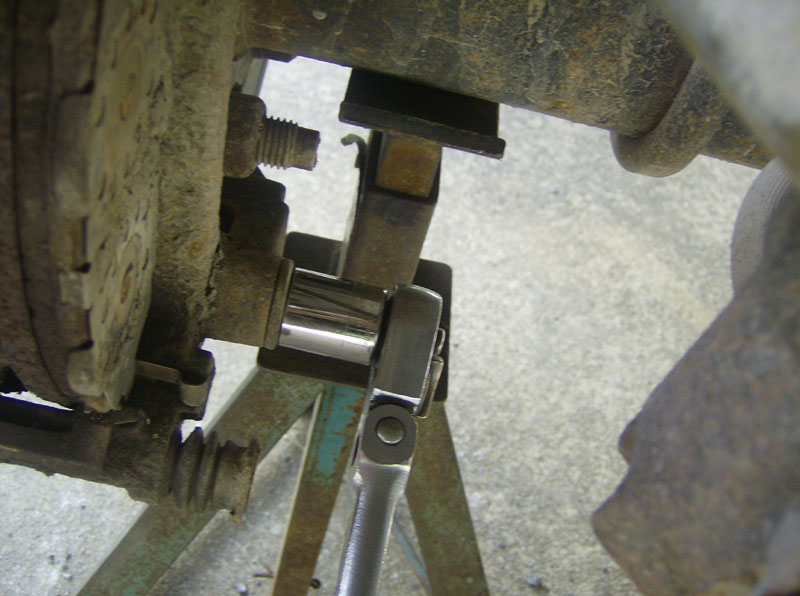
Remove the two bolts that attach the caliper bracket.
(pic from 2009)
(pic from 2009)
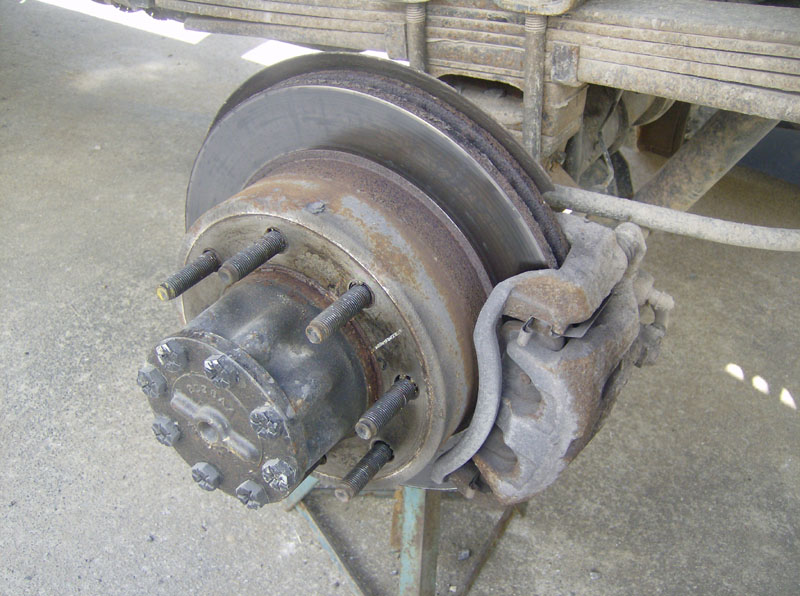
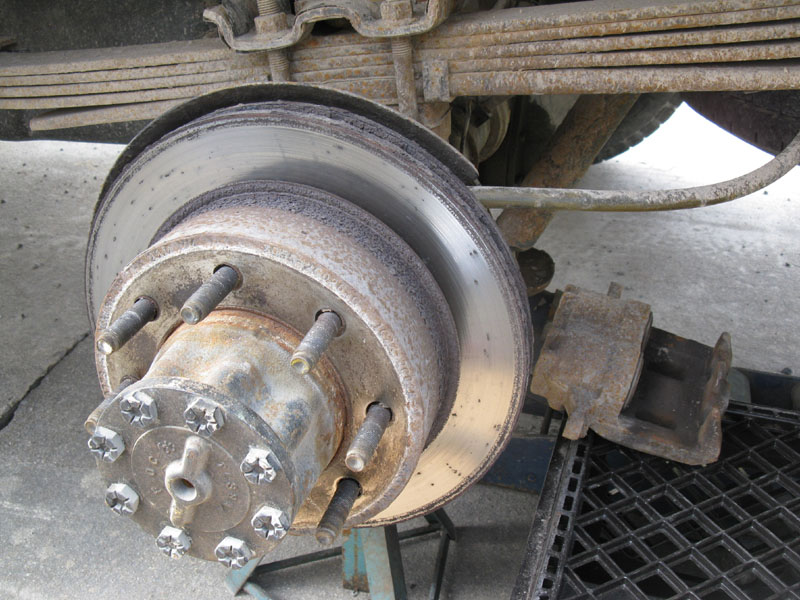
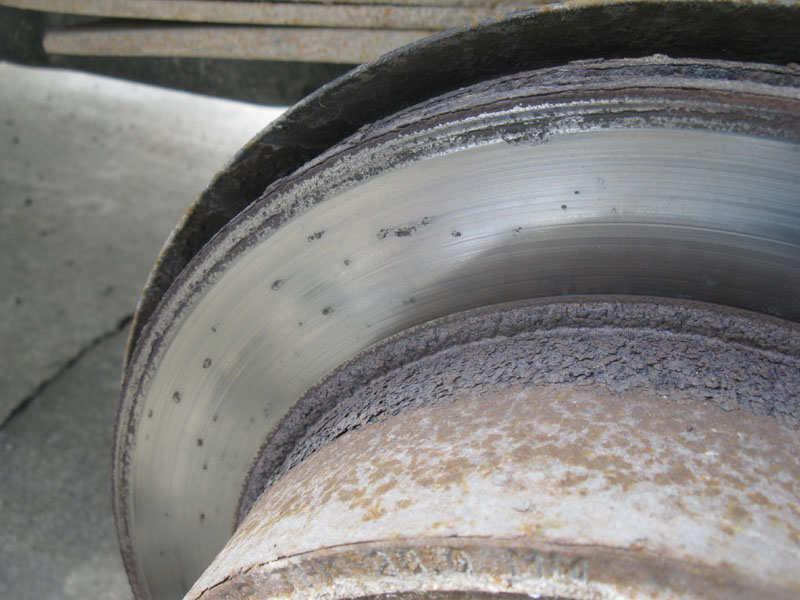
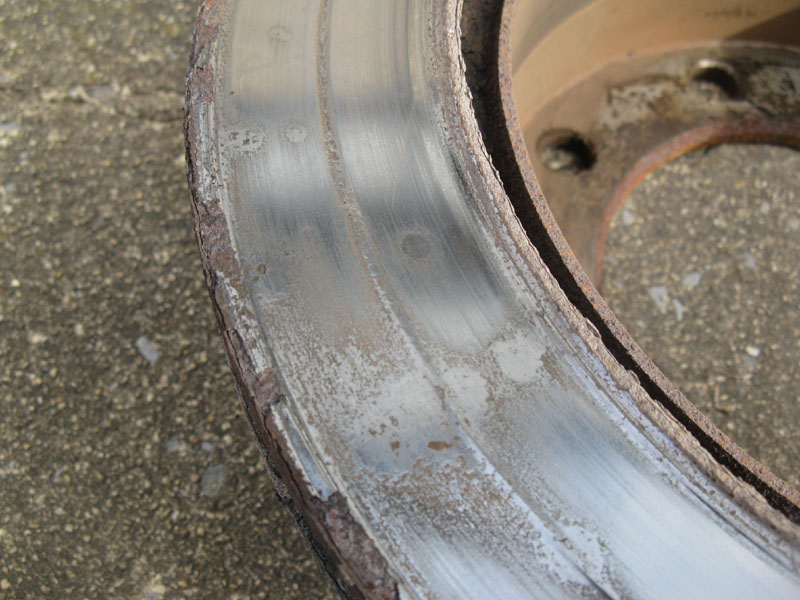
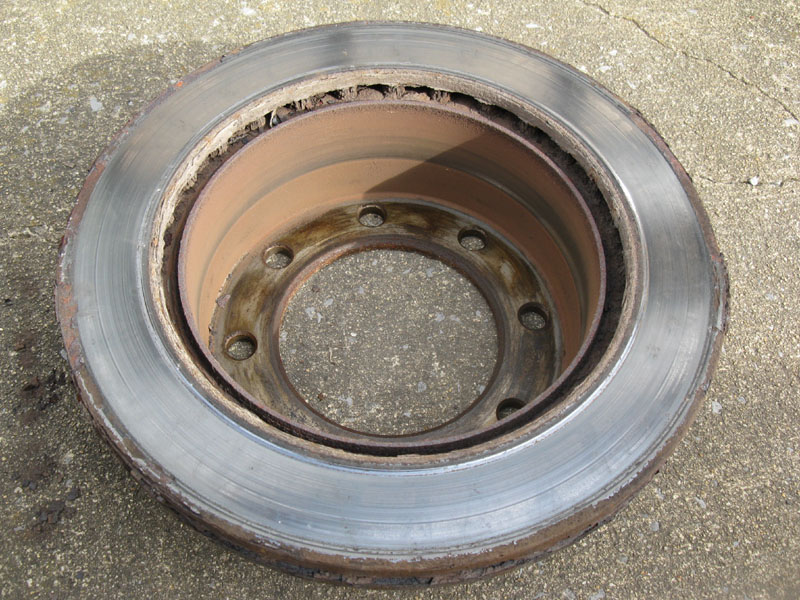
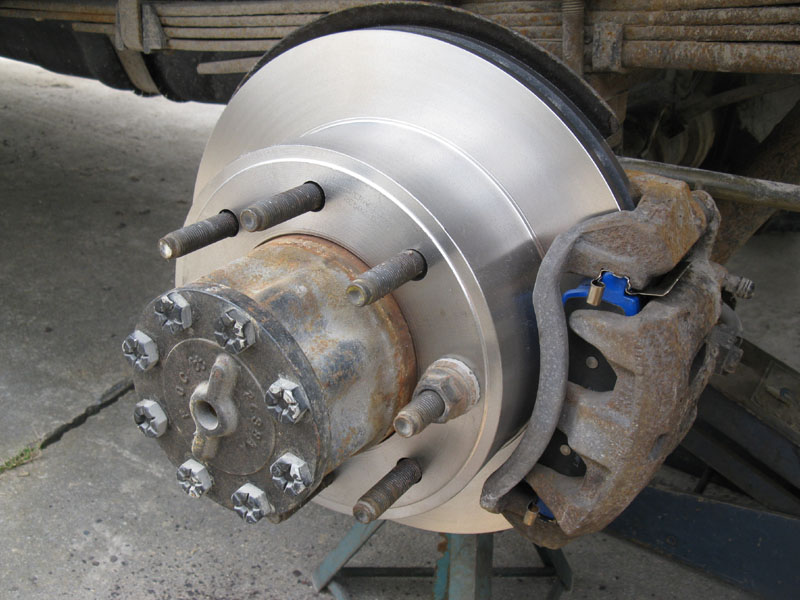
Here's what the rear rotors looked like. Quite a bit of wear on the outer surface, even more on the inner.
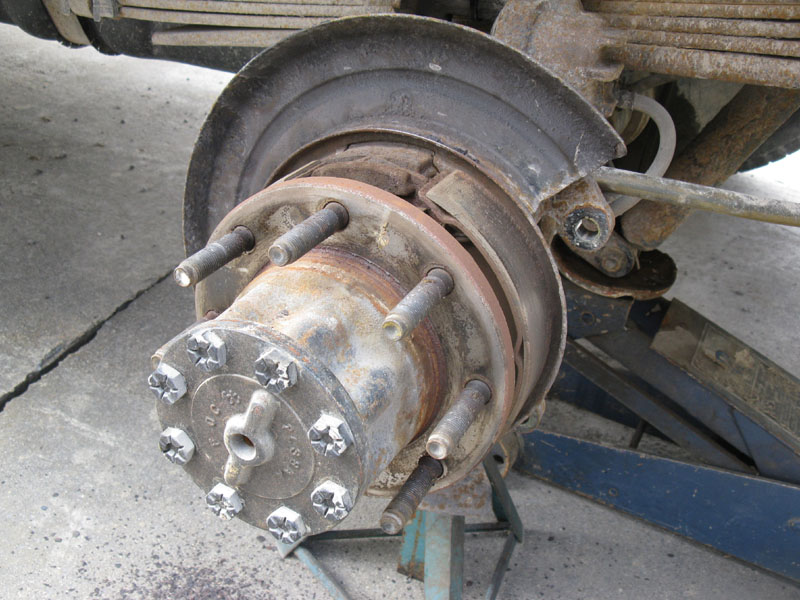
Next, remove the rotor. This will likely take some persuasion with a hammer. Since I was replacing the rotors, I didn't mind wailing away on it with a large metal ball pein. However, if you're planning to have them turned, you should use a rubber mallet or a block of wood with the metal hammer.
My parking brake assembly looked fine so I didn't bother replacing it.
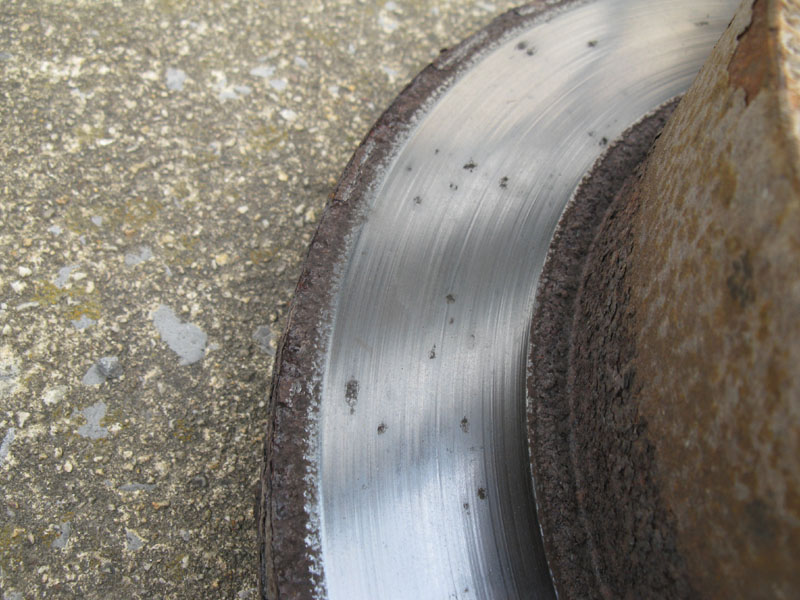
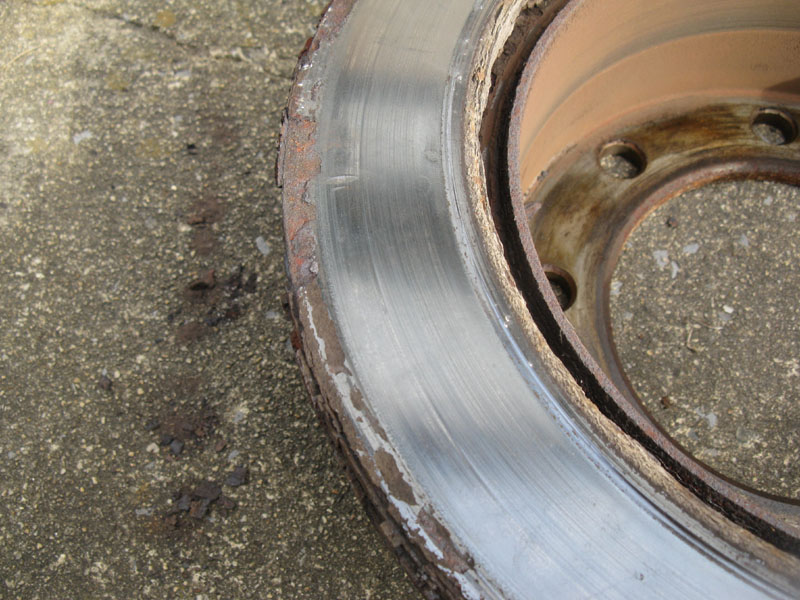
Here's the wear on the rotor.
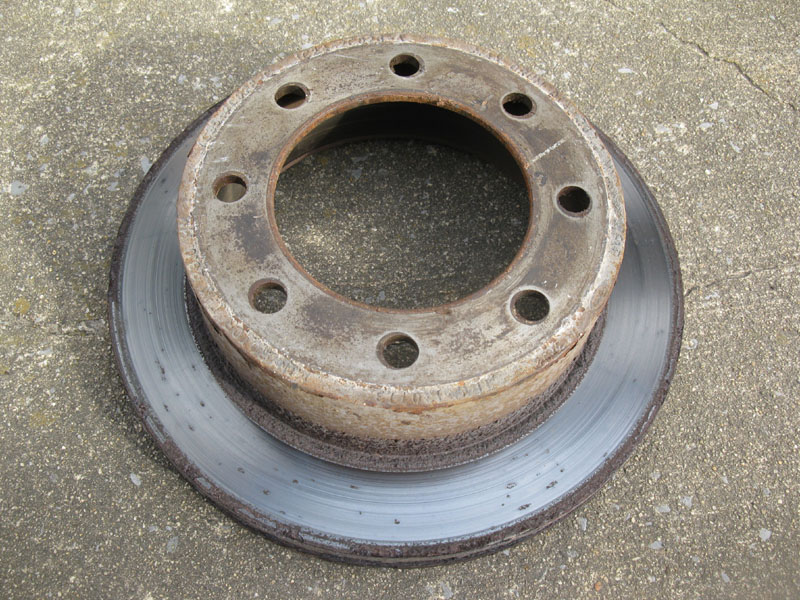
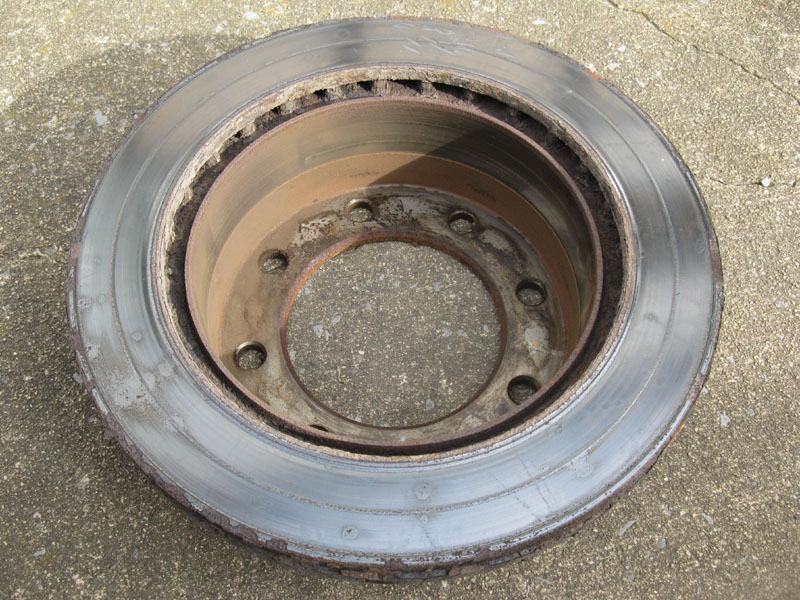
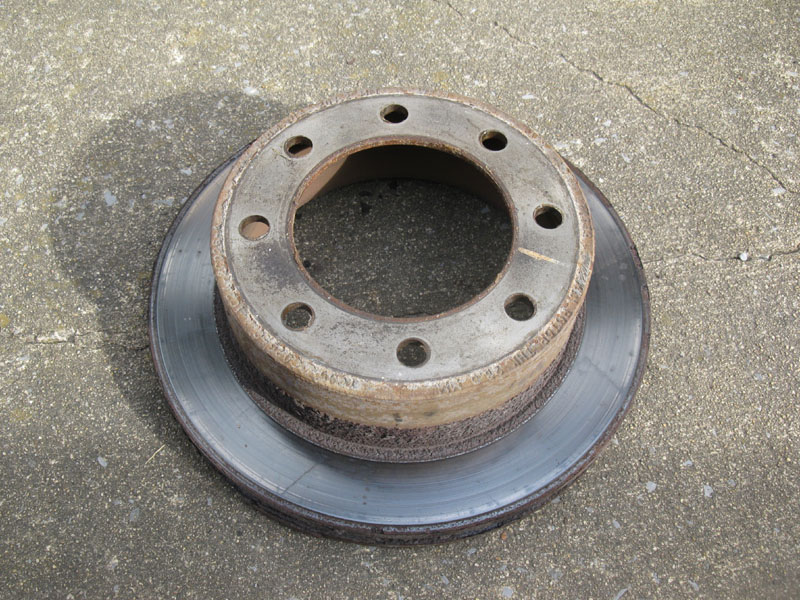
Here's the rear rotor.
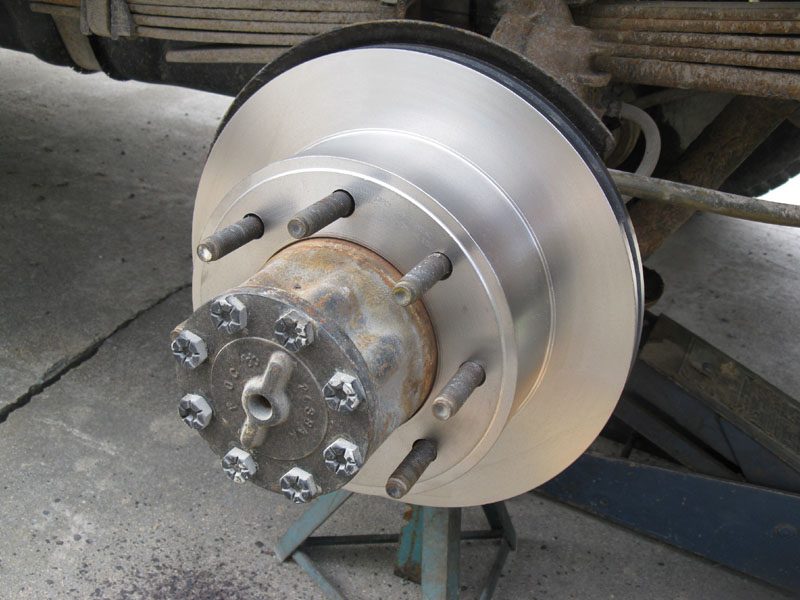
Next, install the new rotor.
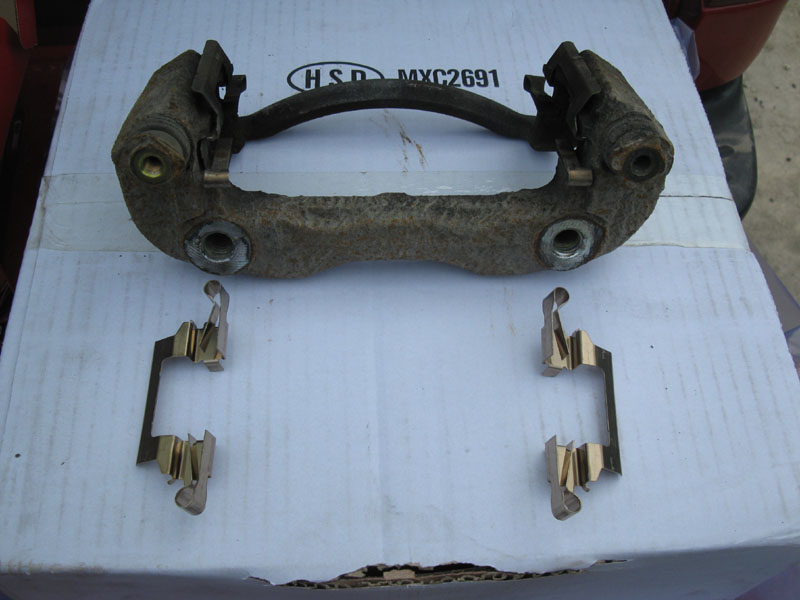
Grease the slide pins on the caliper bracket and install the new clips that came with the pads.

Re-install the caliper bracket with the two large bolts. Note that I ran a couple lug nuts on to hold the rotor in place while installing the caliper, bracket, and pads.

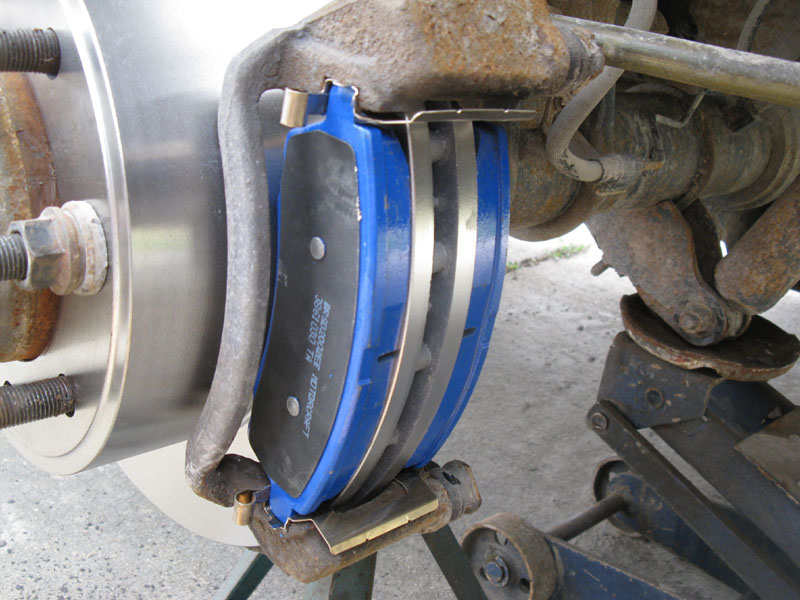
Install the two brake pads. I put a little caliper grease on the contact points, after taking this pic.
Use a large c-clamp and one of the old pads to compress the caliper pistons. Otherwise it won't fit over the new pads.
(pic from 2009)

Re-install the caliper with the two bolts that hold it to the bracket.
Driver's side done!
Remove the jackstand, the two lug nuts, reinstall the wheel and tire, repeat this process on the passenger side, remove the tire chocks, and you're done.
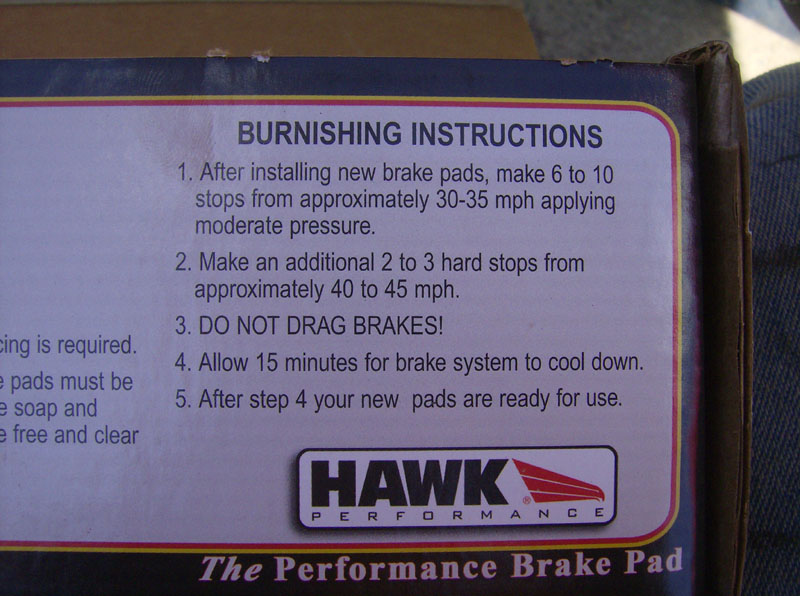
Bed-in the new pads as described on the Hawk box...
Questions or Comments? Email jmray@frontiernet.net