Ford Super Duty
Reverse Backing Alert System and Camera
2004 F250 4x4 XLT Sport Crew Cab
Click Here for a PDF version of this article
For some reason my truck didn't come with the reverse sensing system that so many Super Duty's have. Now, I'm not saying that I've backed into two things, I'm just saying that on two occasions it would've been nice to have these to keep me from, well, backing into two things. No damage so no harm no foul... yet.
I spent quite some time researching the aftermarket versions of these systems. There are literally hundreds of different systems to choose from. You can get the sensors with a display, without a display, a combination backup camera/reverse sensors, and about everything in between.
Obviously most of the systems are low cost imported junk and you really have to watch out for some of their limitations such as these:
Sensors that only work in plastic bumpers
Short response distance, some less than 3 feet!
Lack of angle wedges for non-vertical bumpers
Poor operating temperature range
Hole saw for plastic only
Distance display in meters (I just prefer feet)
BEGIN RANT
After
much research, I had settled on the Bully Dog P1410 Reverse Backing Alert
System. This system seemed to provide decent bang for the buck
while not being overly expensive. So I purchased this system from ebay crook
user topdawgelectronics. I had a horrible time with this
system reporting false readings. After two month's worth of many different
experiments (some my ideas, some the vendor's ideas), trying a few replacement
boxes, and a few replacement sensors, I was still unable to make the system
work. I'm sure its a decent system and a majority of the problem was likely
the vendor and his attitude, but I just cannot recommend this system. I
eventually got a full refund with a paypal dispute but he did not refund the $50
deposit that I had to pay for the replacement parts, after I returned
them. Of course, he doesn't respond to messages any more. Bottom
line, don't buy from topdawgelectronics on ebay!
END RANT
So........ I ended up purchasing my second choice... the four sensor system with wireless display from parkingsensors.net.
And.... in the meantime while installing this system, a fellow member on the FTE forums discovered that his local Sam's was selling their reverse cameras for $26! So, thanks to VaSherrif for sending me one. The installation of this is covered after the reverse sensor installation.
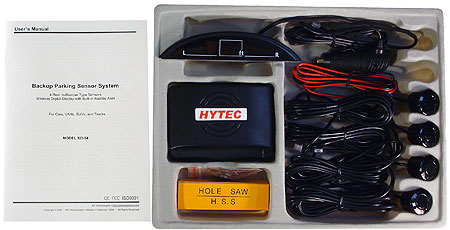
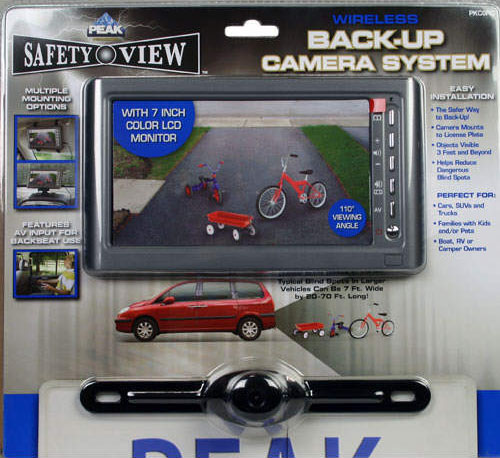
Here's a shot of everything that's in the box. Sorry for the small pic, I grabbed it off their website. I was short on daylight when installing this system so I failed to take all the pictures that I should have.
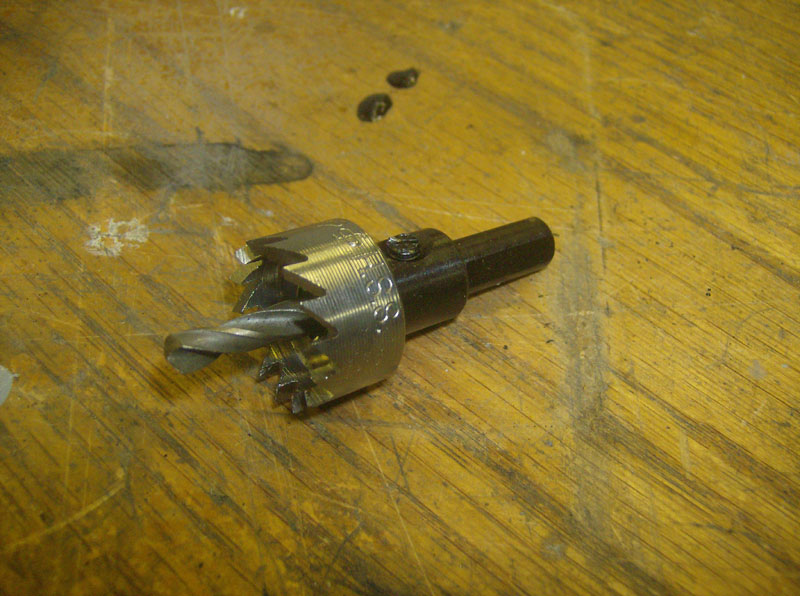
This system happens to be one that doesn't come with a hole saw suitable for drilling a metal bumper. This was one of the reasons it was my second choice. Anyway, it was a non-issue because I had already drilled the holes with the one that came with the Bully Dog kit. That one was (supposedly) suitable for drilling a metal bumper. However, from my experience, be VERY gentle with this bit. It can successfully drill four holes in the bumper of a Super Duty but no more than that.
Now on to the actual installation....
The first thing I did was to find a suitable location for the control box. It doesn't claim to be waterproof and it is quite small so I mounted it behind the taillight, on the driver's side. Remove the taillight assembly by removing the two 8mm bolts and then pulling the assembly out. Unplug the wiring and set the taillight to the side.
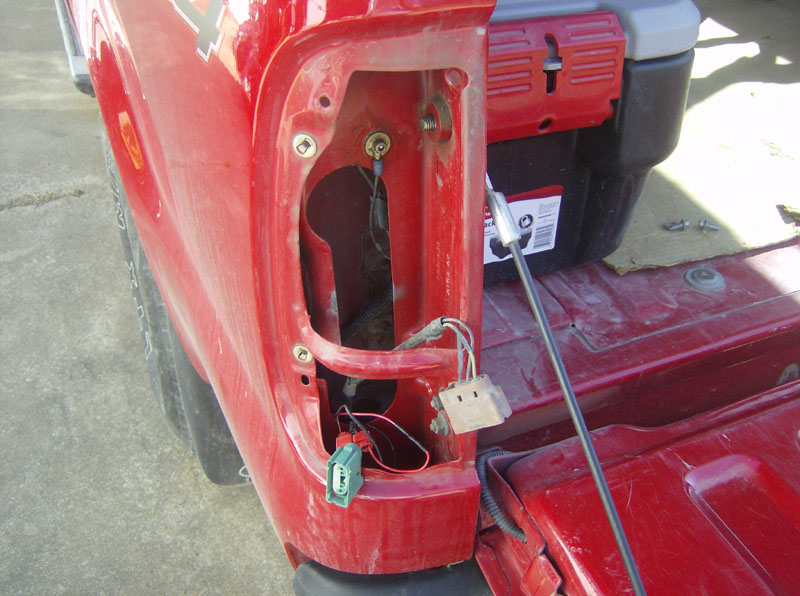
I mounted the control box using 3M VHB tape. I also stuffed a little high density foam in there with it to help hold it in place.

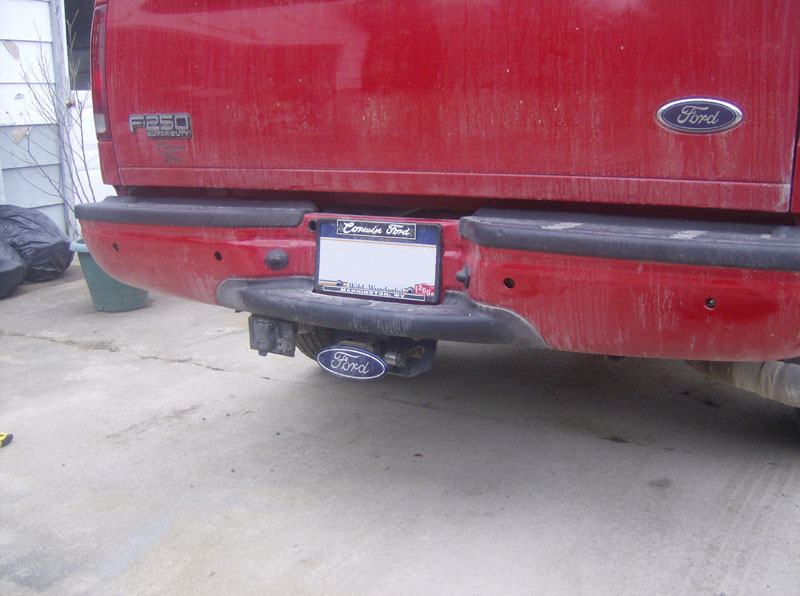
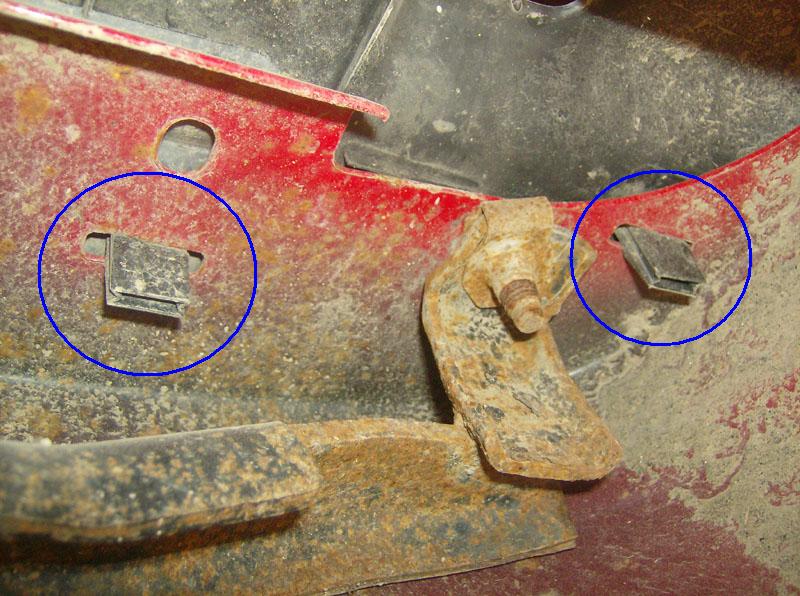
Next, I installed the four proximity sensors in the bumper. Its a good idea to measure these spots about 750 times before actually drilling the holes. I located the sensors 25 inches up from the ground and 13 and 27 inches from the center of the bumper, left and right. I felt that this was the best spread for the sensors, however, it comes at a price. The two outer-most holes have bumper brackets behind them which interfere with the sensor installation. I'm not going to lie and say I planned it this way, but I did discover it before using the hole saw and elected to leave it as is. Bringing them inboard enough to clear the brackets placed them too close together, in my opinion. More info about this below...
I drilled a 1/8" pilot hole before using the provided hole saw. As mentioned above, be very gentle with that hole saw, it barely has enough life to drill the four holes.
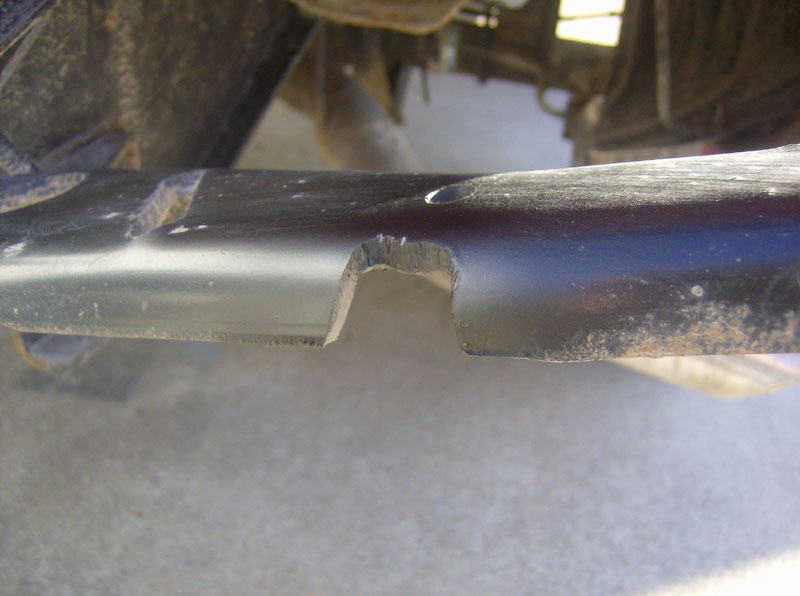
Now its time to trim up the bumper brackets to clear the most outboard sensors. First mark the area to remove to clear the sensors, then remove the plastic trim on the upper part of the bumper. It works best to use pliers to squeeze the "clips" while prying up, from underneath. While you're down there, remove the license plate bulbs by twisting them 1/4 turn.
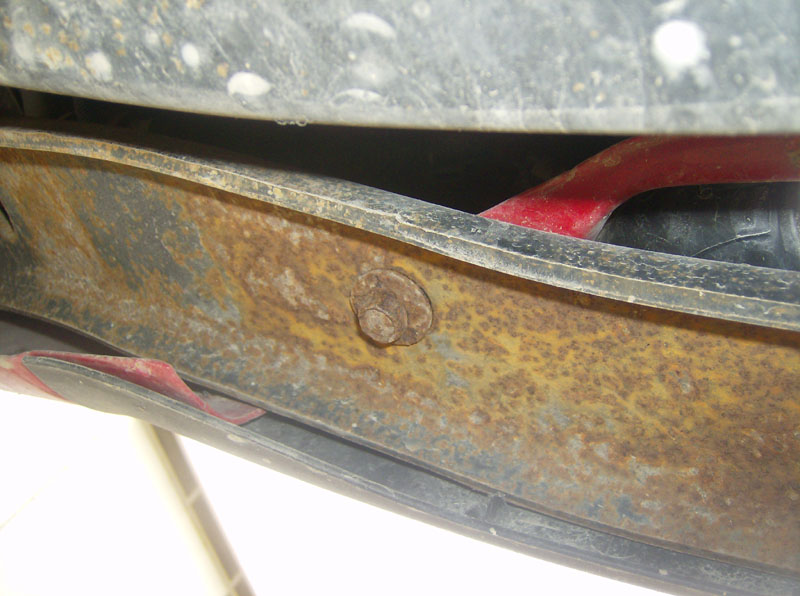
Then remove two 13mm bolts from the bottom of the bumper, on each side of the license plate.
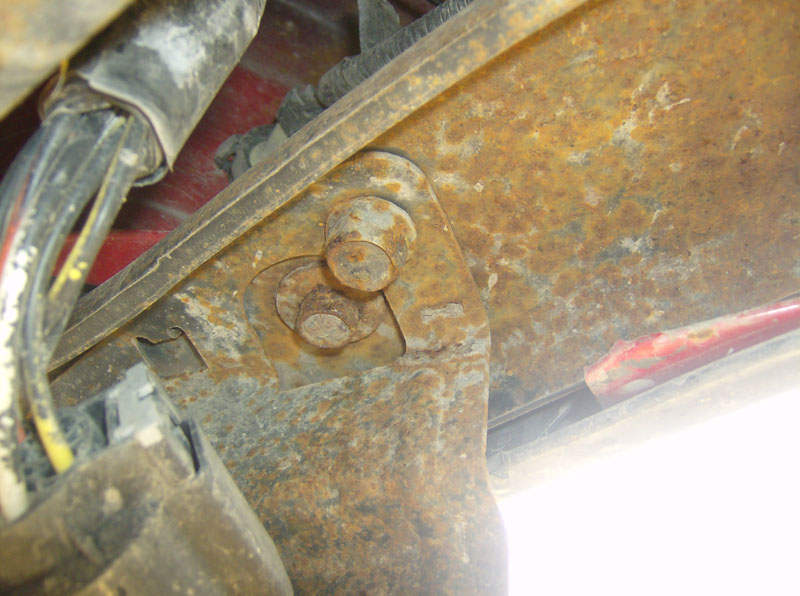
Then remove four torx bolts from the topside of the bumper.
Then remove the small plastic piece that covers the spot where you can mount a hitch ball, and the bumper is free.
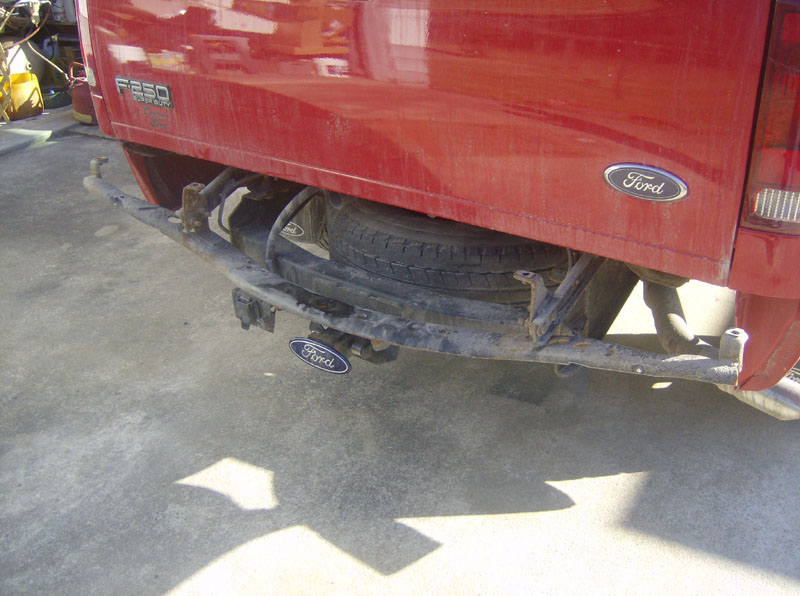
I used an angle grinder to cut out the marked area and to clean up the edges. Then hit it with some paint and reinstalled the bumper in the reverse order it was removed.
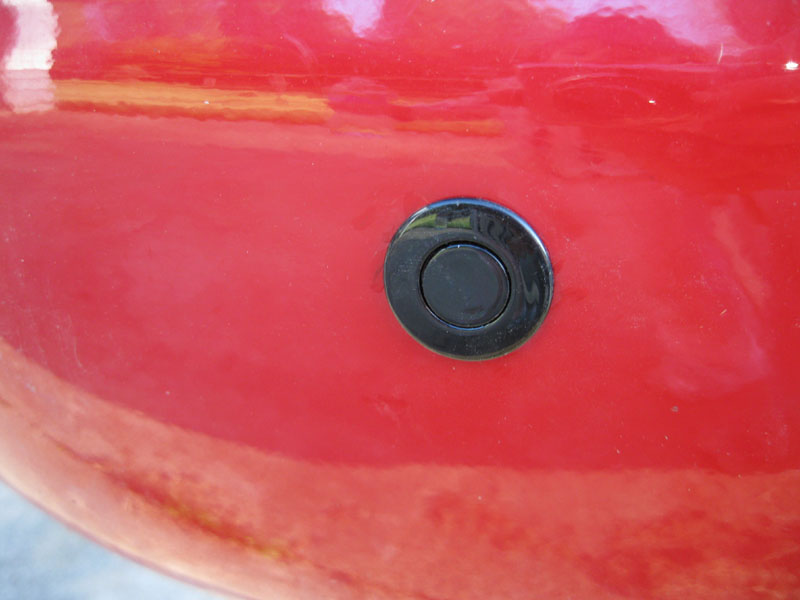
I had some touch up paint so I coated all of the bare metal areas before installing the sensors. I did not have to use the supplied wedges to keep the sensors from seeing the ground. Then just push the sensors through the holes and they're in.
I secured the cabling behind the bumper, then up into the taillight area, where the control box is.
The only connections required are power and ground. I tapped into the black/pink reverse light wire for the power and the black one for ground. Connected this way, the system is only enabled whenever the truck is in reverse.
That wraps everything up at the rear of the truck. Just reinstall the taillight assembly and you're done.
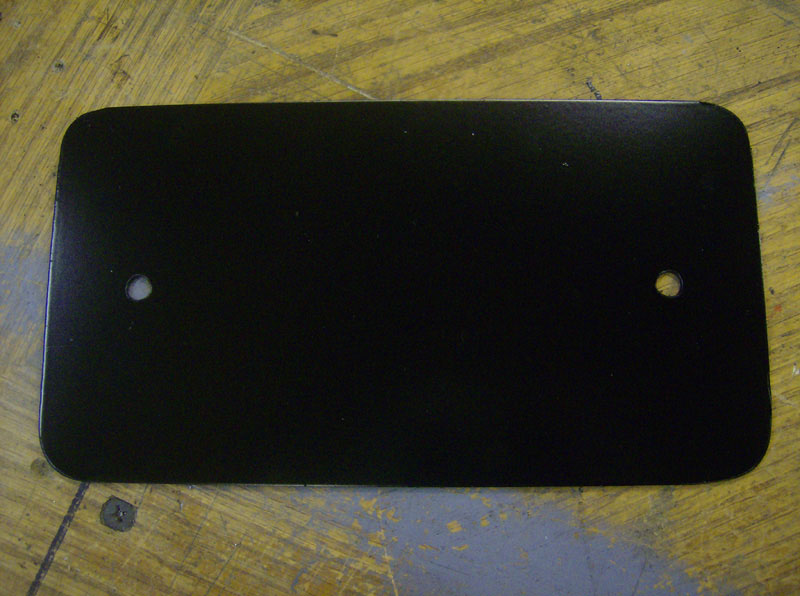
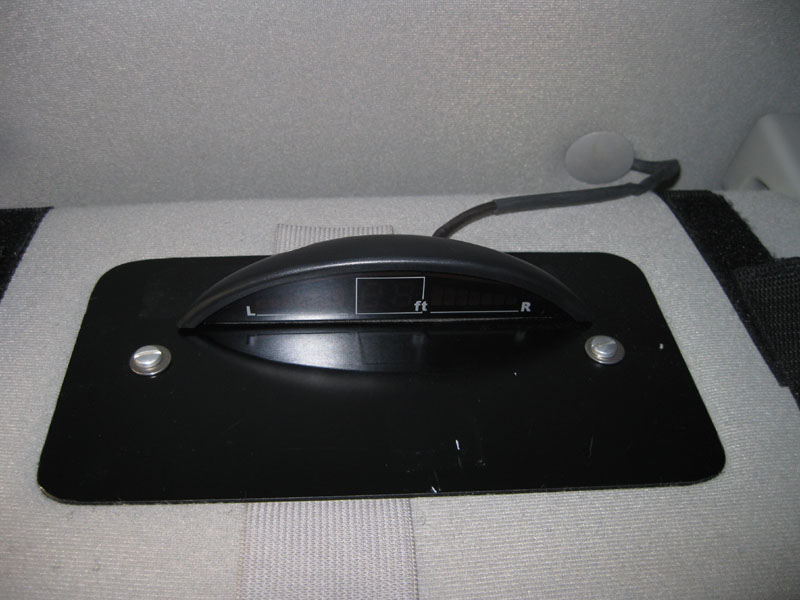
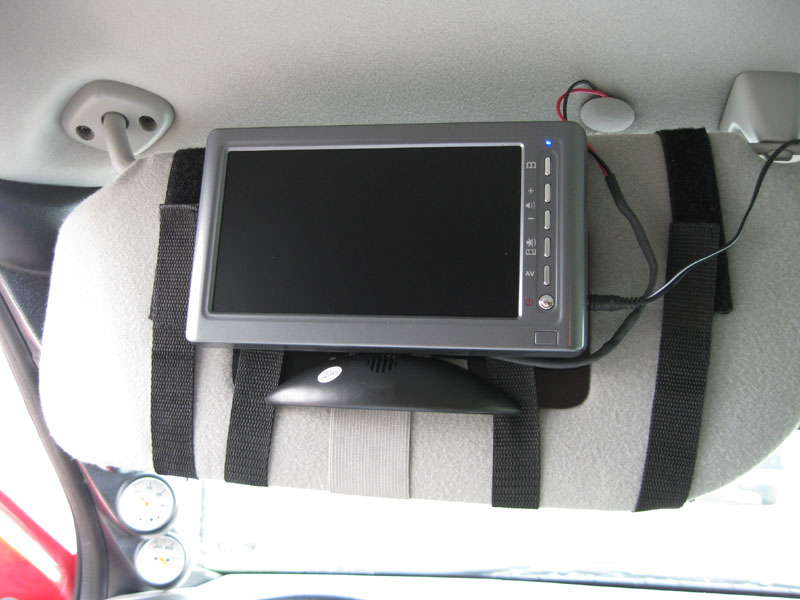
Now for the display connection. I mounted the display to the top side of the sun visor. This allows it to be out of sight unless I need to see the distance display for some reason. I fabbed up a 7.5" by 4" aluminum plate to mount the display. Note that this plate is major overkill for the display I ended up using. I designed this plate for the Bully Dog display and its control box. Oh well.
Next, I removed the sun visor by removing the two phillips screws for the mount.
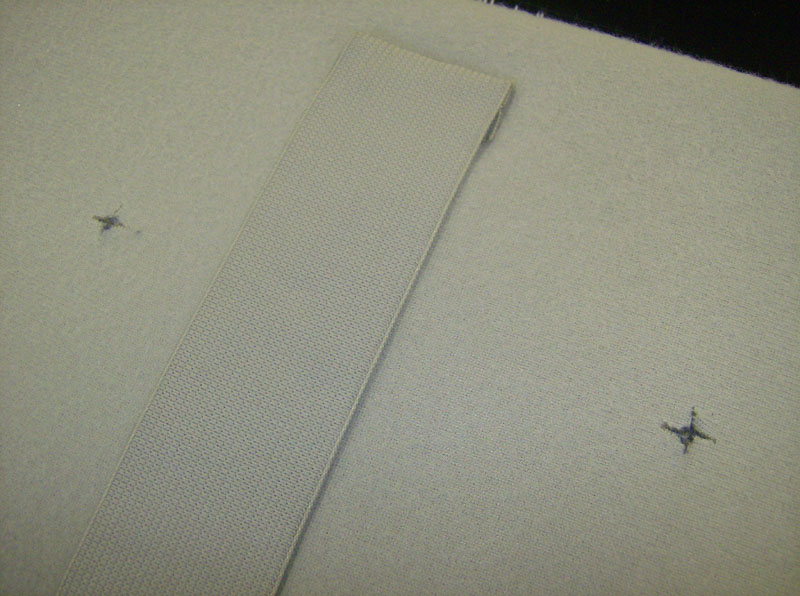
Now that the visor is out. I placed the aluminum plate where I wanted it and marked the holes. Then I used a razor blade to make an X-cut the cloth before drilling the two holes.
Then I just bolted the plate to the visor.
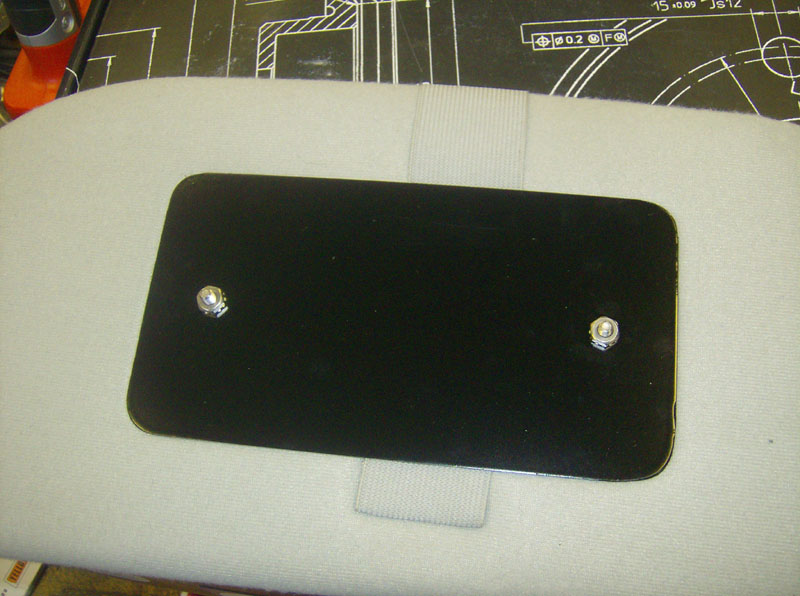
The display mounts to the plate with double sided tape. Don't fall in love with this installation, I had to move it for the backup camera display.
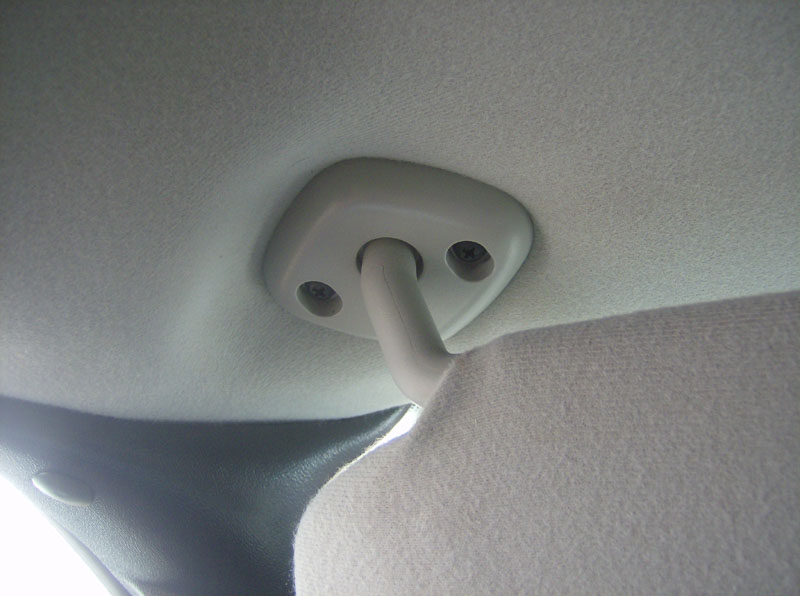
The only connections required for the display are power and ground. When I installed the wiring for my auto-dimming mirror, I left a pigtail up in the roof area for this purpose. I tapped into those wires for this display.
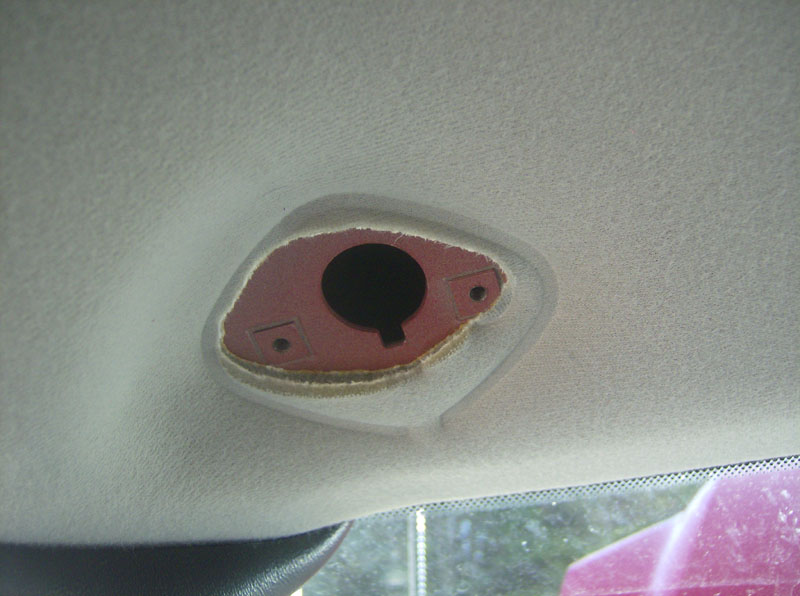
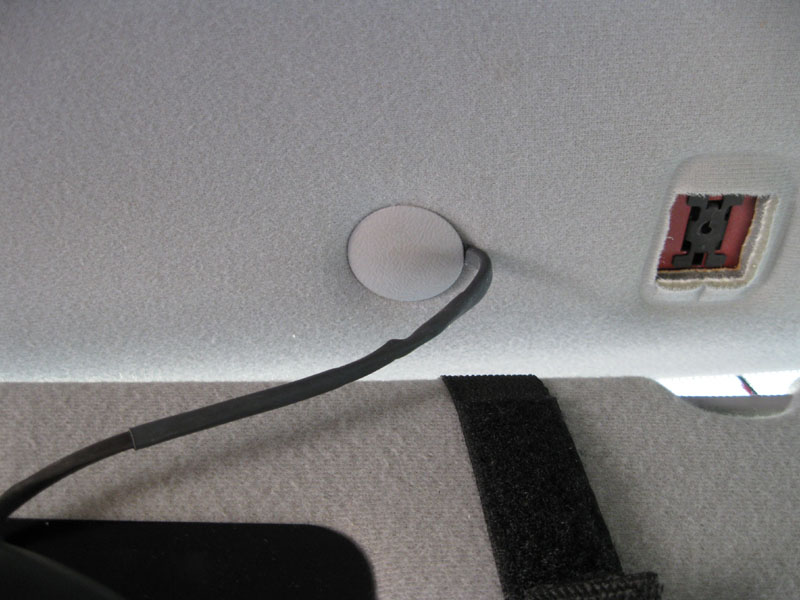
To get the wiring from the visor, up behind the headliner, I used the plastic plug location. I removed the plug and the other visor mount. Then I made a slit in the headliner just out from the plug hole. This allowed me to snake the wiring up behind the headliner where I tapped it into the wires mentioned above.
Now the installation is complete and all that's left is to test the operation and use it!
Now, on to the backup camera installation....
Here's the unit I installed. Well worth $26!
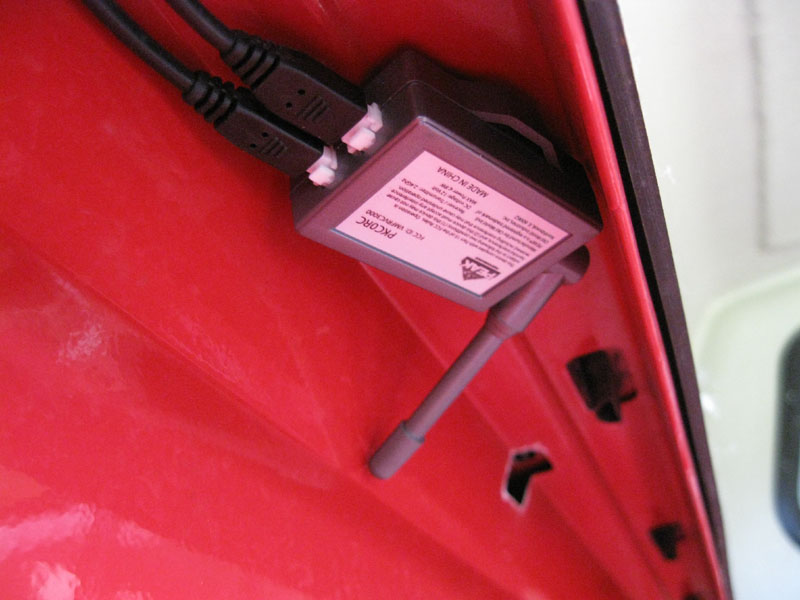
Here's the wireless control box for the camera. Two cables connect to this box. One is two conductors for power & ground and the other is the connection to the camera.
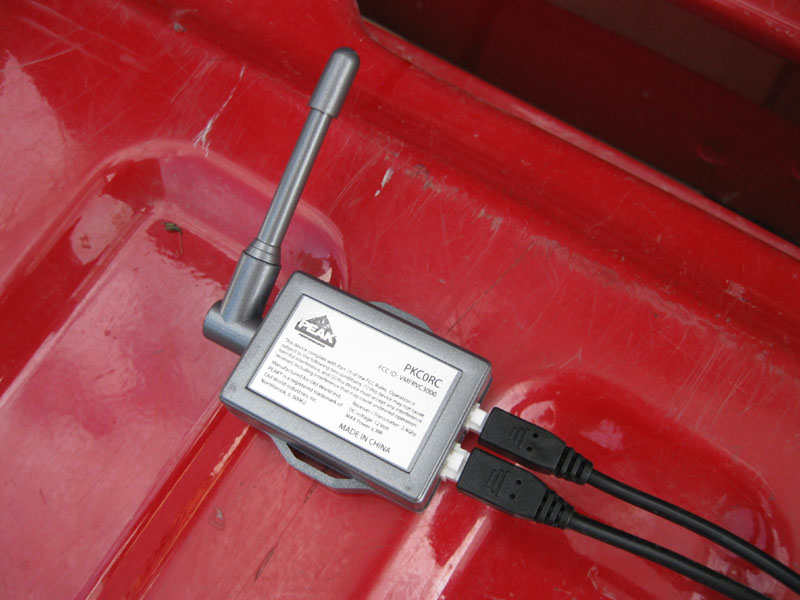
I used 3M VHB tape to mount this box to the underside of the bedrail. Since I have a truck cap I figured this was a safe dry place to mount it.
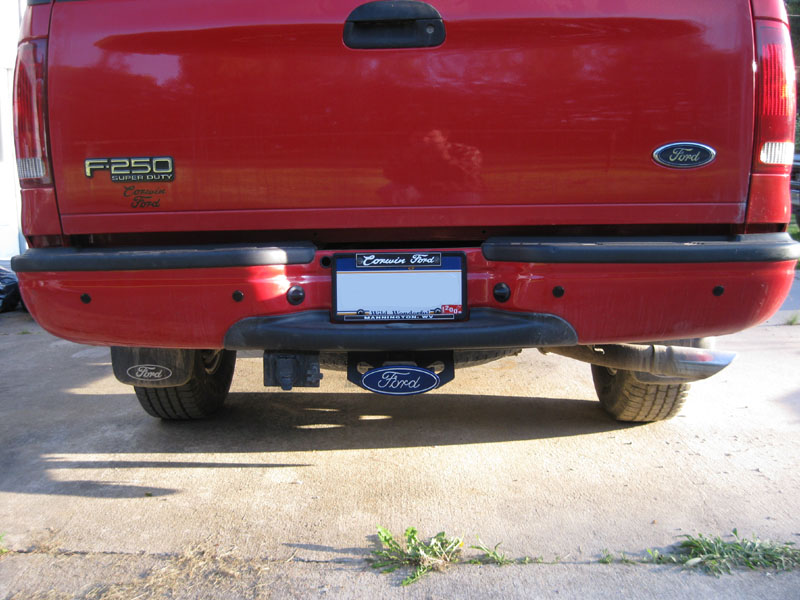
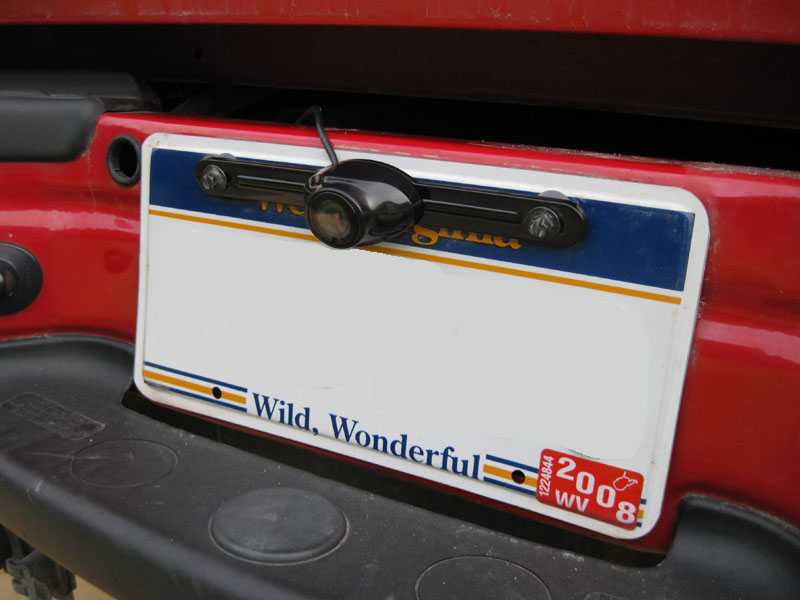
Here's the camera installed on the license plate. The kit comes with wedges which I had to use to angle the camera down to get a better view.
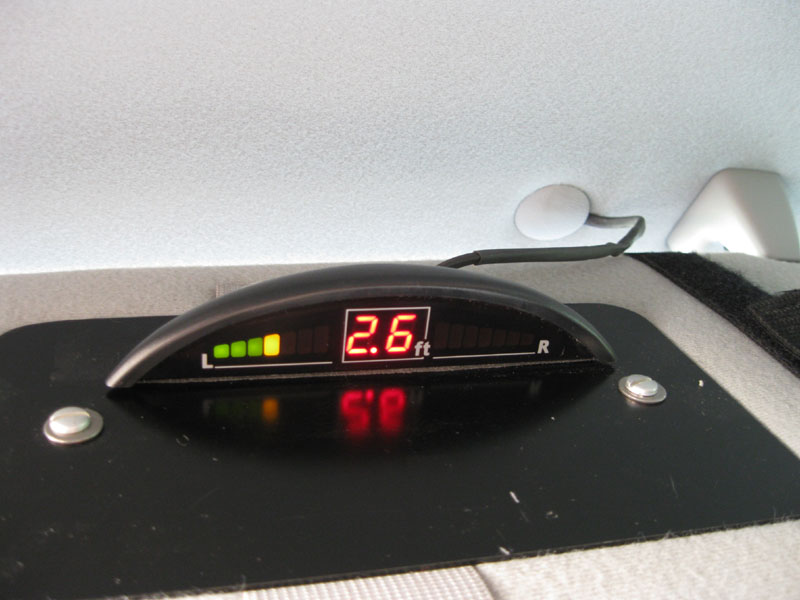
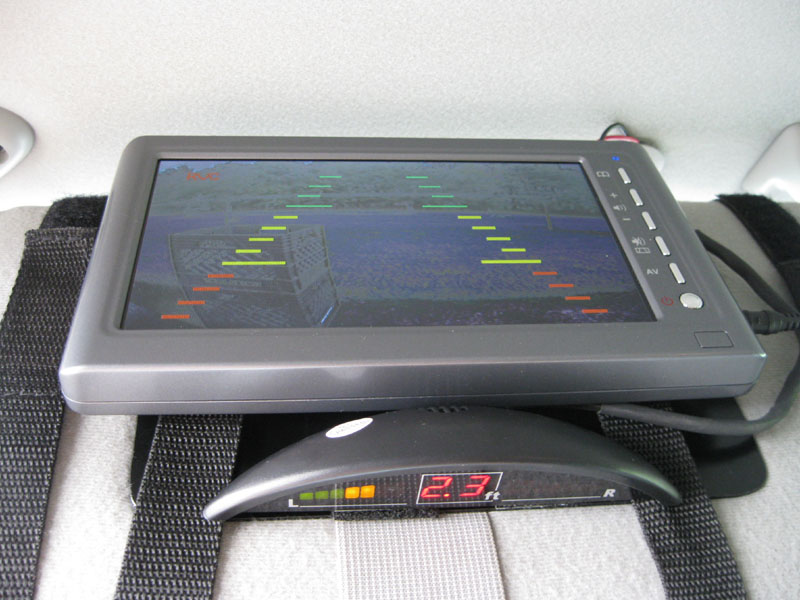
The kit comes with two straps that I used to attach the display to the visor. I had to move the reverse sensor display down as shown below. I cut the cigarette lighter adapter cable and soldered it into the same harness that powers the reverse sensor system.
As a test, I stacked two milk crates behind my truck to make sure the the camera system didn't interfere with the reverse sensors, and vice versa.
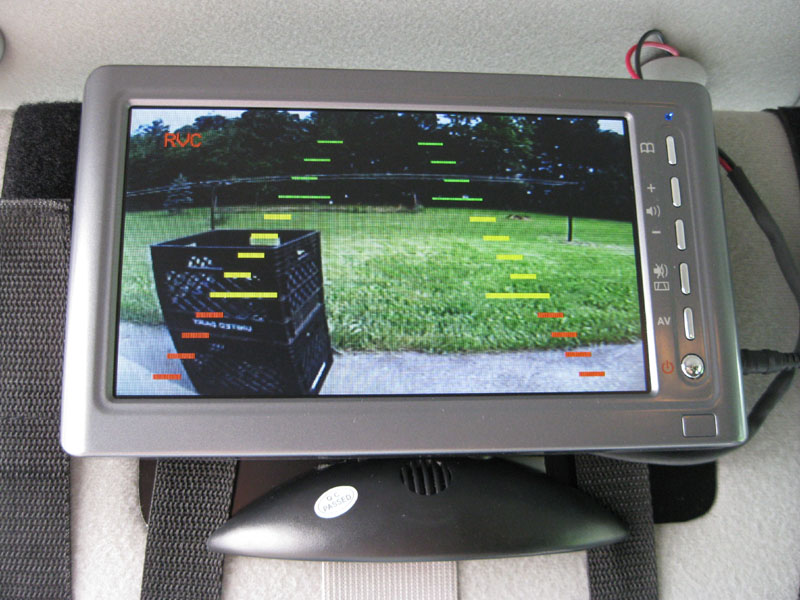
You can see both systems working in this picture.
Updated 03/17/10 -- Backup camera enable switch.
I installed several auxiliary switches on my dash, one of which was an enable for my backup camera. So I didn't have to shift to reverse to turn it on.
Click here to see my aux switch writeup for details and schematics of this
Questions or Comments? Email jmray@frontiernet.net