Ford Super Duty
Auto Dimming Rearview Mirror
2004 F250 4x4 XLT Sport Crew Cab
Click Here for a PDF version of this article
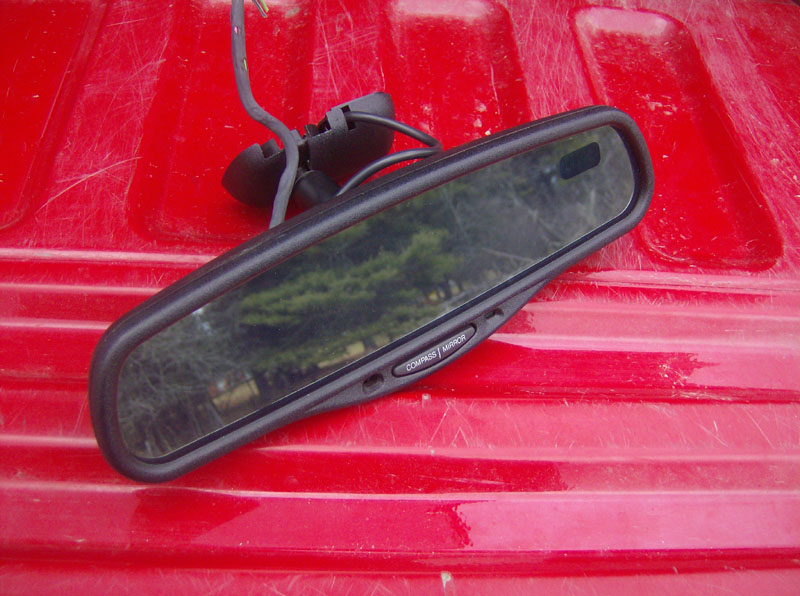
These days, many Ford vehicles have an auto dimming rearview mirror. My truck didn't so I browsed ebay and ended up finding one for just over $30 shipped. It also has a built-in compass display.
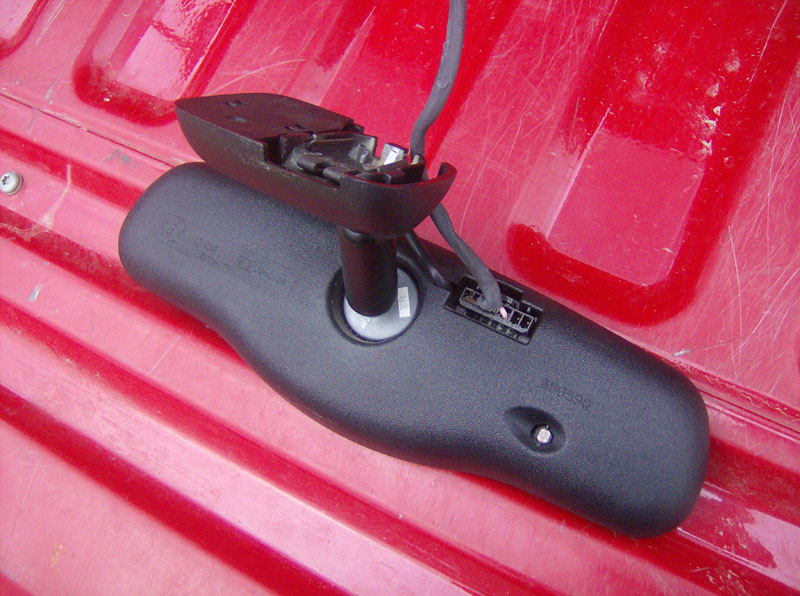
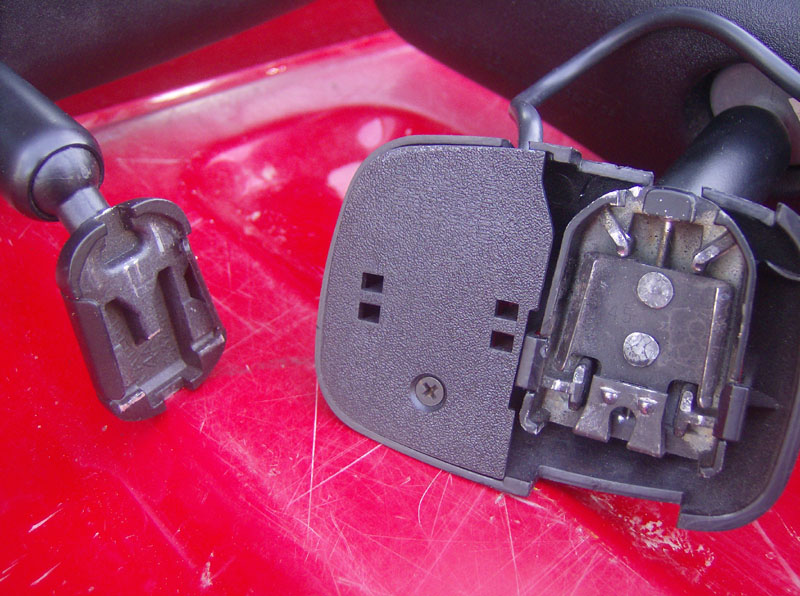
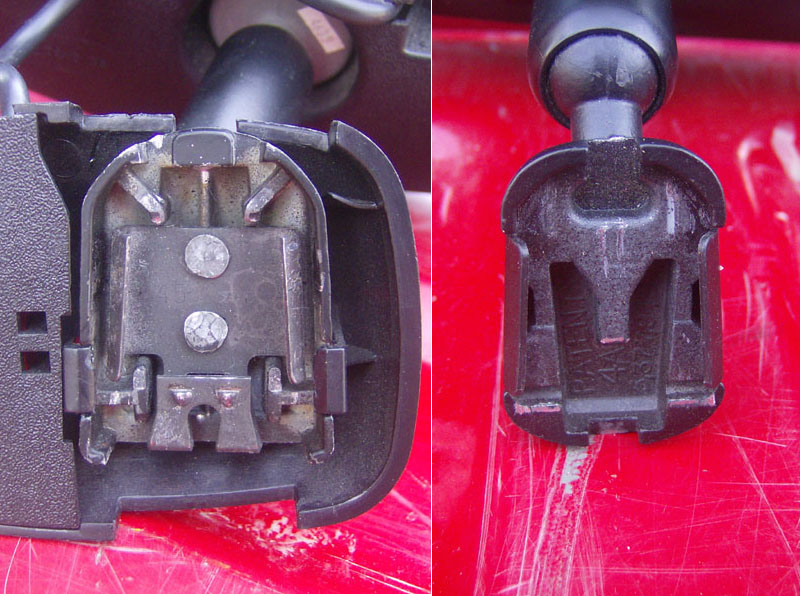
These mirrors have a 7-pin connector on the backside that is used for various (some optional) functions of the mirror. From what I can find on the web, this is the pinout of the connector:
| PIN | FUNCTION |
| 1 | +12V Accessory |
| 2 | Ground |
| 3 | Reverse Auto Dim Interrupt |
| 4 | Outside Mirror Auto Dim |
| 5 | Outside Mirror Auto Dim |
| 6 | Temp Probe Input |
| 7 | Temp Probe Input |
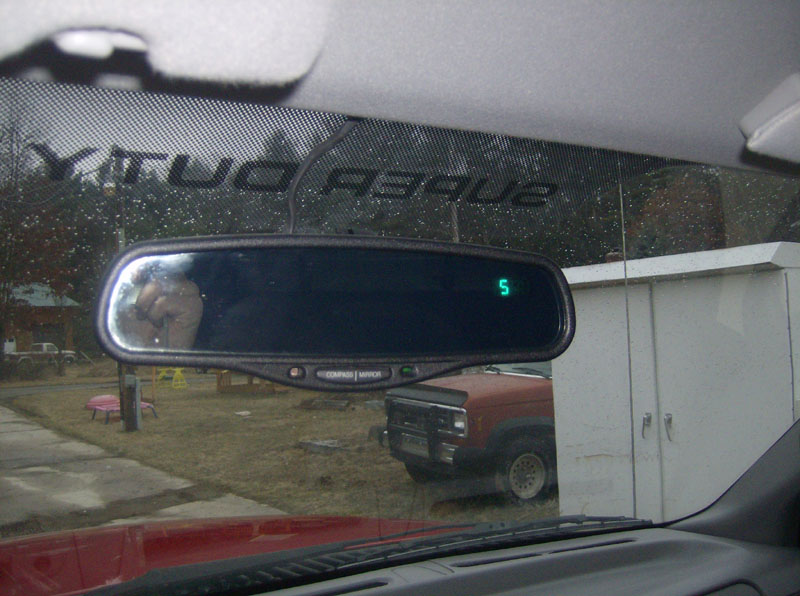
For my application, I only connected up pins 1 and 2. Before installing it in my truck, I connected it to a battery on the bench to test it. The test is simple enough, with the power connected, just cover the photocell on the backside of the mirror. After a few seconds you should see the mirror begin to darken. These mirrors are very impressive.
Now, on to the actual installation.
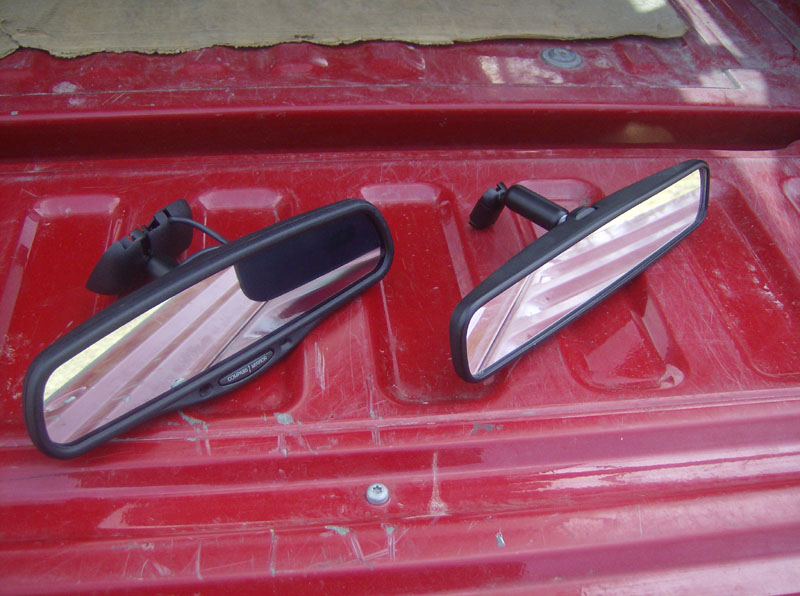
First thing was to remove the original mirror. This is done by *gently* prying out on the mirror mount with a small screwdriver while pushing the mirror upwards. This took quite a while to do as I was maybe being a little too cautious.
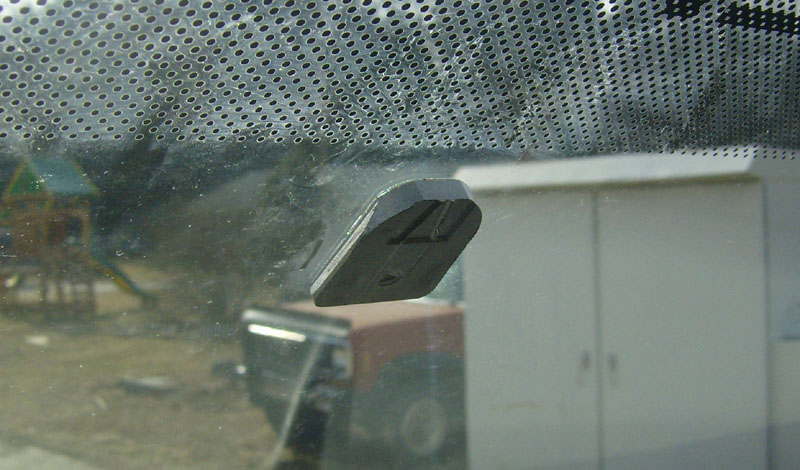
Once the original mirror was removed, I found that the mount on the new mirror was very similar to the original, but not exact. The style and shape of the new mount was the same, but it was too wide by about 0.030", causing it to wobble a bit too much when installed. So, I used a big screwdriver to pry each side of the mount inward until the measurements matched. This, of course, caused the bracket to loosen a bit so I took a small ball-pein hammer and tapped the "rivets" (don't know how else to describe them) until the mount bracket tightened back up again. All this prying and hammering was done with the plastic part removed.
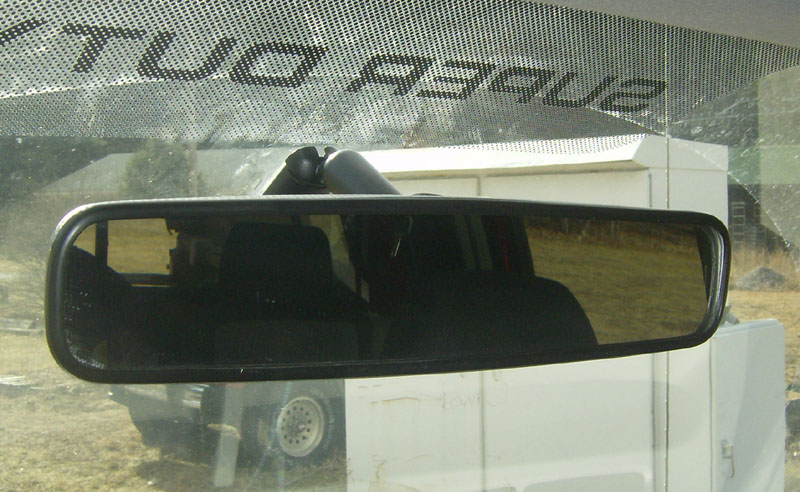
After all this, I installed it in my truck and it feels solid. Hopefully the somewhat rough ride of my truck doesn't loosen it up too soon!
Next comes the wiring. The typical approach is to tuck the wiring up under the headliner, over to the driver's side pillar, then down behind the pillar under the dash for hookup. Well, things are pretty busy on my driver's side pillar so I decided to run the wiring over to the passenger side pillar, then down under the dash, and across to the fuse panel.
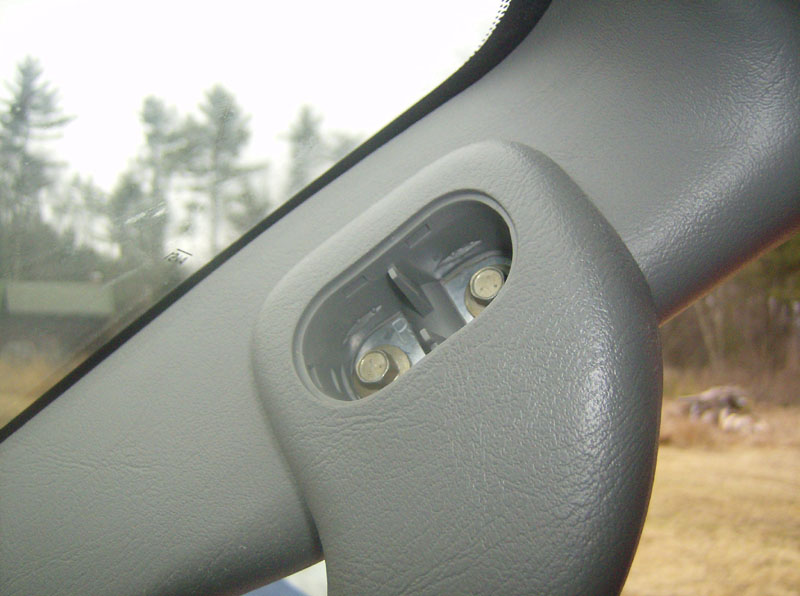
So, first step is to remove the passenger side pillar cover by first popping out the plugs on the grab handles.
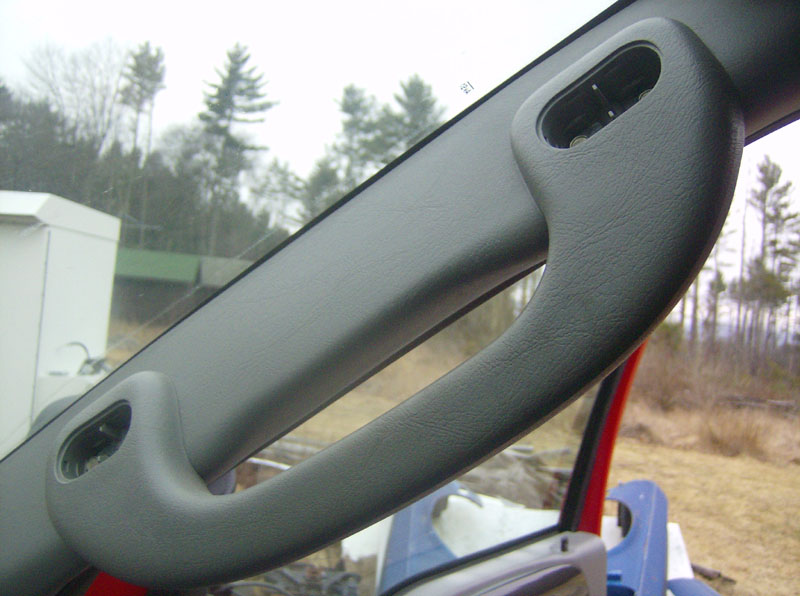
Then remove the four bolts with an 8mm socket.
The handle will still be attached to the pillar cover by two small phillips screws that come in from the backside. This is ok because we don't really need to remove the handle for this. Just pull the pillar cover toward you to pull it loose.
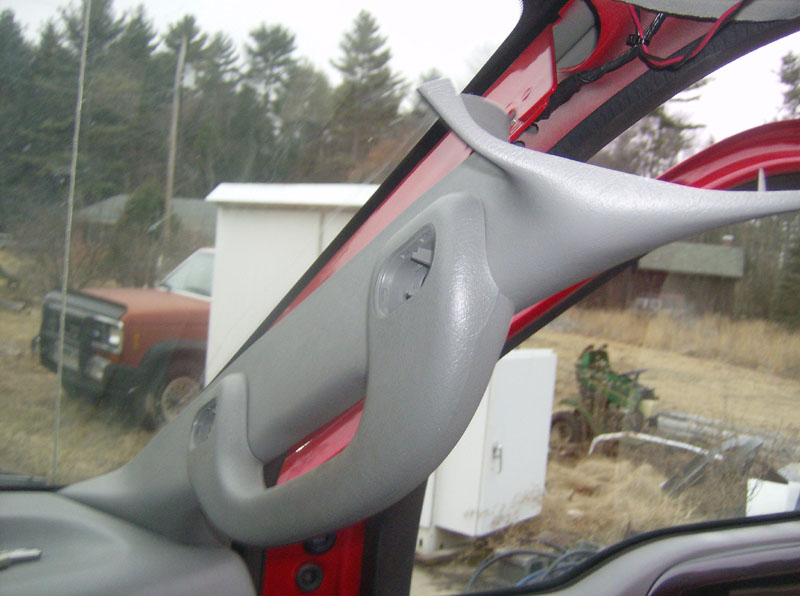
Next, I ran the wires from the mirror, over to the pillar, tucking them up under the headliner along the way.
Next, drop the glovebox down to get better access behind the dash.
Then, run the wires down behind the pillar cover and pull them down behind the dash. Run the wiring behind the dash, over to the fuse panel.
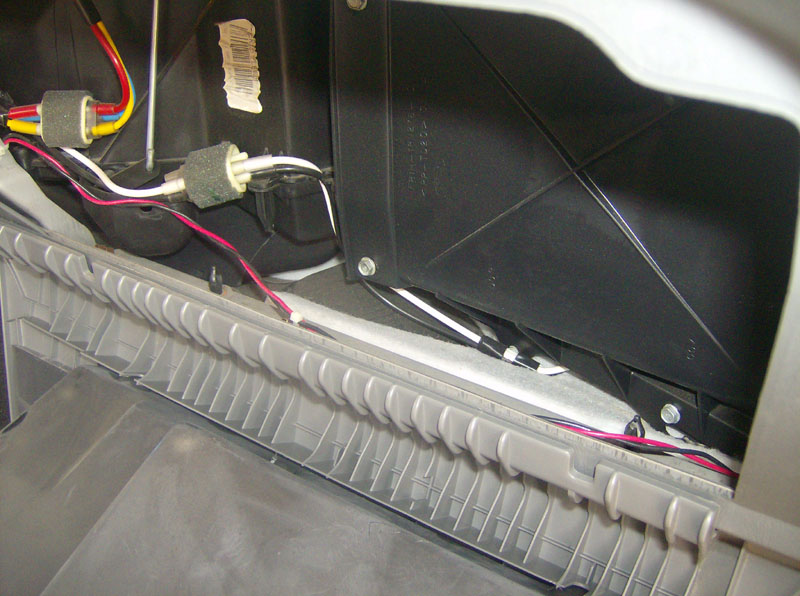
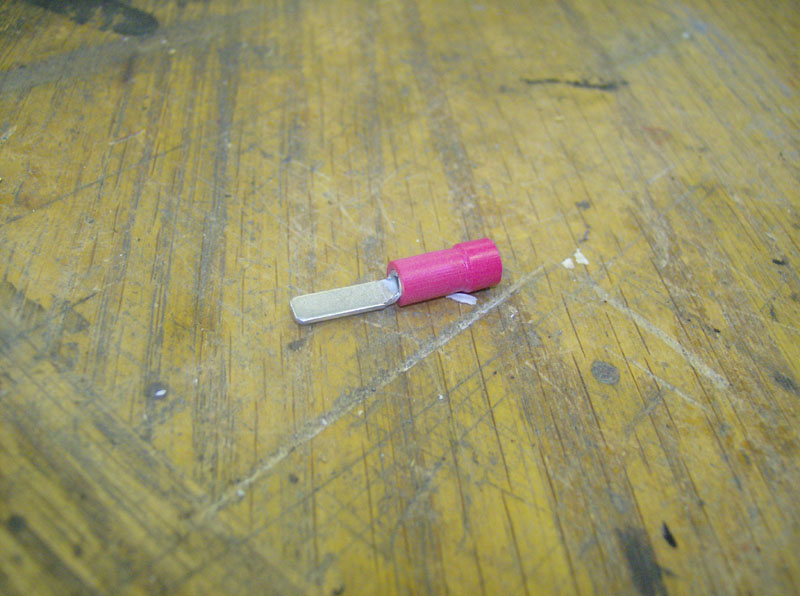
I did some probing around with a multimeter and found a hot-in-accessory location available in and unused spot in the fuse panel, location #48 listed as "not used" in the owner's manual. I used a Panduit DV18-145M-CY crimp connector to fit in the fuse location to get access to power for the mirror. I attached the ground for the mirror to the metal framework behind the dash. I put a 1A fuse inline with the mirror's power wire.
After I tested the mirror operation, I reinstalled the pillar cover in the reverse order it was removed.
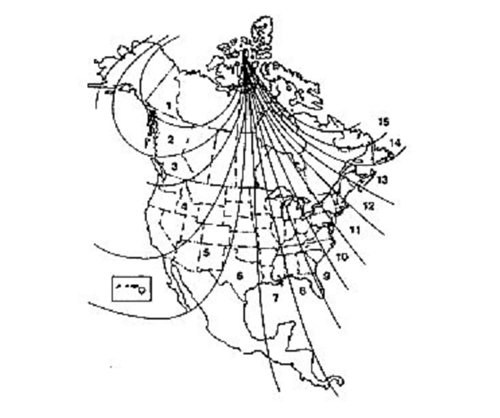
Now that the mirror is installed and wired, the only thing left is to setup the compass. First you need to set the region. Do this by pressing the compass button for three seconds until you see a number (between 1 and 15) on the display. Use the chart below to set the compass for your region.
Once the region is set, that last thing is the compass calibration. The unit is-self calibrating so it will eventually get its calibration as you drive. There's a quicker way to calibrate it by first pressing the compass button for six seconds until "C" is on the display. Then, drive slowly in at least three circles, allowing 45 seconds to complete one circle.
Questions or Comments? Email jmray@frontiernet.net