Ford Super Duty
Intake Manifold Replacement
2004 F250 4x4 XLT Sport Crew Cab
Click Here for a PDF version of this article
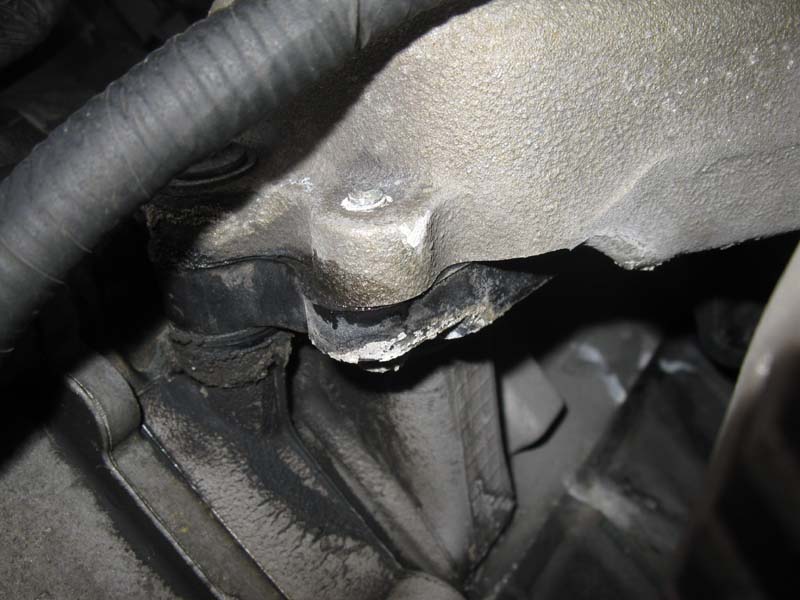
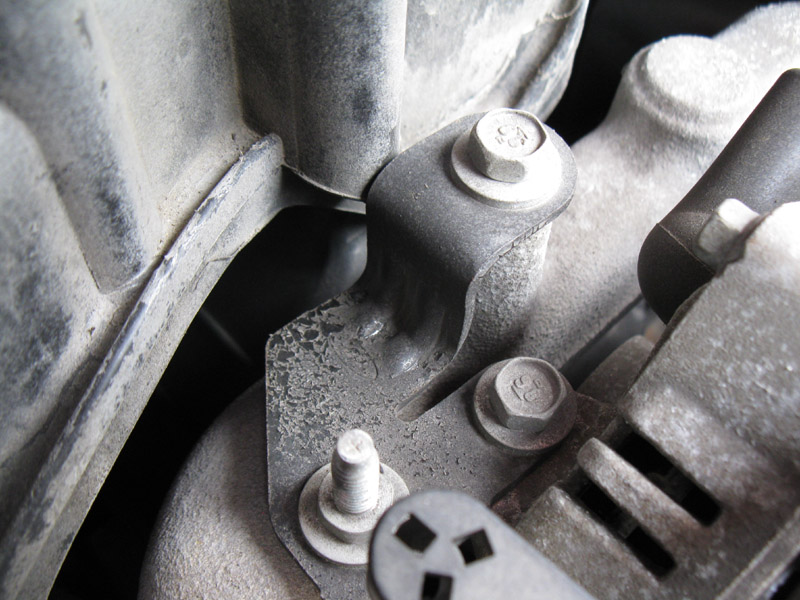
A few years ago, I noticed some crusty white stuff at the front corner of the intake manifold, at the crossover tube. It looked innocent enough at the time and it appeared to be a very slow leak, which was not causing any problems. The moral of this writeup is... do not ignore this, it will come back to bite you!!
Fast forward a few years.... while driving I noticed my truck stumbling and missing pretty bad while putting a mountain. It was still running good enough to make it back home without problem. There was no check engine light, so no codes. Since the coils are a common area of problem with these trucks, I began looking at those first.
After about a week, it finally began misfiring again while I could look at it and I found that pulling the connector on COP #3 made no change while the engine was running. I removed the COP and found the problem immediately.

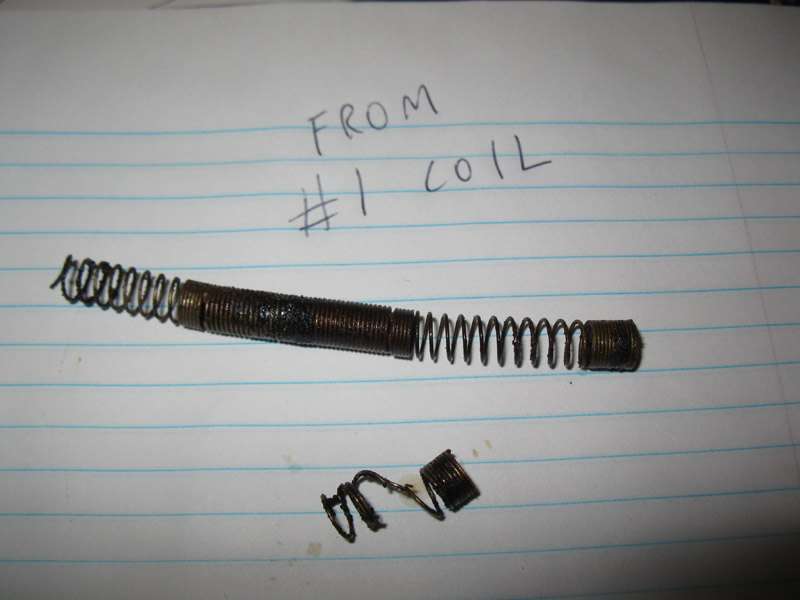
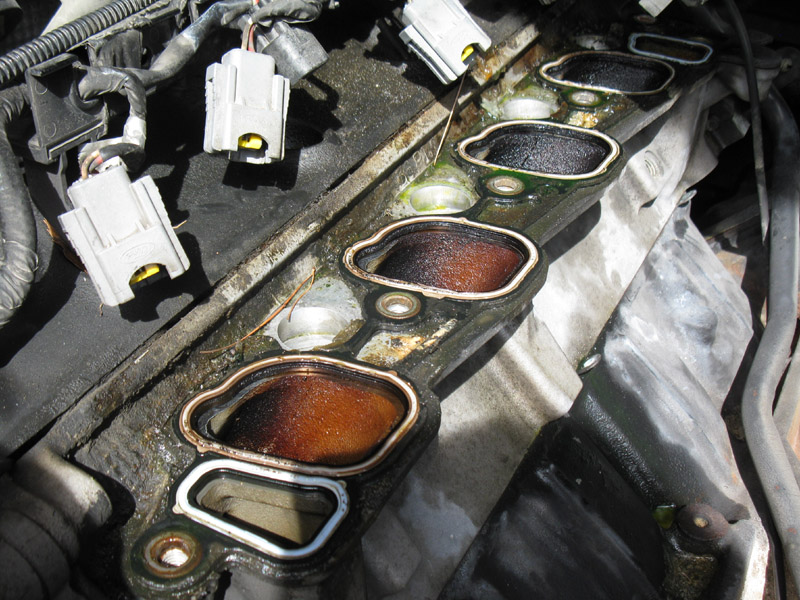
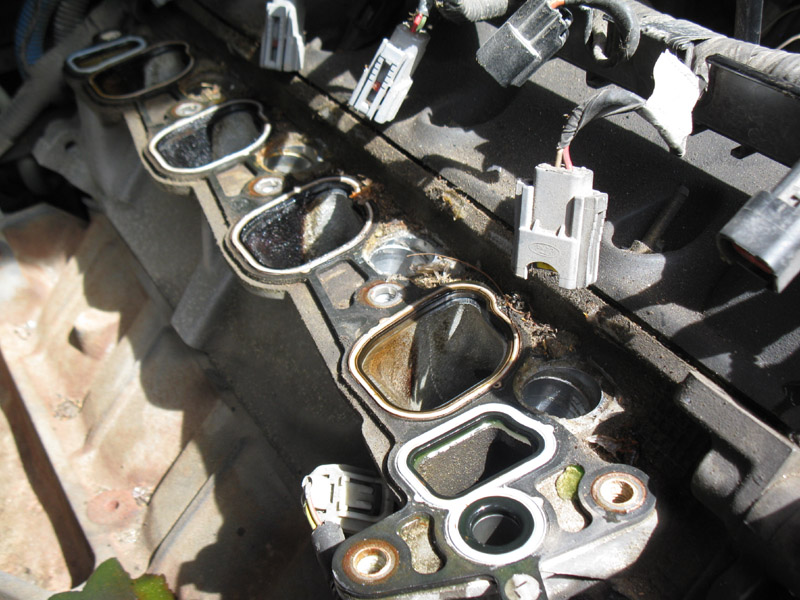
Coolant had leaked down into the spark plug well, and into the coils, finally causing enough corrosion to cause misfires. Turns out I was getting coolant into all four plug wells on the passenger side (cylinders 1 through 4).
The pic below is from coil #1, but all the others were about the same. I was impressed that it was running at all.
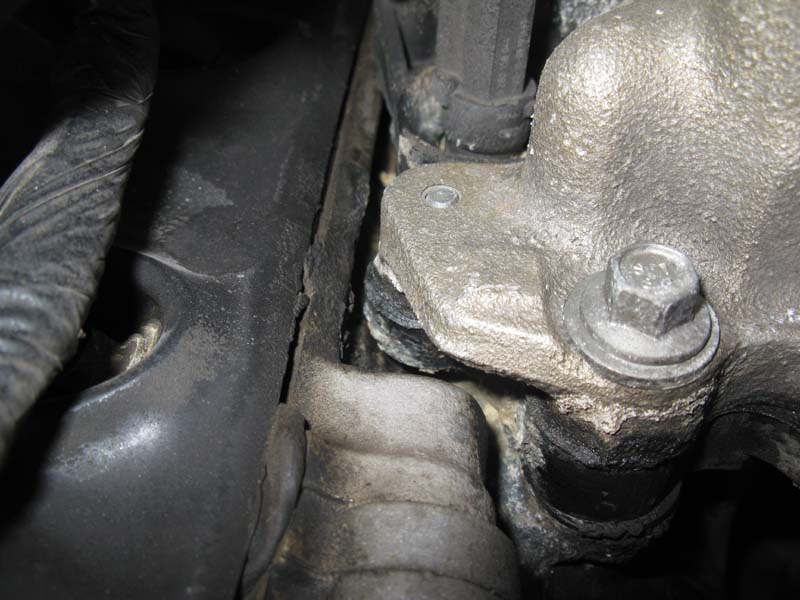
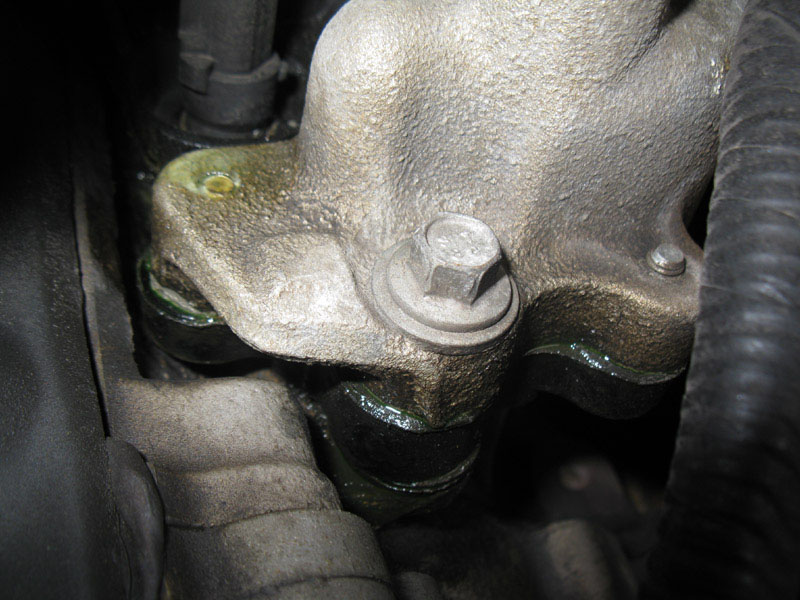
By this time, the leak was noticeably worse. I should've addressed this long before now.
Of course, the misfiring episode happened in January, and I didn't want to tackle a big job like this and risk crippling my truck in the winter. I was able to clean up the plug wells and replace the boots & springs to get it going again. This worked fine and I was able to drive it a few thousand miles through the winter with no problems. I gathered parts and did the job in late April.
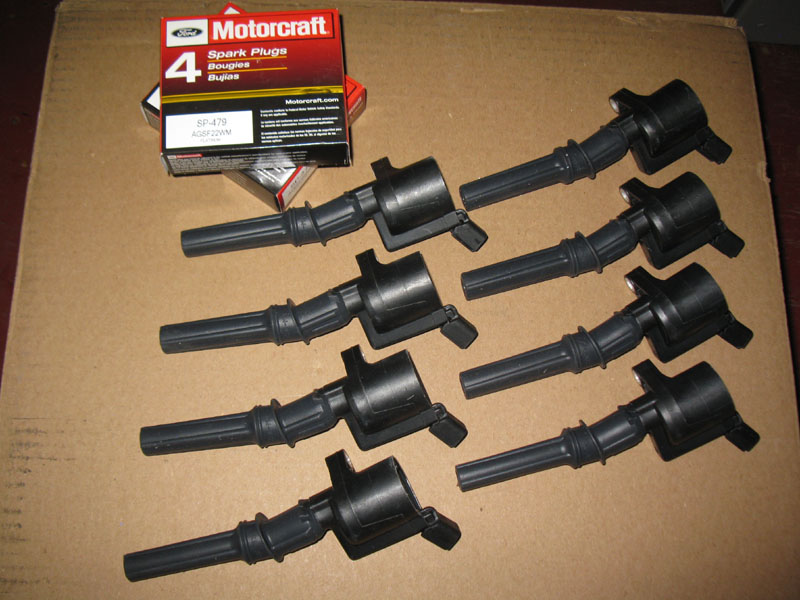
I decided to replace several things while I had it so far apart. Since four of my eight coils were corroded, I decided to just replace them all with Motorcraft units. The part number is DG-508. I also decided to replace my spark plugs because that job will be so much easier with the intake out of the way!
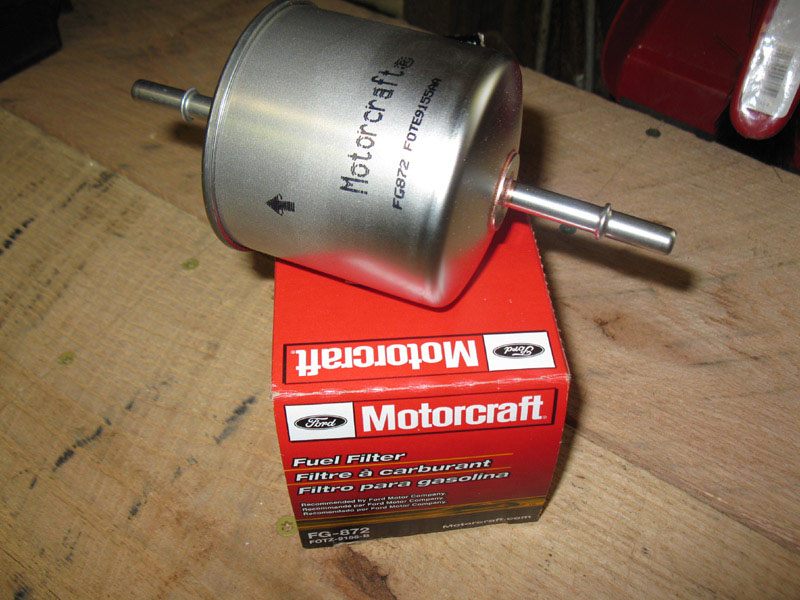
I also decided to replace the fuel filter since I'd have the fuel system de-pressurized during this job.
There are quite a few other parts that I needed to gather to do this job.
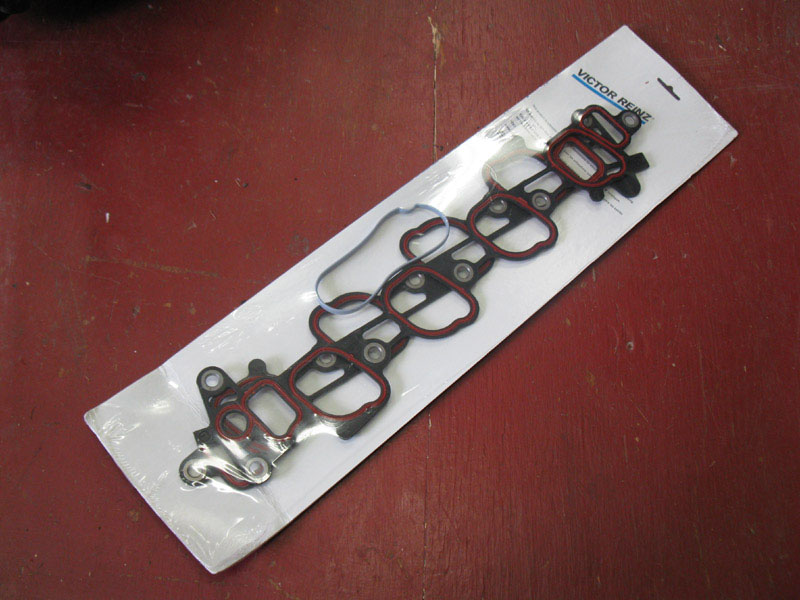
Intake gasket set, Victor Reinz MS19231
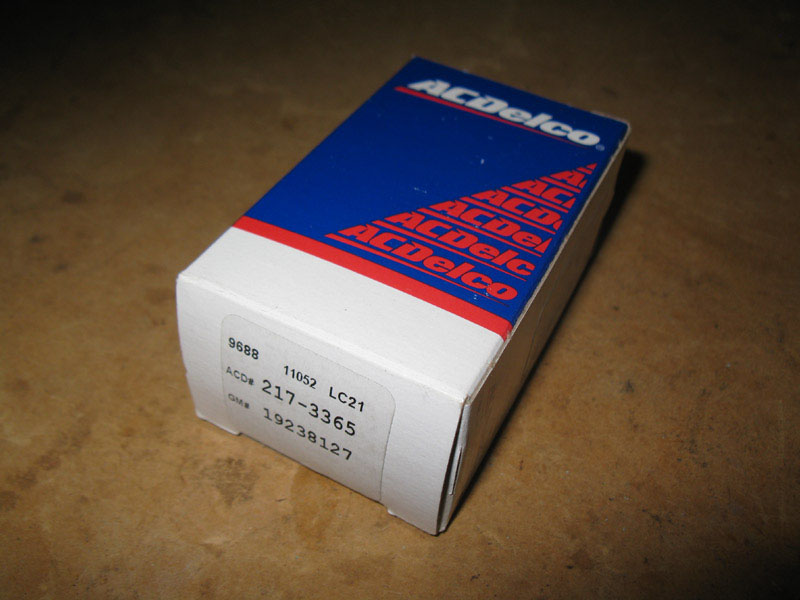
New fuel injector o-rings, AC Delco 2173365
I failed to get pics of these items, but you'll also need a new thermostat o-ring (Fel Pro # 35489), and a few gallons of antifreeze and distilled water.
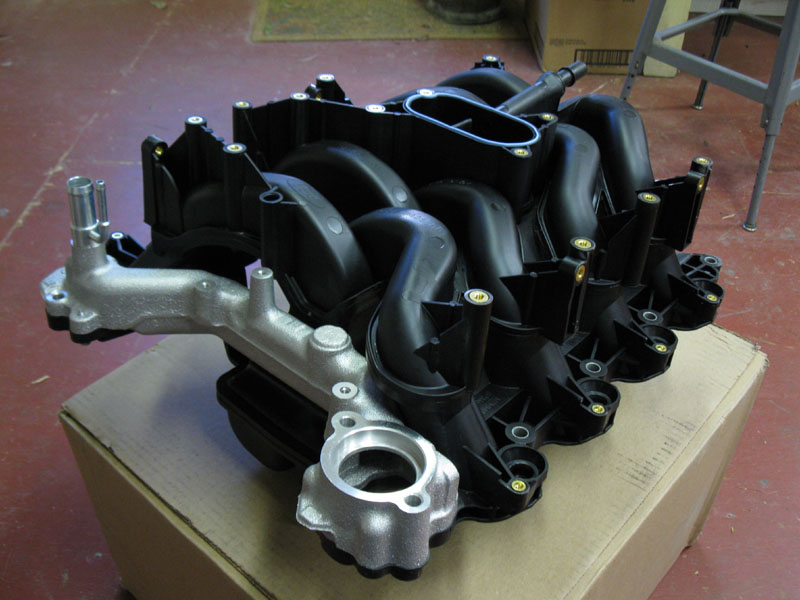
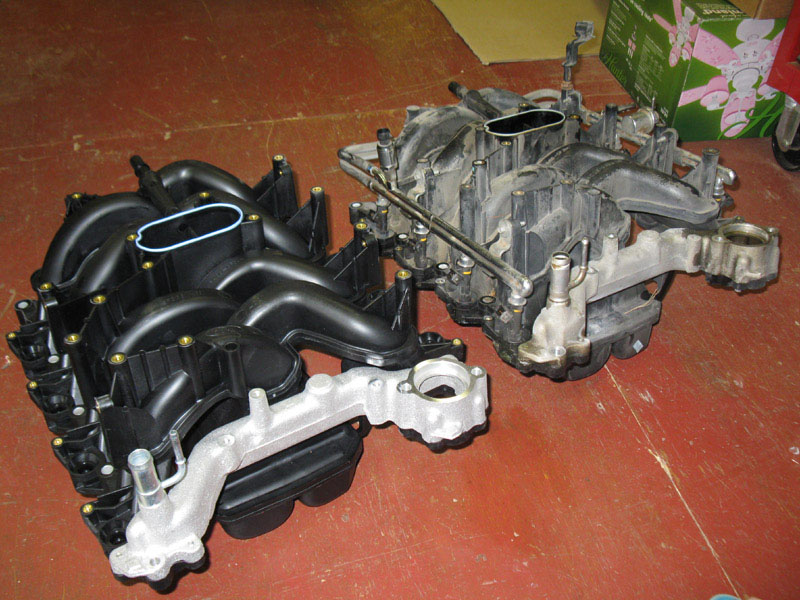
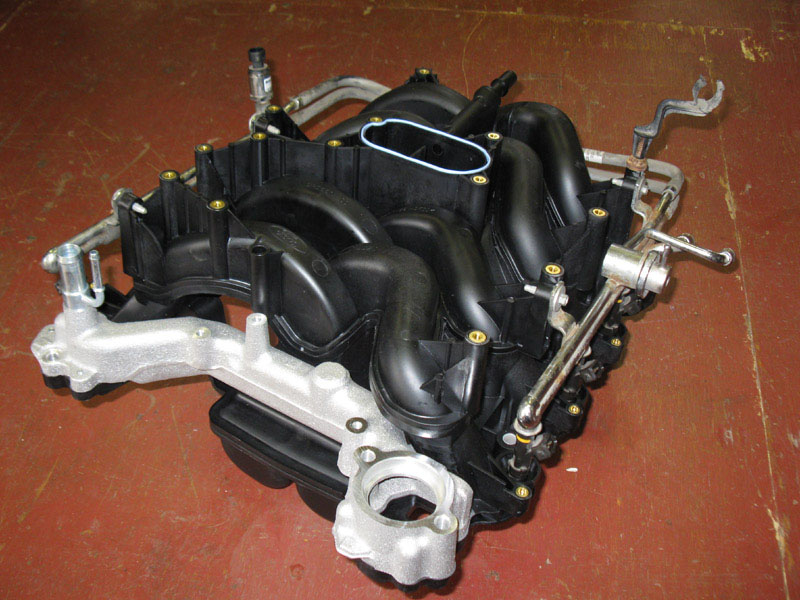
I read quite a bit about these intakes being cracked at the crossover tube, and since mine has been leaking for so long, I decided to just replace the intake manifold. Not many options out there for this truck. Pretty much its the Dorman replacement or an OEM intake. I read mixed reviews about the Dorman unit so I ended up just buying an OEM unit. I purchased it from AutoNation Ford online -- they had the best price and by far the lowest shipping cost. It arrived as pictured, Motorcraft part number 4C2Z9424CA.
Now for the actual procedure of doing the job!
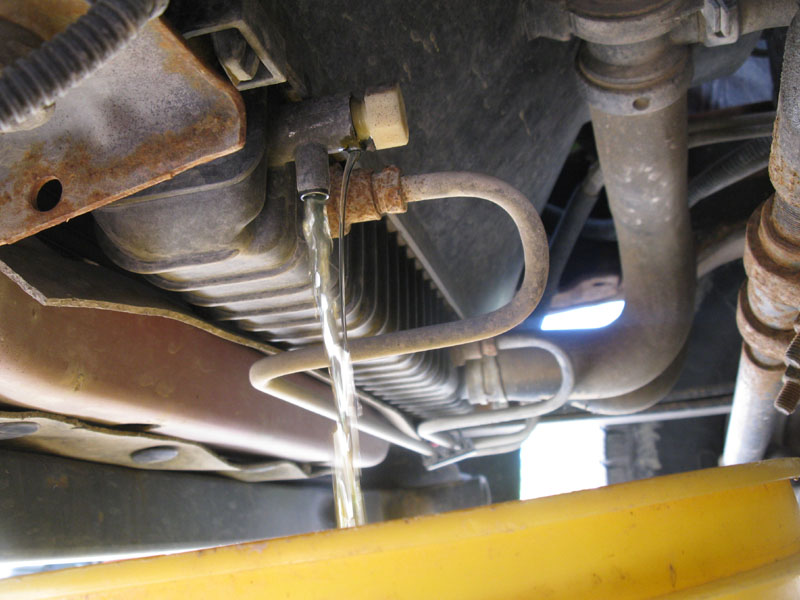
The very first step is to drain the cooling system using the draincock at the bottom of the radiator.
The manual says to relieve the fuel pressure. I didn't do anything other than let it sit overnight which was sufficient.
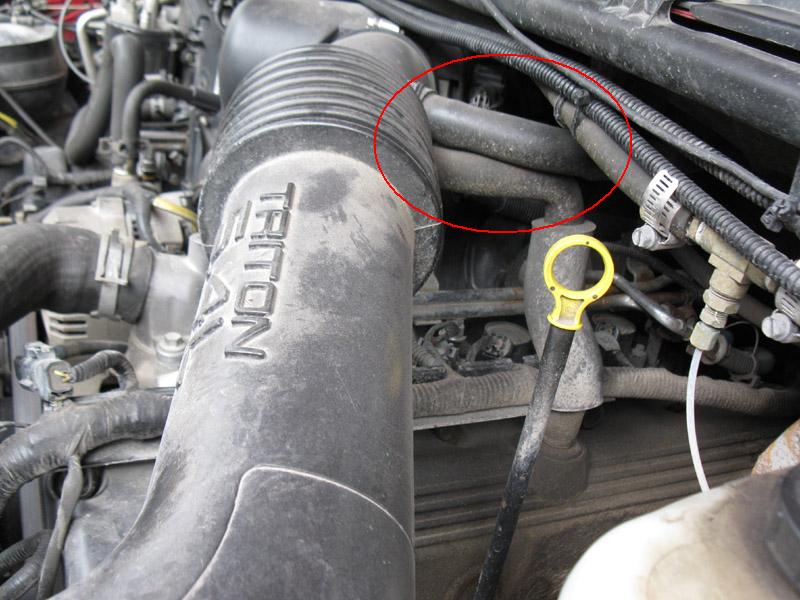
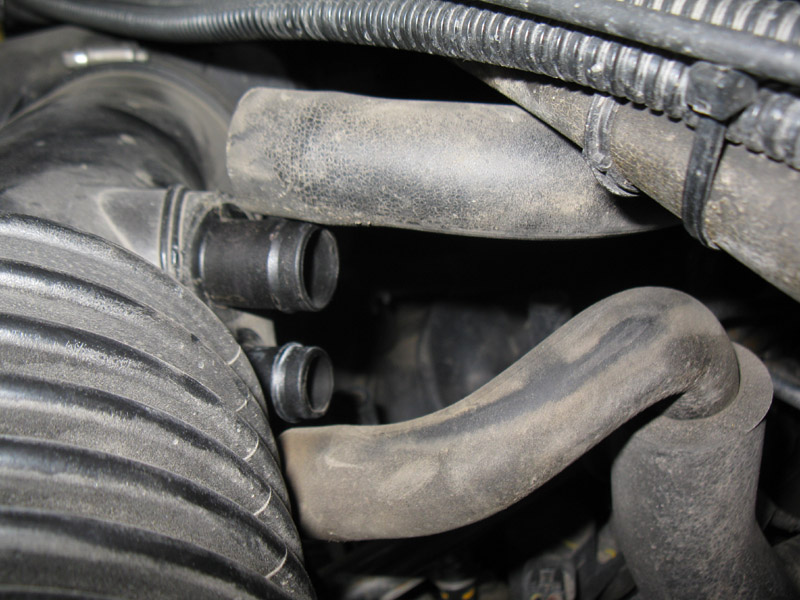
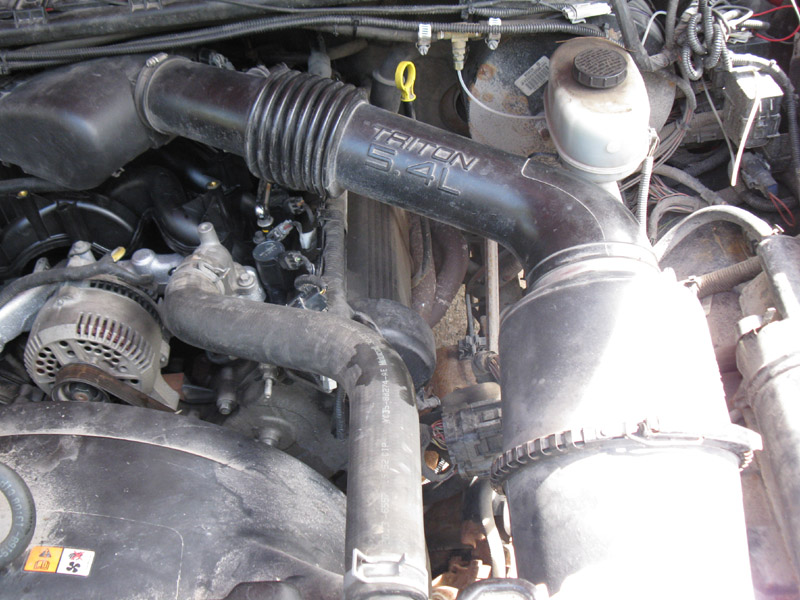
Remove these two hoses from the air cleaner pipe. These are the IAC fresh air tube and the crankcase ventilation tube.
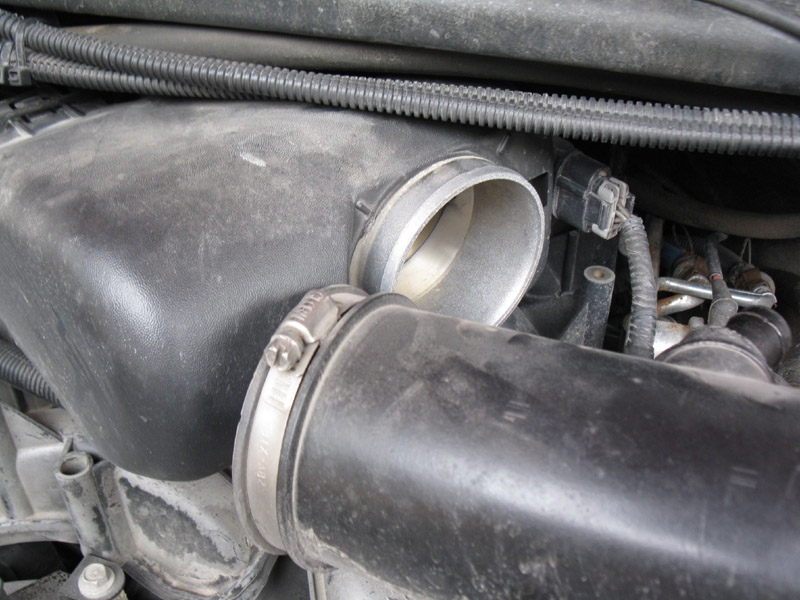
Disconnect the air cleaner pipe from the throttle body. Just loosen the clamp and pull off the pipe.
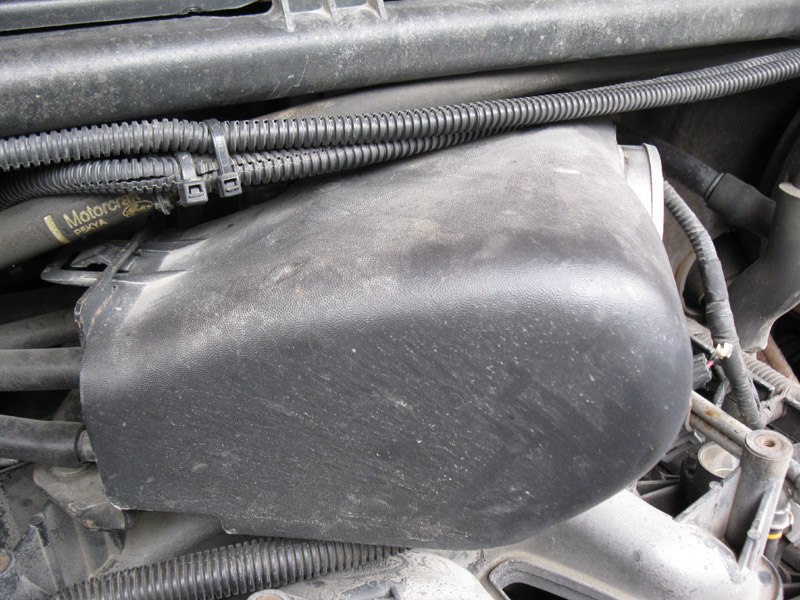
Disconnect the air cleaner housing.

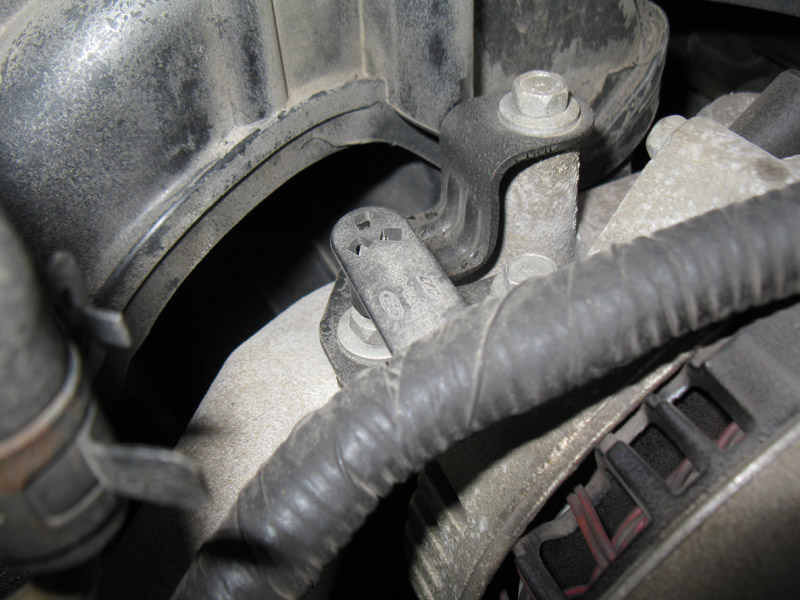
Disconnect the MAF sensor connector down on the splash shield. Now the air cleaner pipe assy can be removed from the engine bay.
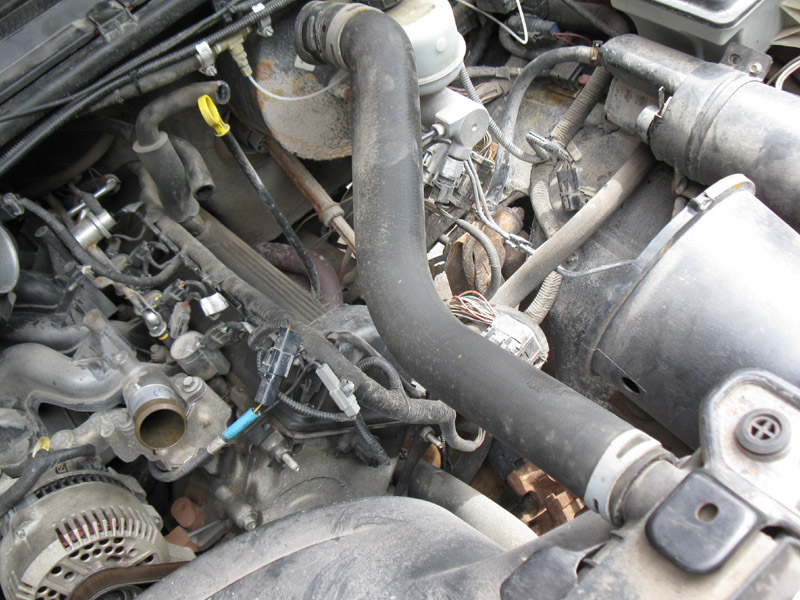
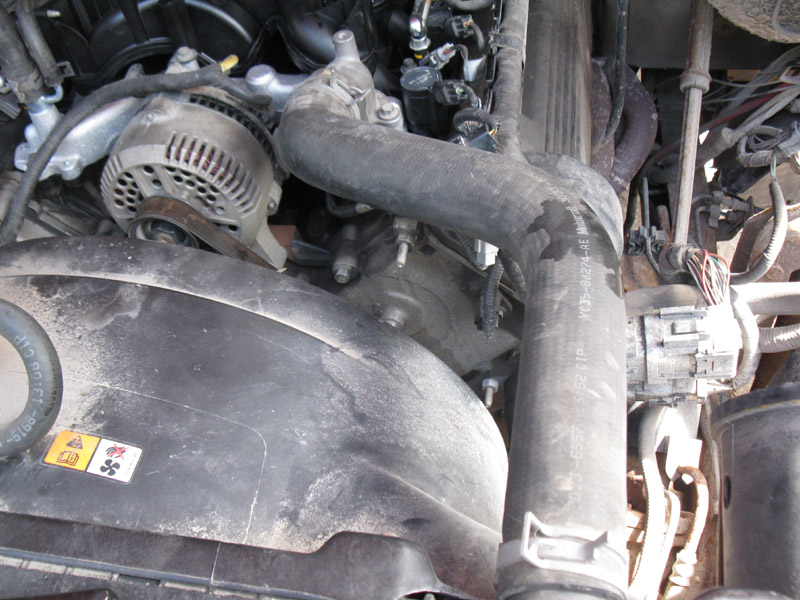
Disconnect the upper radiator hose from the thermostat housing.
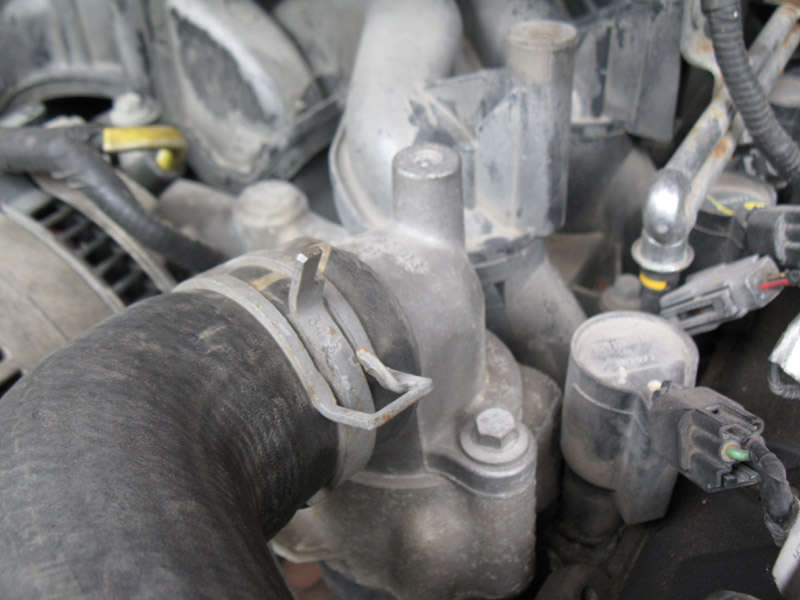
I loosened the clamp at the radiator and rotated the hose out of the way.
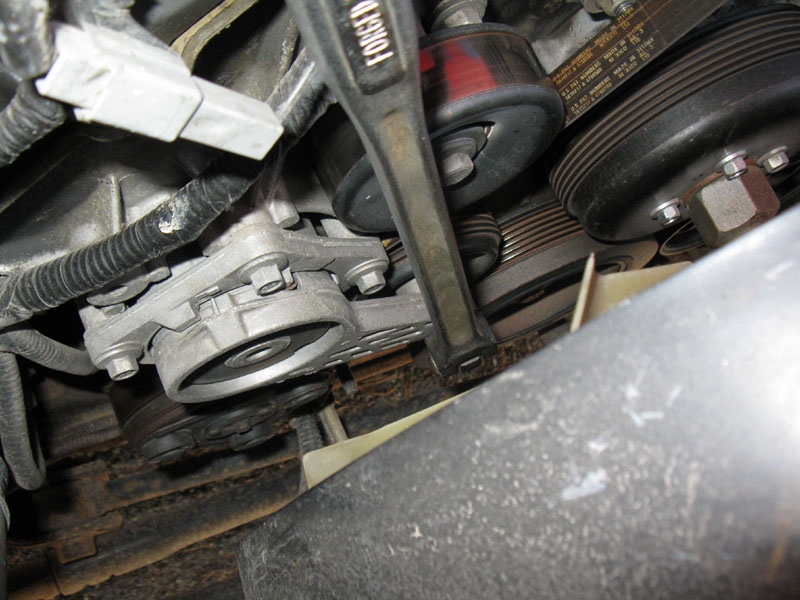
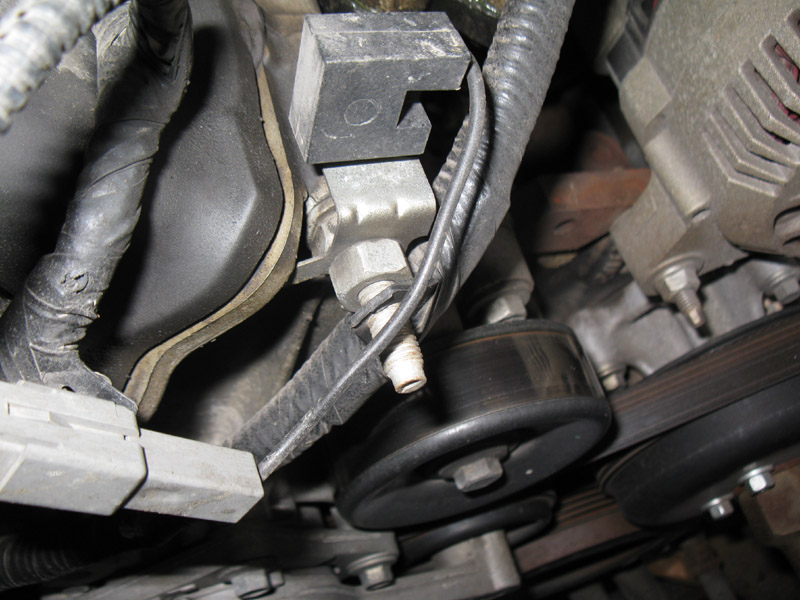
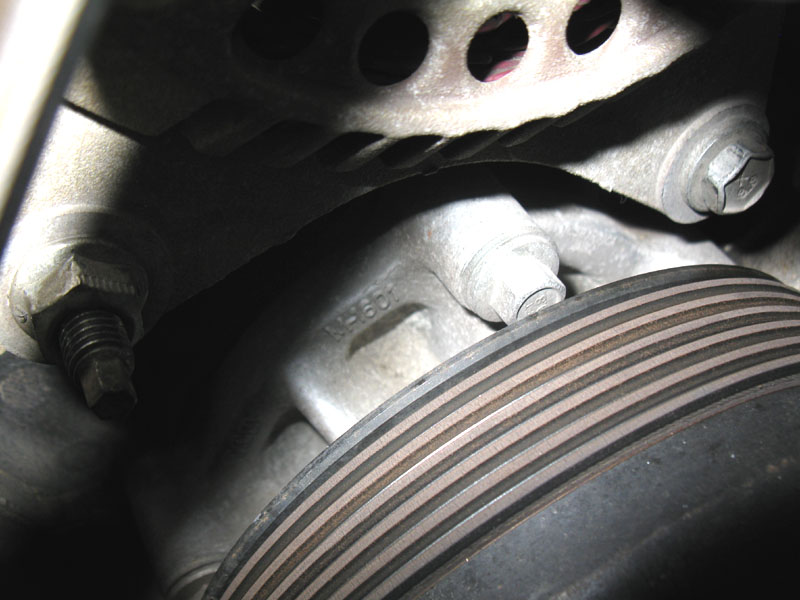
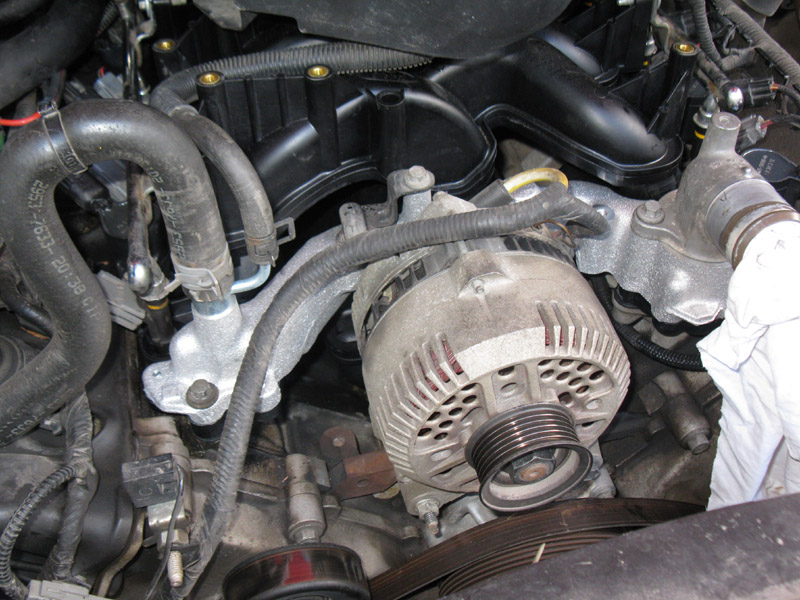
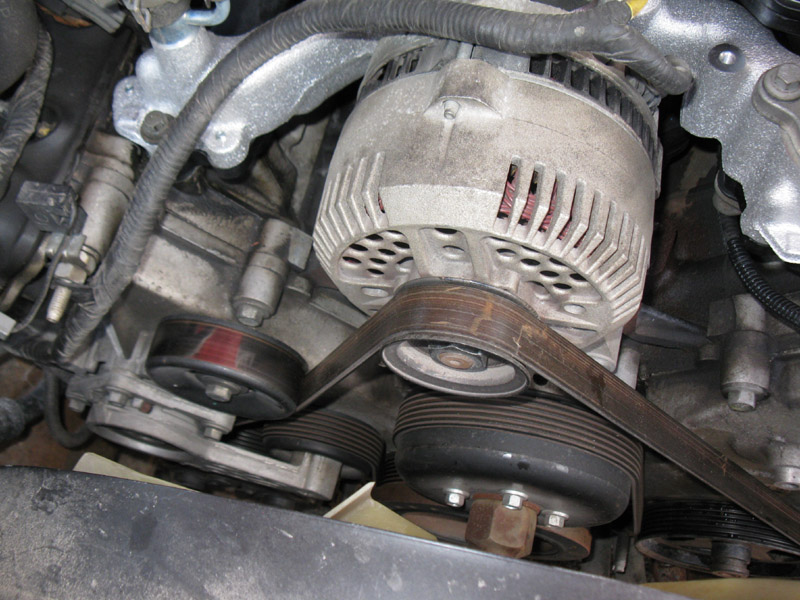
Remove the belt from the alternator pulley by using a 1/2 drive breaker bar to rotate the belt tensioner clockwise to release the tension.
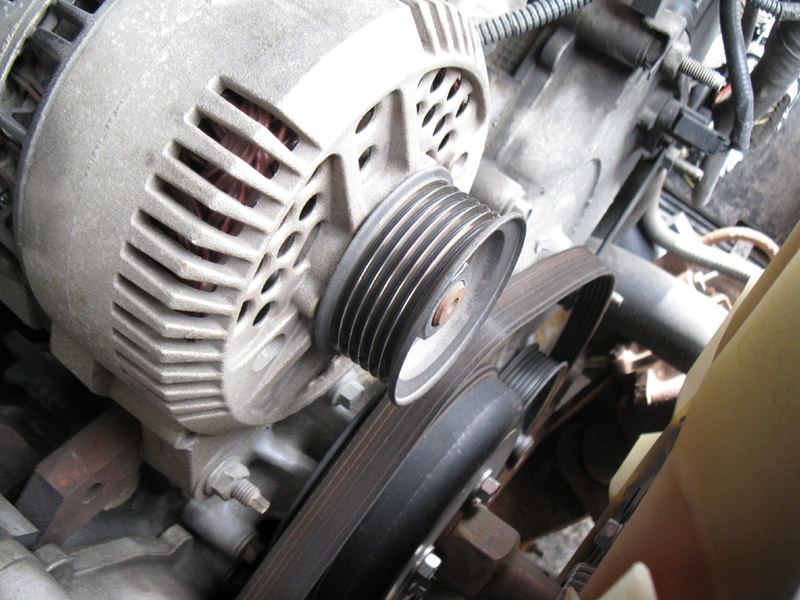
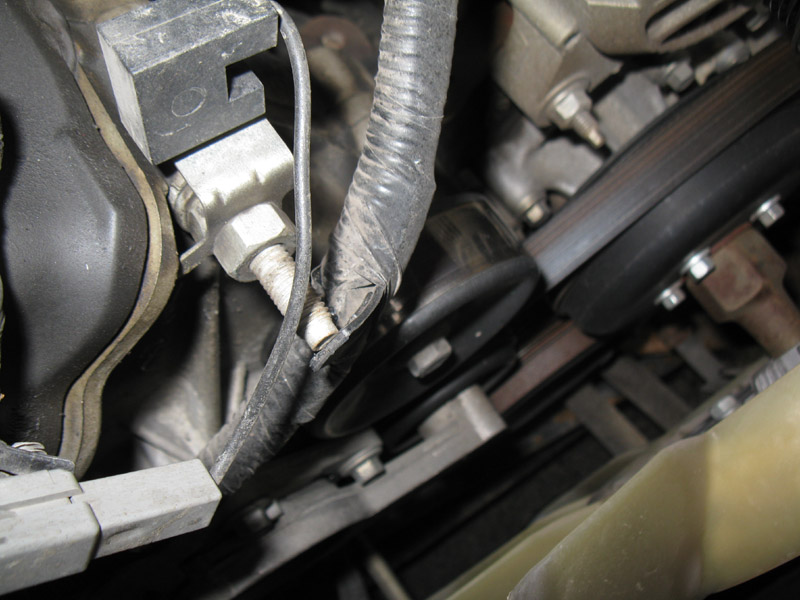
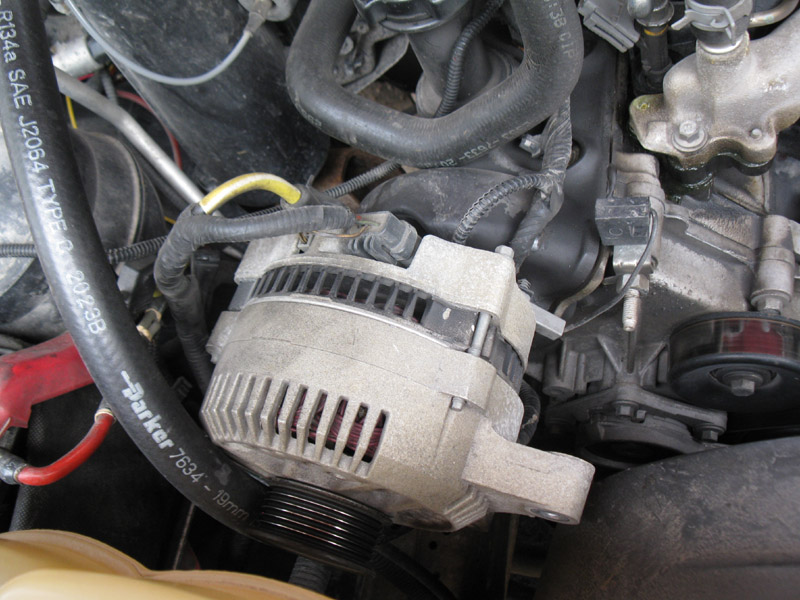
Next, remove the two clips attaching the alternator wiring to the engine.
Use a 10mm deepwell socket to remove the alternator by removing the upper bracket bolt & stud.
Then use a 13mm deepwell socket to remove the two bottom bolts.
Set the alternator off to the side out of the way.
Remove the plastic cover on the throttle body by pressing down the tab on the left side. The cover just slides off to the right.
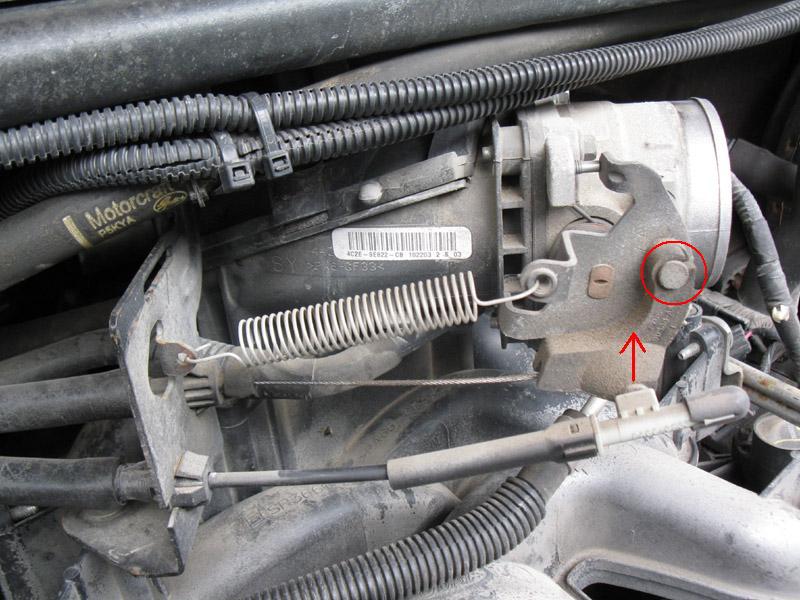
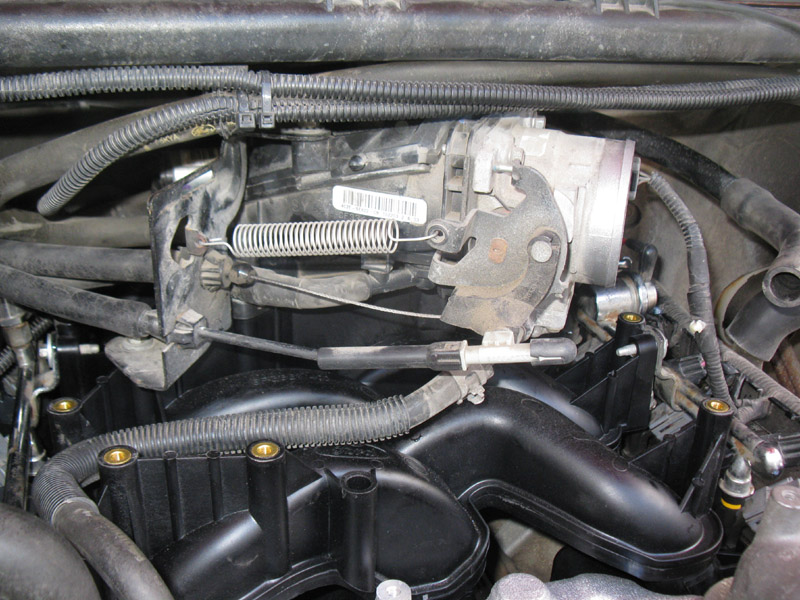
Disconnect the throttle return spring, the throttle cable, and the cruise control cable.
Simply pull the spring on one end to release it.
Pull straight up on the cruise control cable to release it.
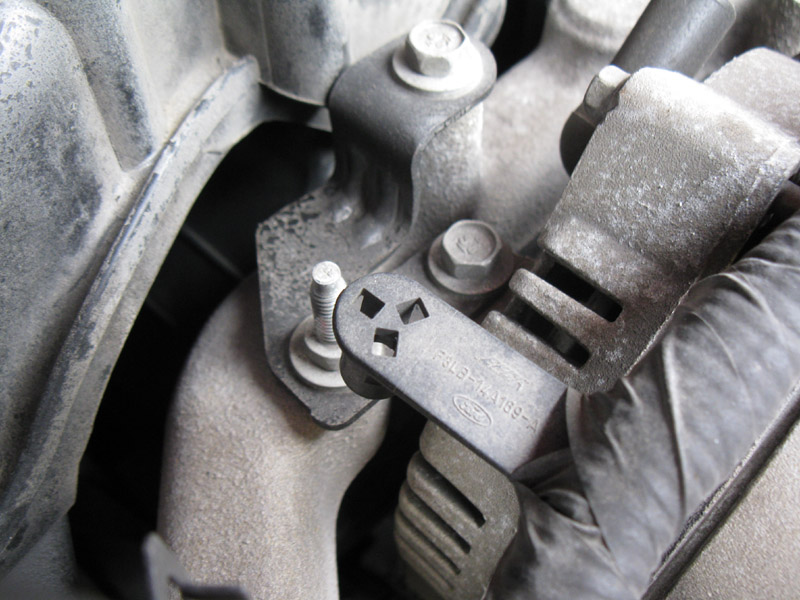
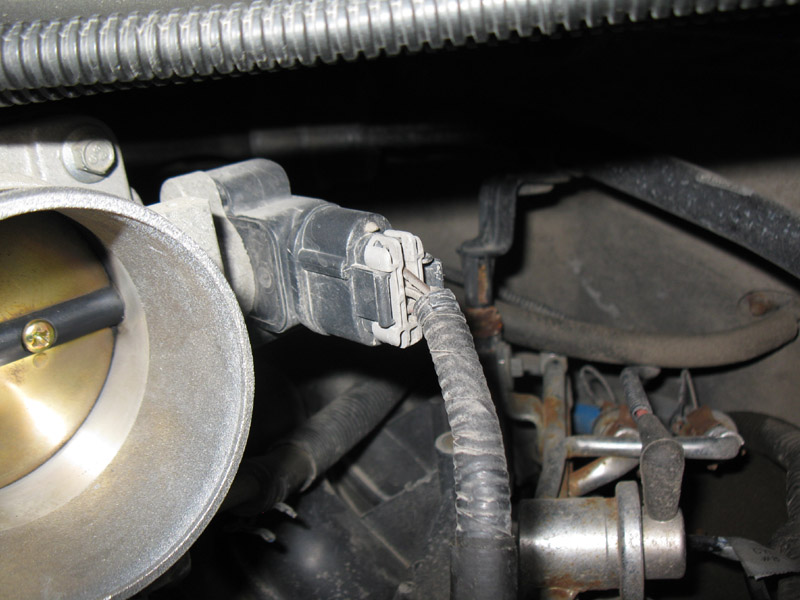
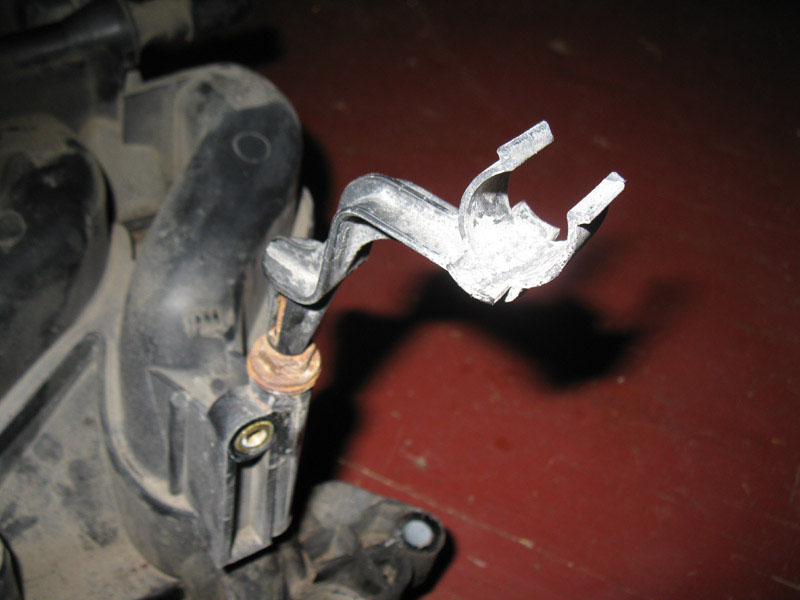
Rotate the throttle cam clockwise to release tension on the throttle cable so you can work the end of it out (circled below)
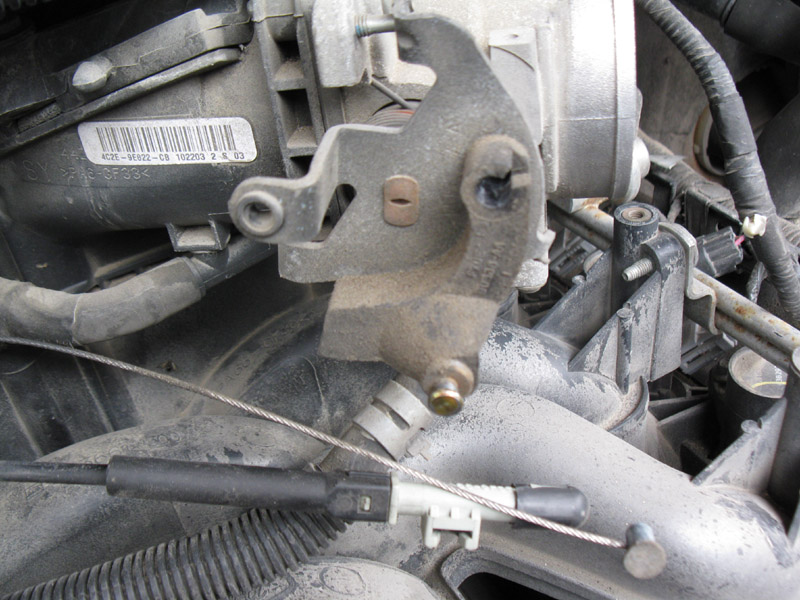
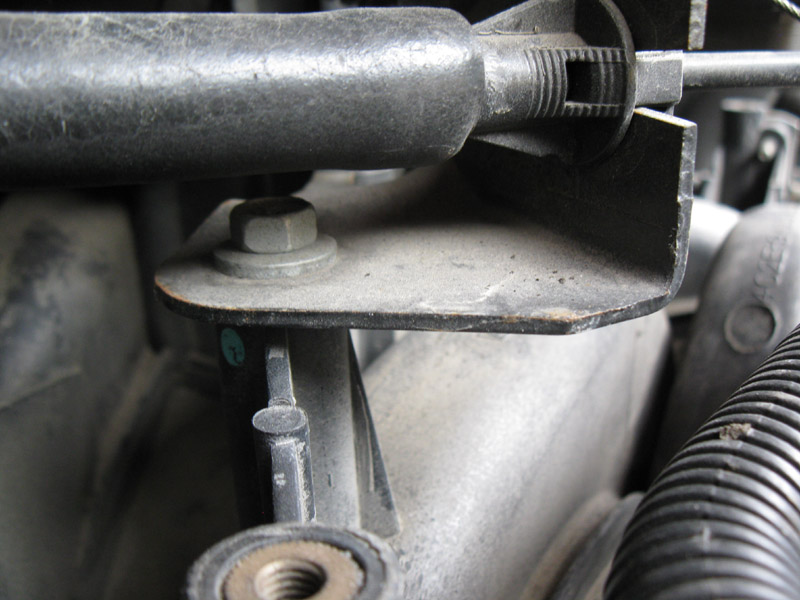
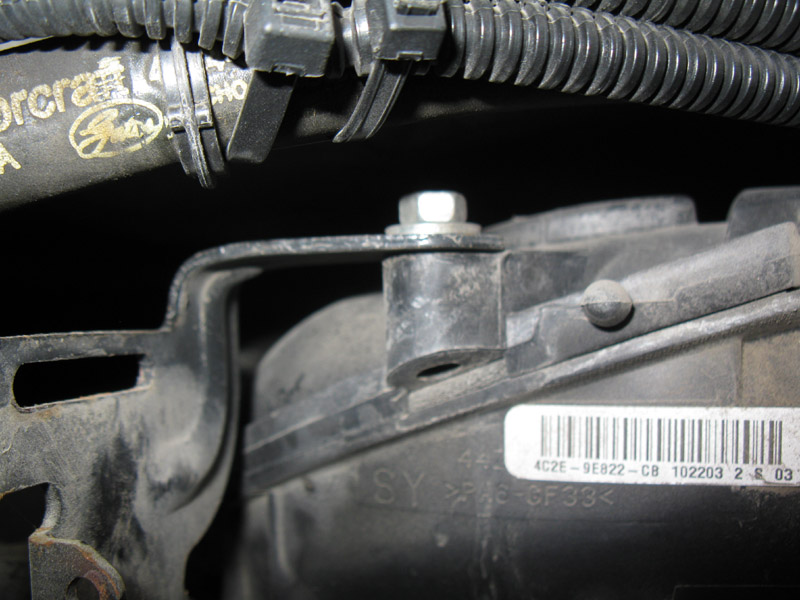
Remove the throttle cable bracket by removing the two 10mm bolts.
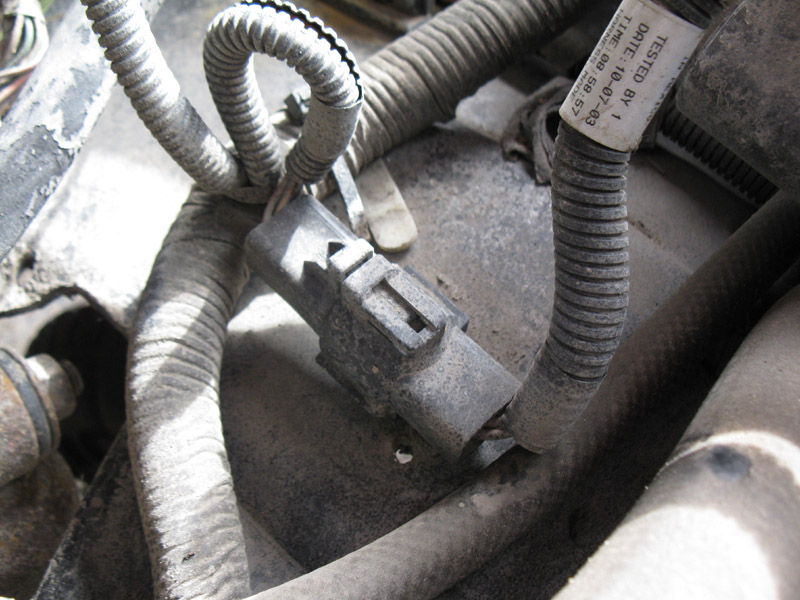
Disconnect the throttle position sensor connector.
Remove the IAC air tube. It rests in the clip and is attached to the IAC valve on the back side of the throttle body.
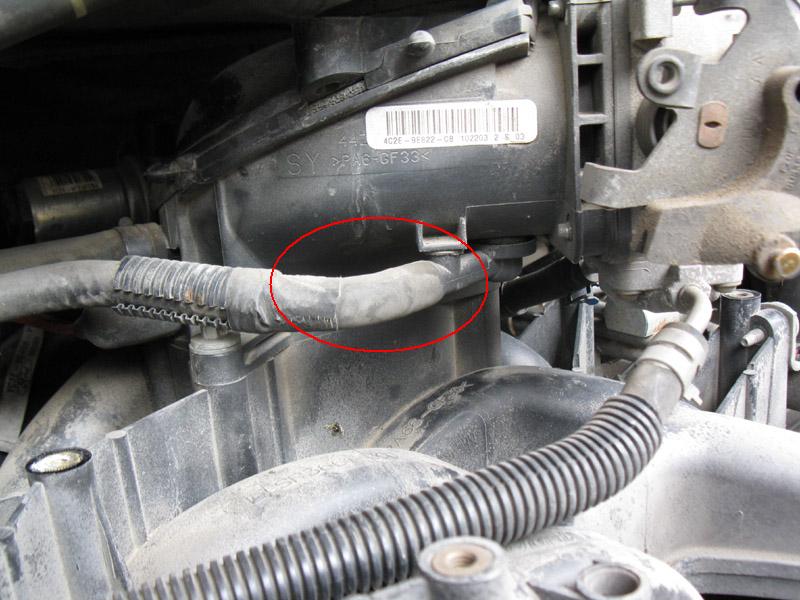
Disconnect this vacuum hose from the throttle body adapter.
Disconnect the brake booster and main vacuum lines from the throttle body adapter.
Disconnect the IAC connector. The IAC is visible in the background of the previous pic.
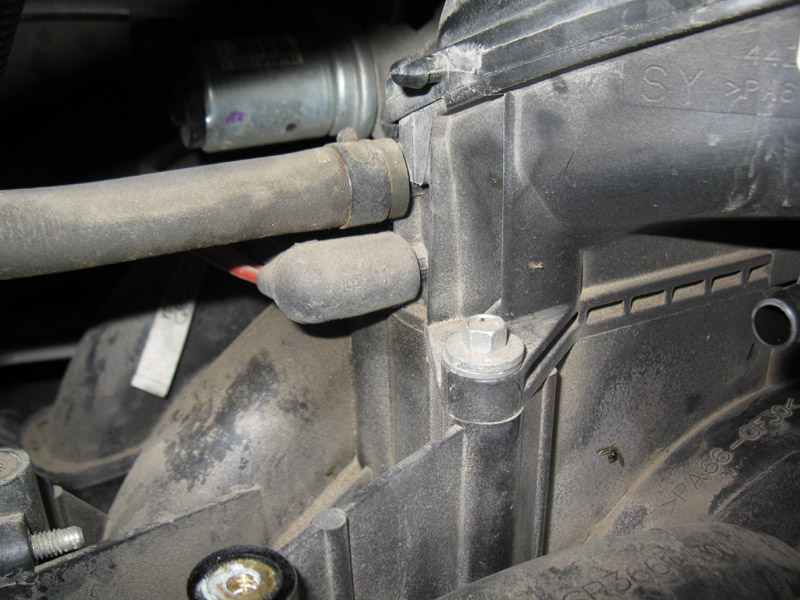
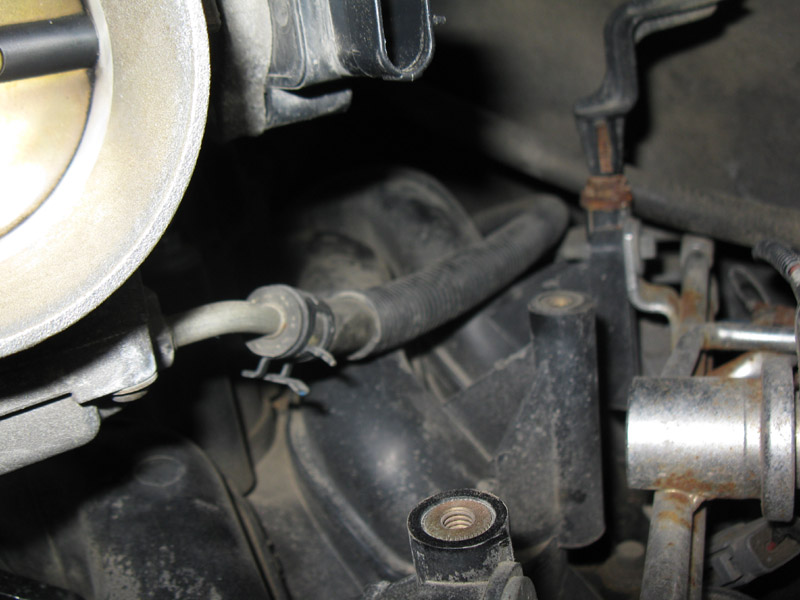
Disconnect the two lines that attach to the bottom side of the throttle body.
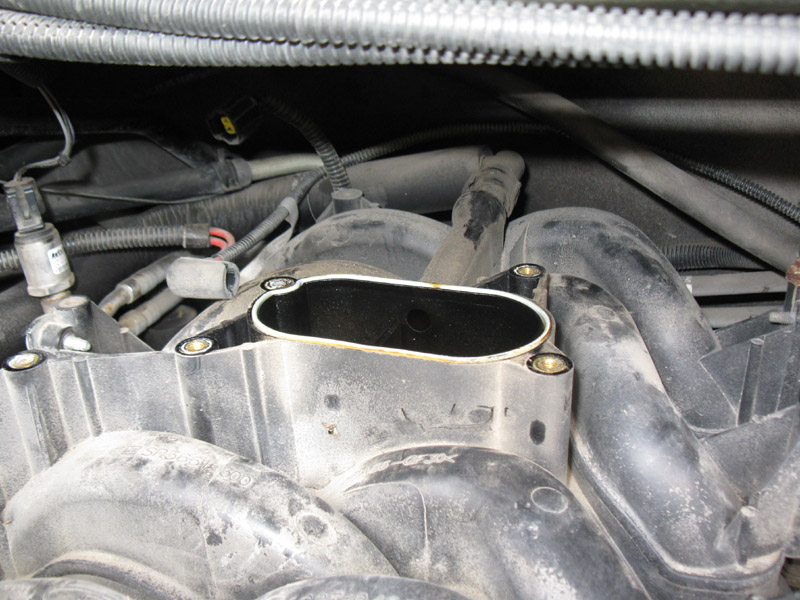
Remove the four 8mm bolts for the throttle body adapter, and remove it from the engine.
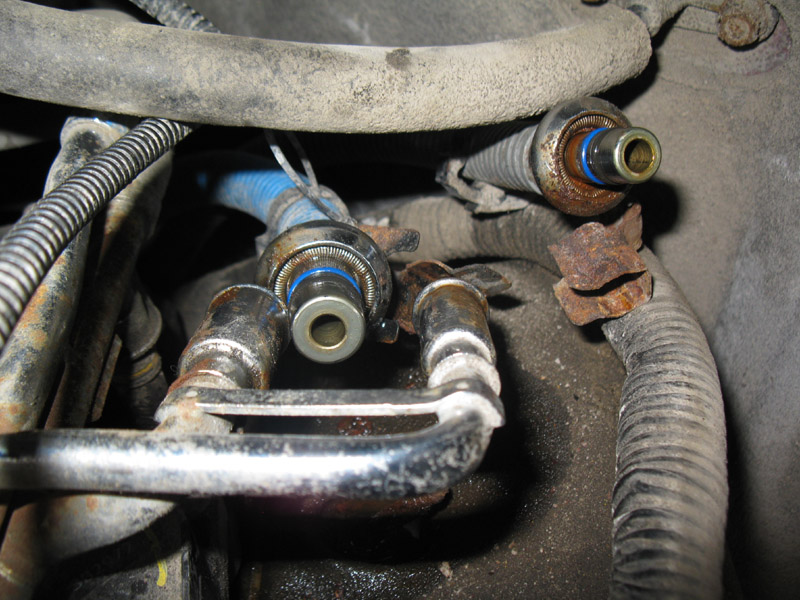
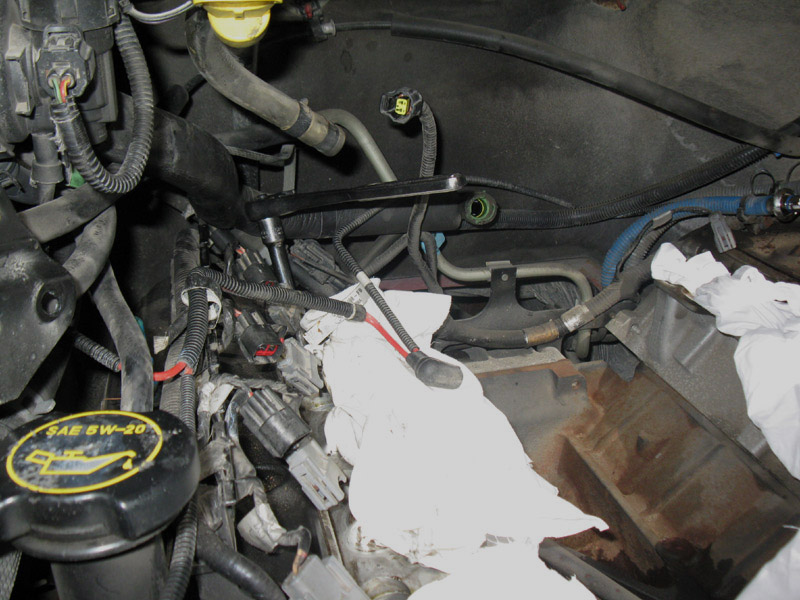
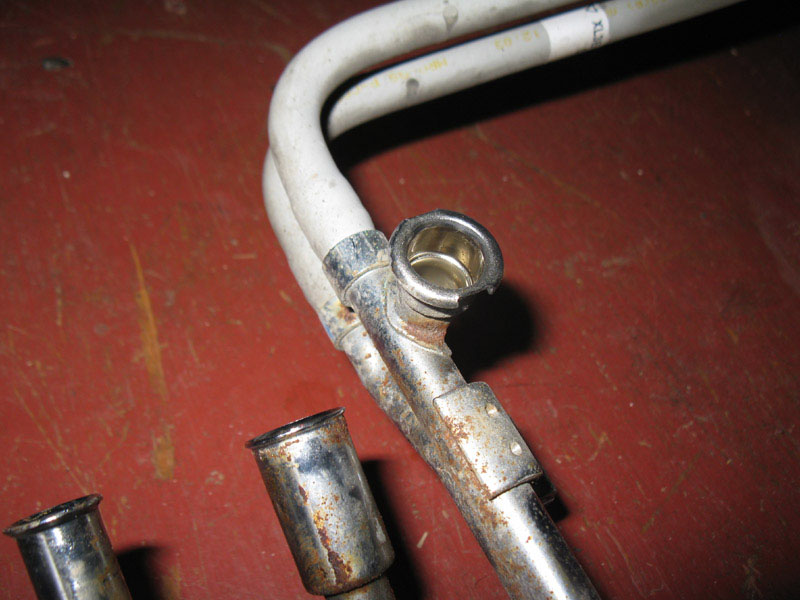
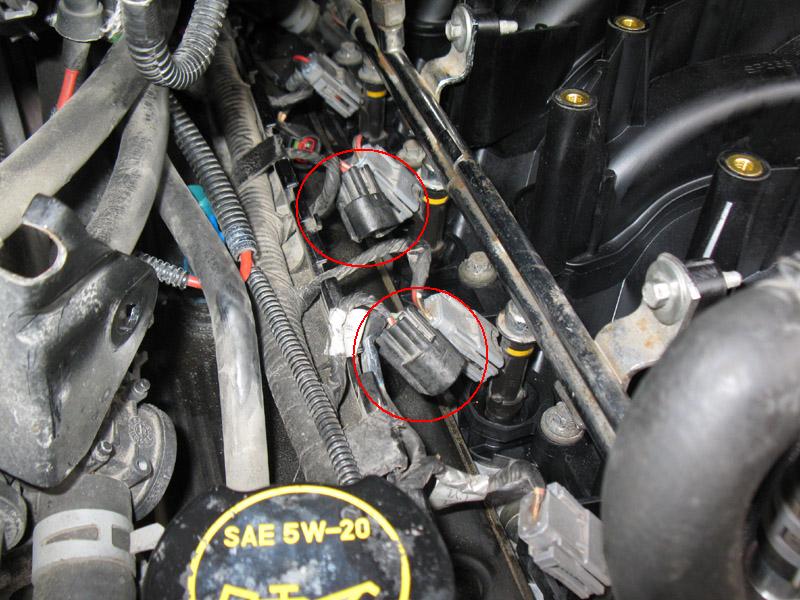
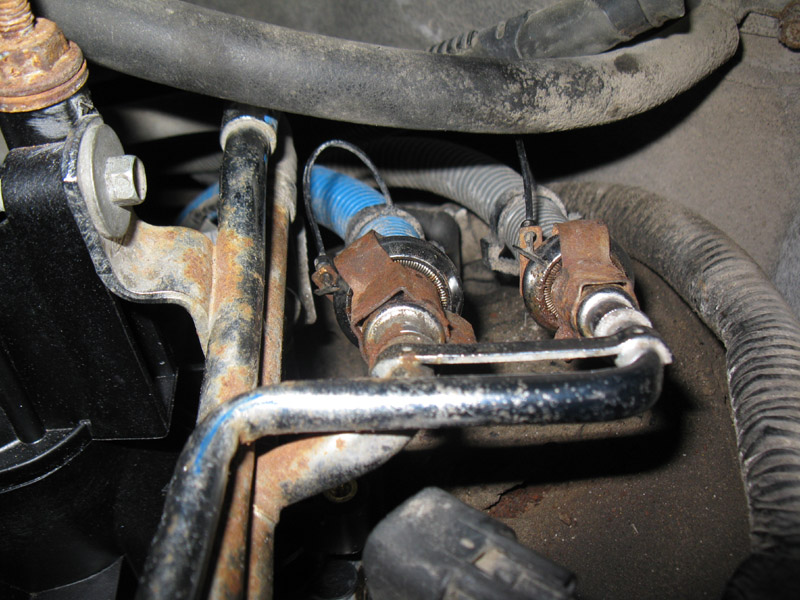
Next, disconnect the fuel lines from the fuel rail. First, pry up and release the clips from the lines.

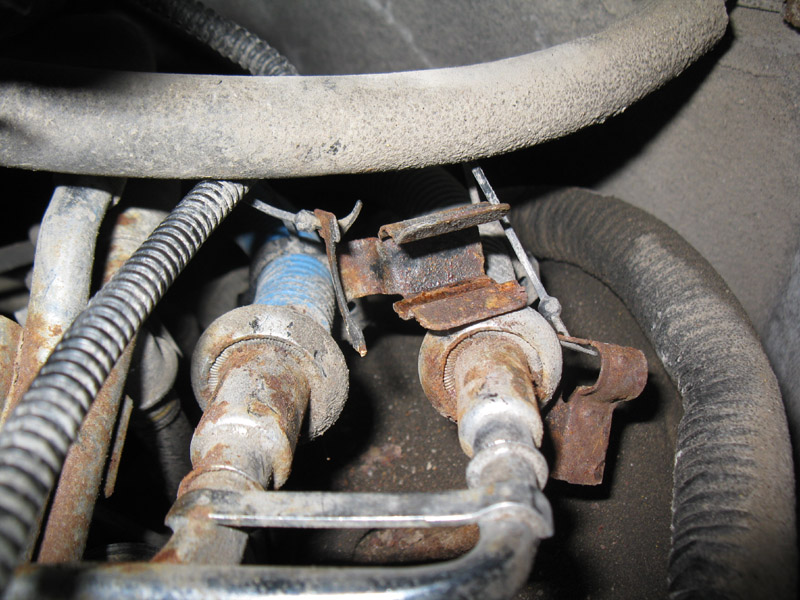
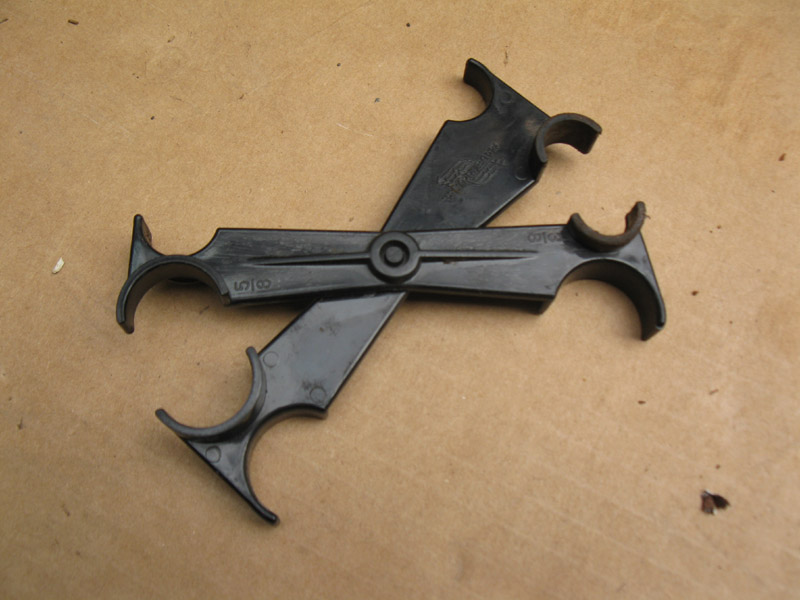
Then, release the lines using this tool, or similar. The two smallest sizes were needed since the fuel lines are two different sizes.
Just push the tool in where you see the springs, and push the lines toward the firewall to release them.
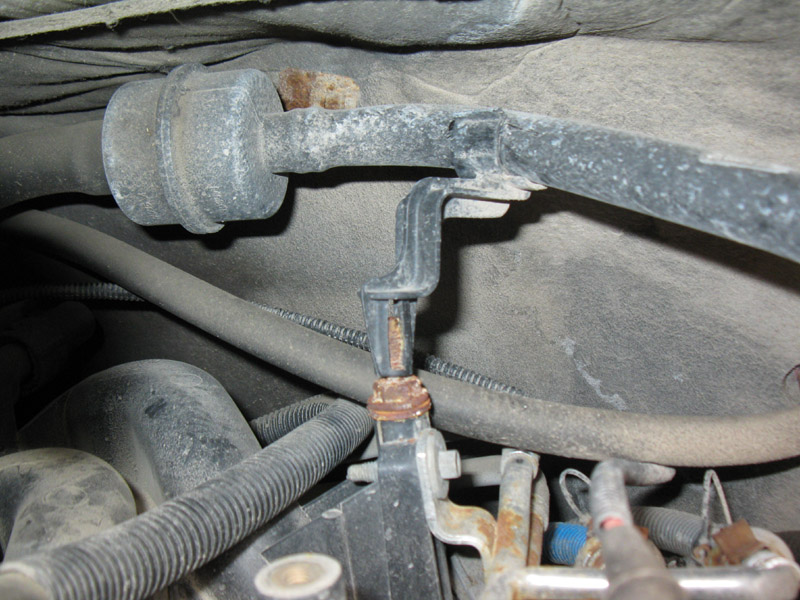
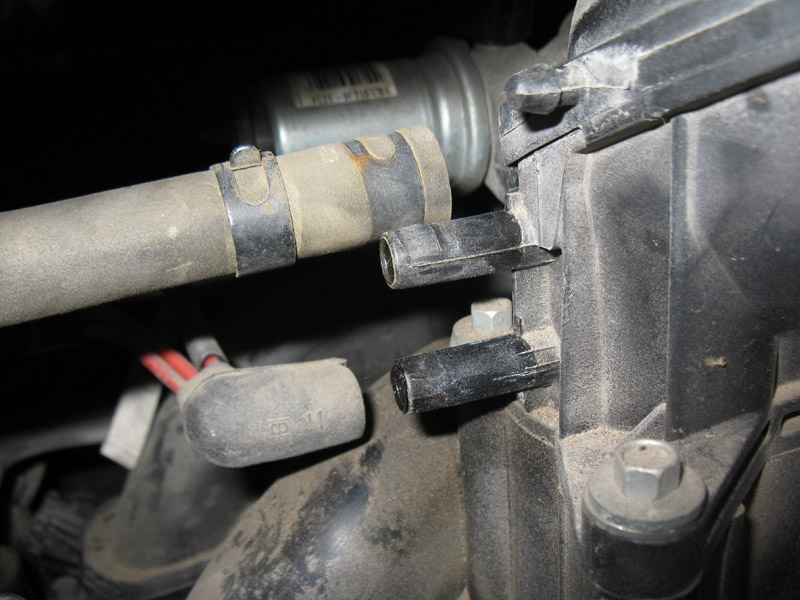
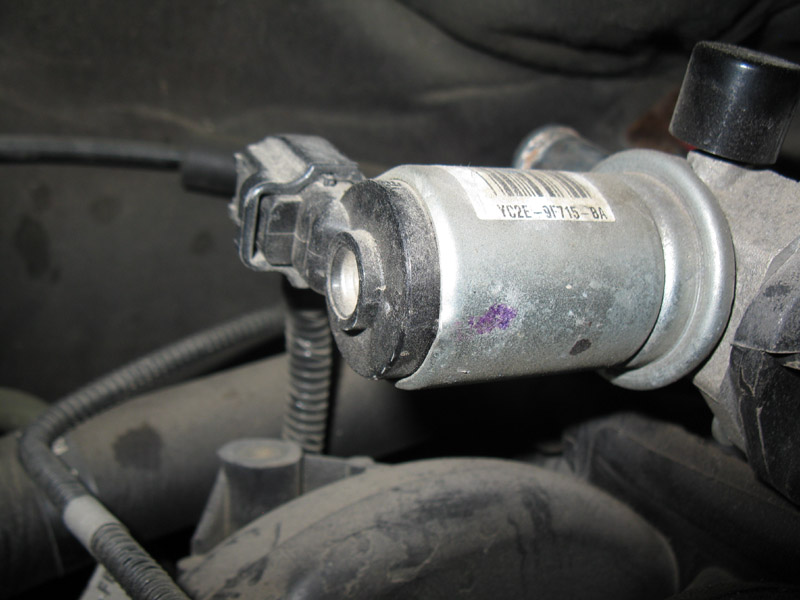
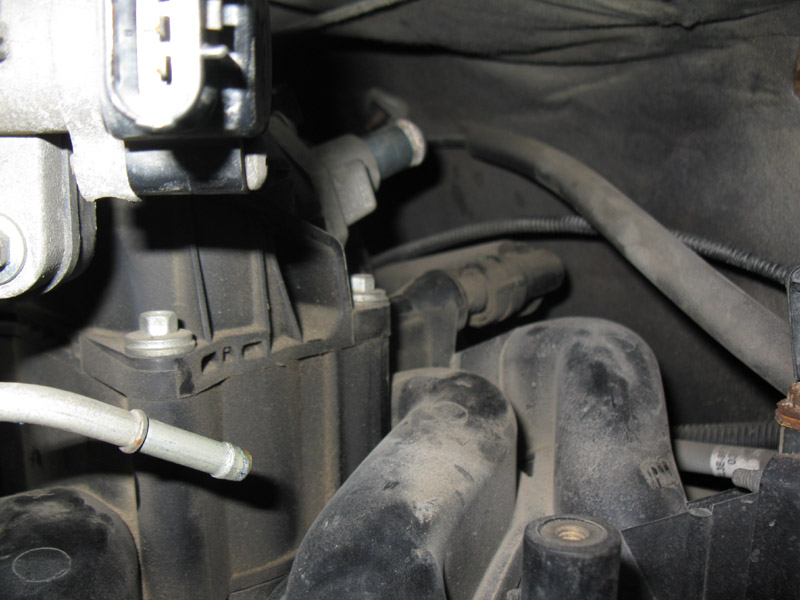
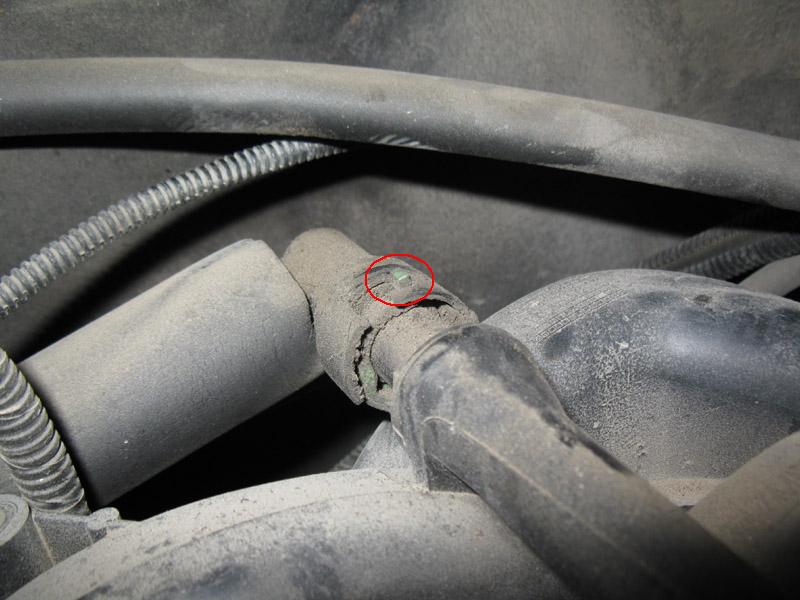
Disconnect the PCV tube from the back of the intake manifold. Rotate the green tab circled below counter clockwise, then push toward the firewall to release the connection.
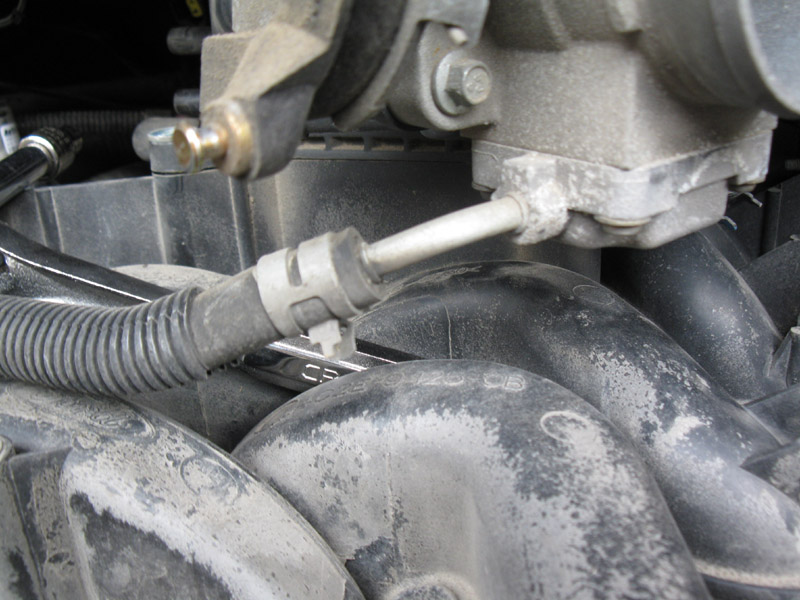
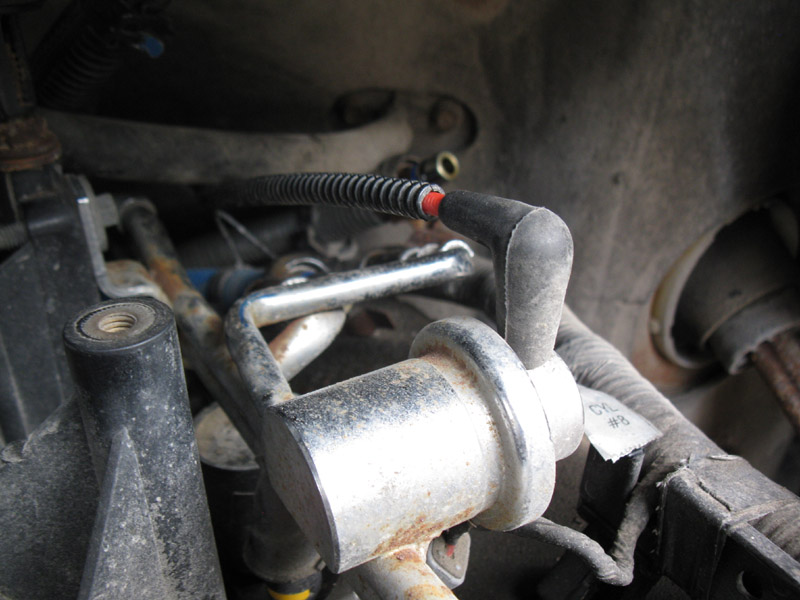
Disconnect the fuel pressure regulator vacuum line.
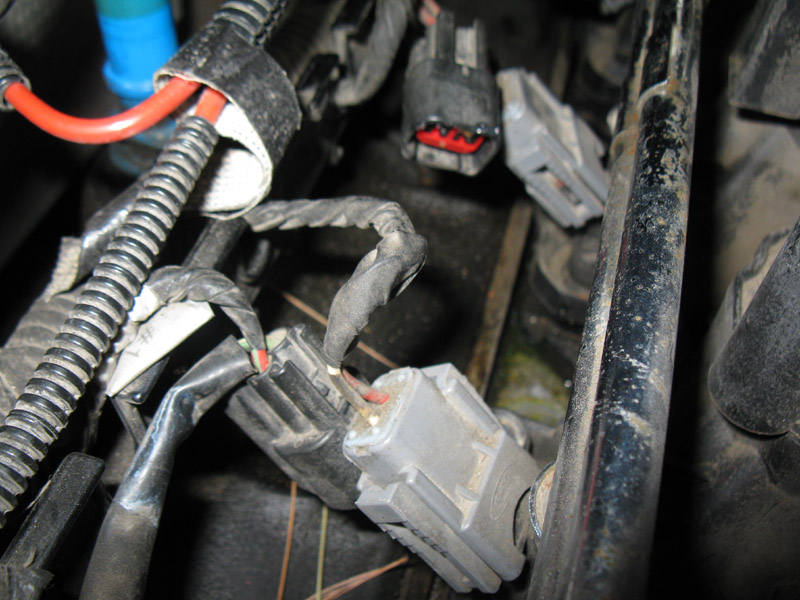
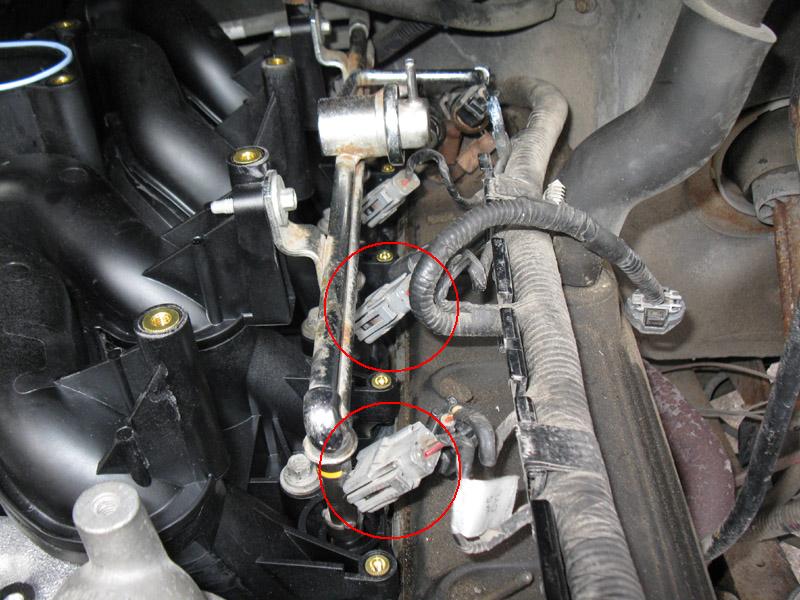
Disconnect the electrical connectors for all eight coils, and remove them. There's more info about removing the coils in my spark plug writeup.
Also, disconnect the electrical connectors for all eight fuel injectors.
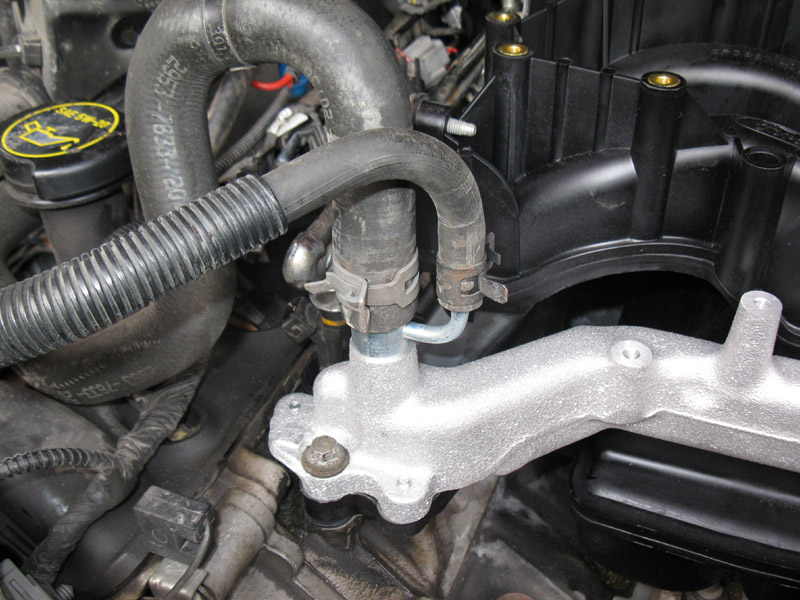
Remove the heater hose & the other small hose from the intake manifold.
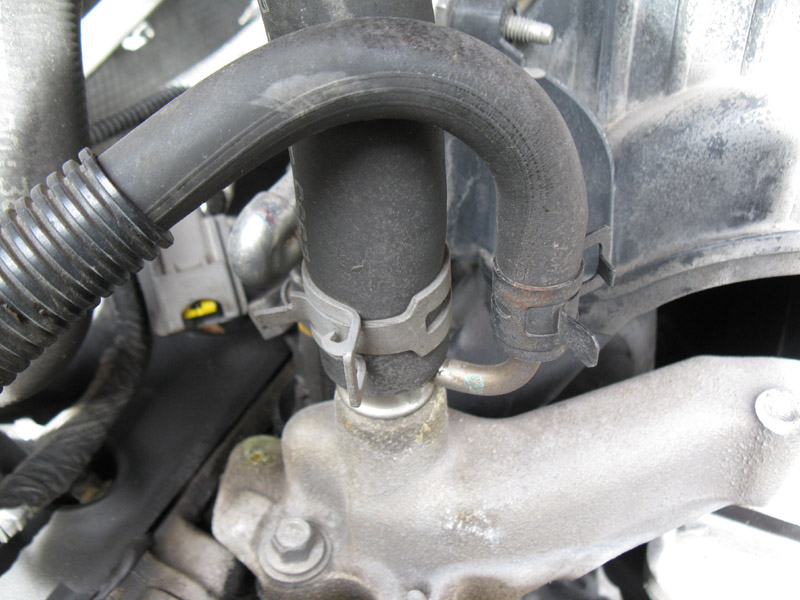
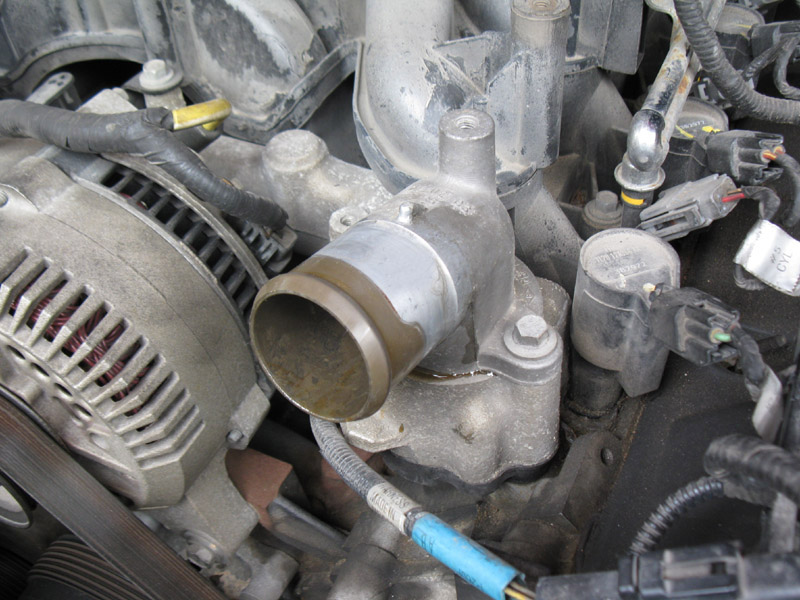
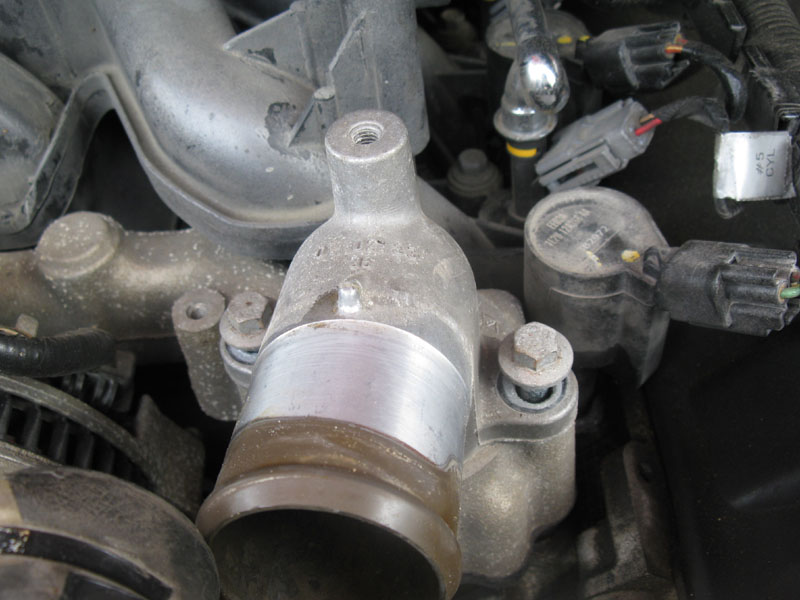
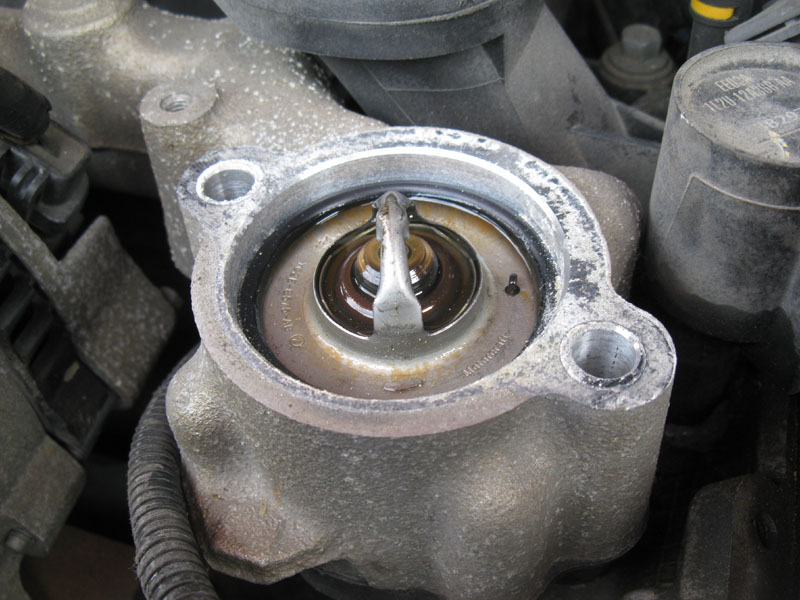
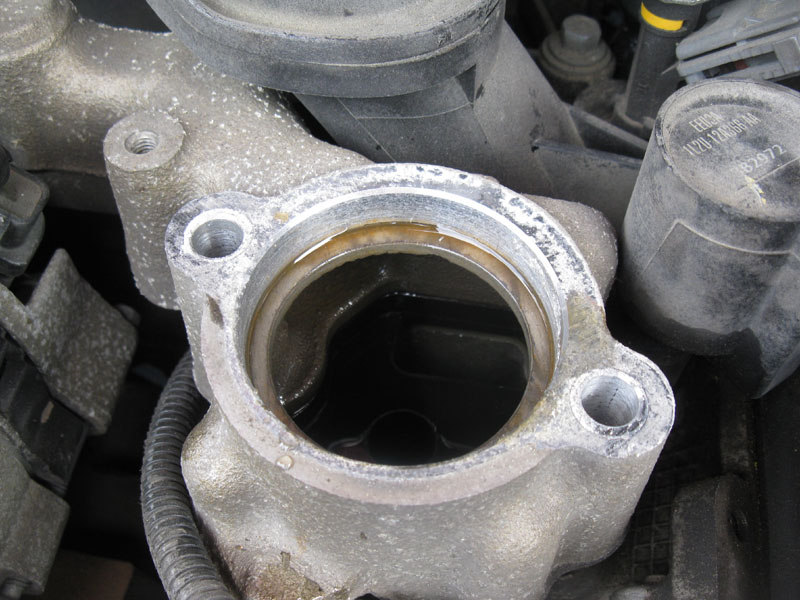
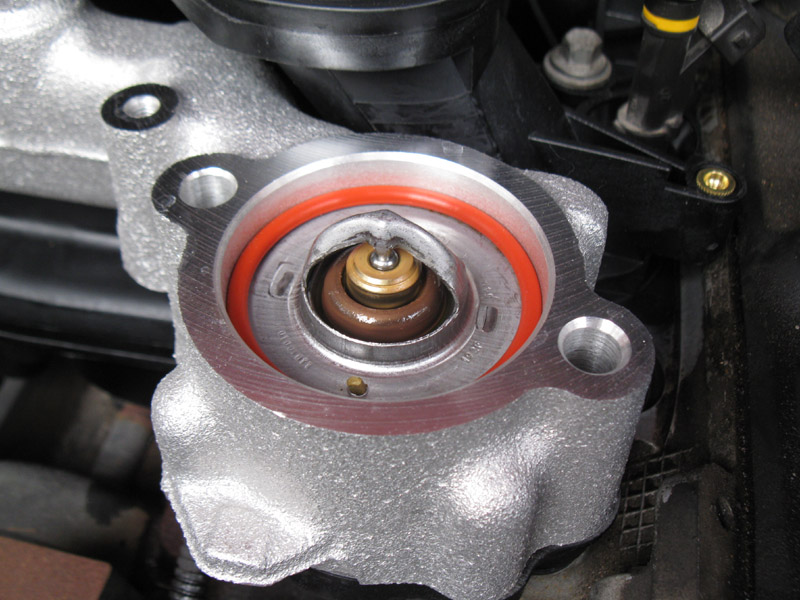
Remove the thermostat housing, the o-ring, and the thermostat (note -- the next three pics are from my coolant flush writeup), the bolts are 10mm.
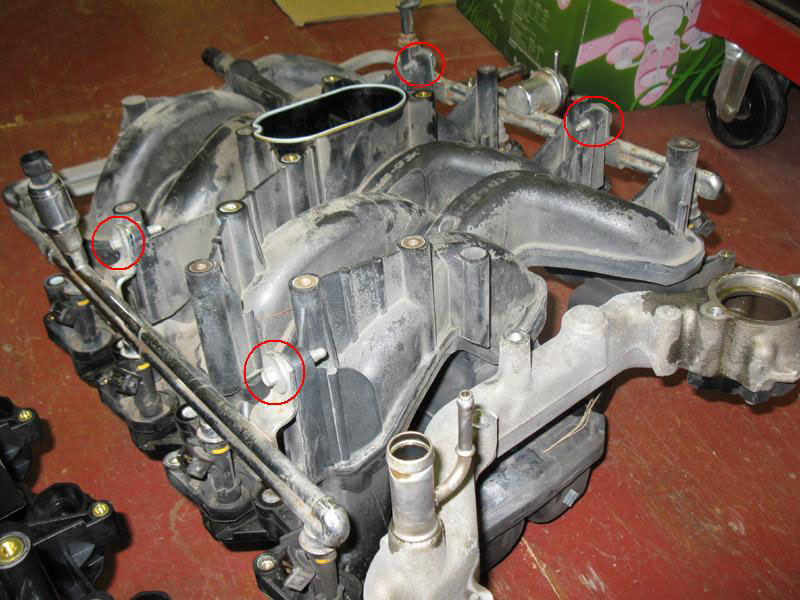
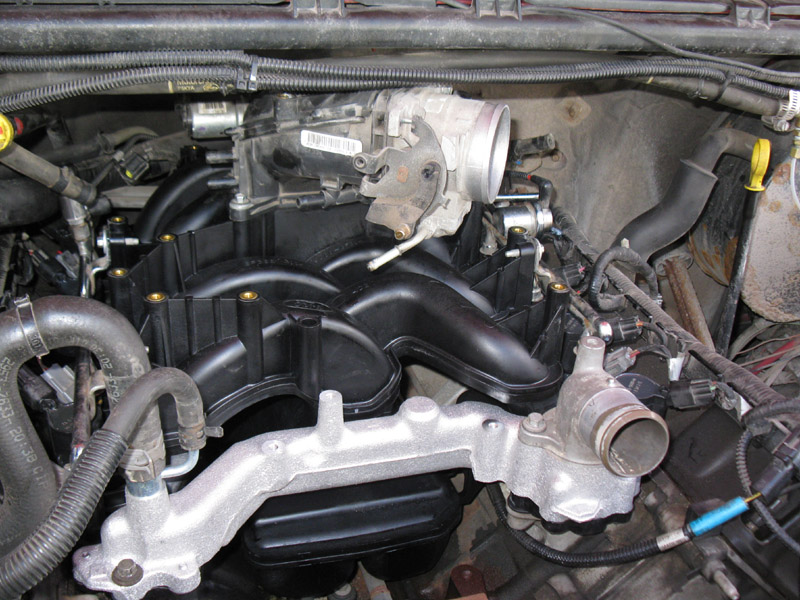
Next, remove the nine 10mm bolts for the intake manifold.
Note that the view shown below from the manual is rotated 180deg from the view you see looking at the intake while working on it.
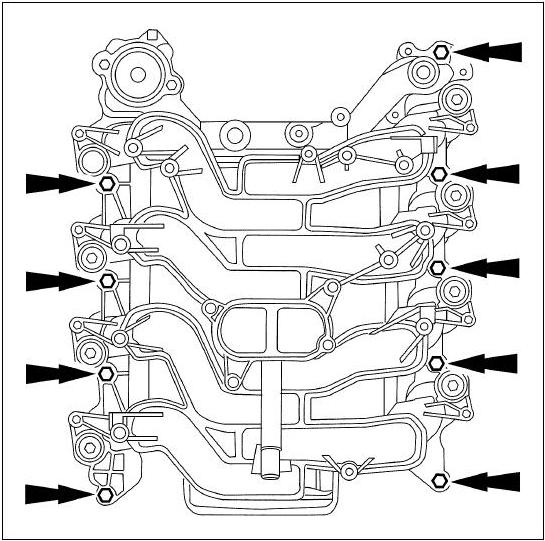
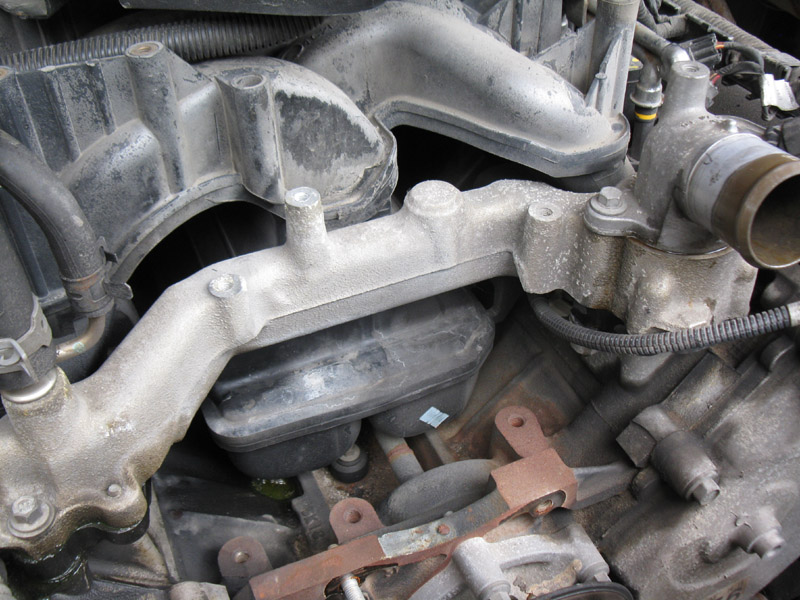
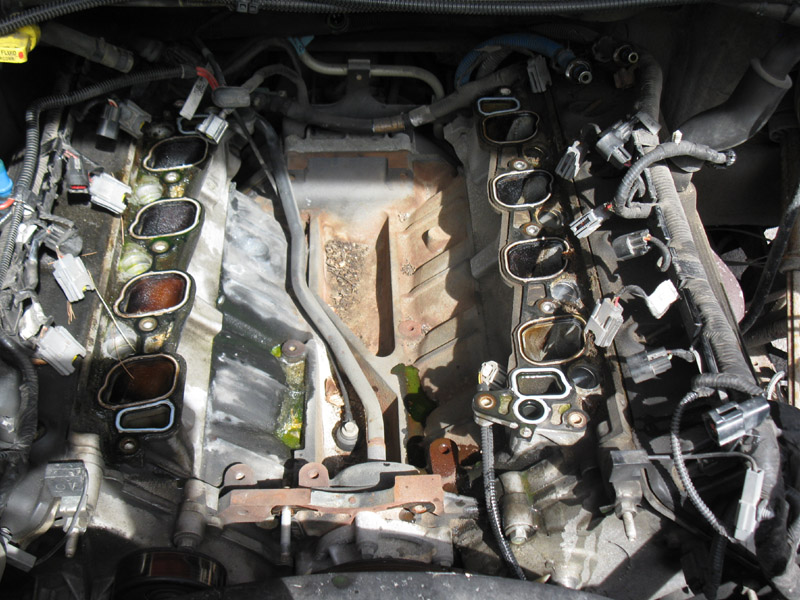
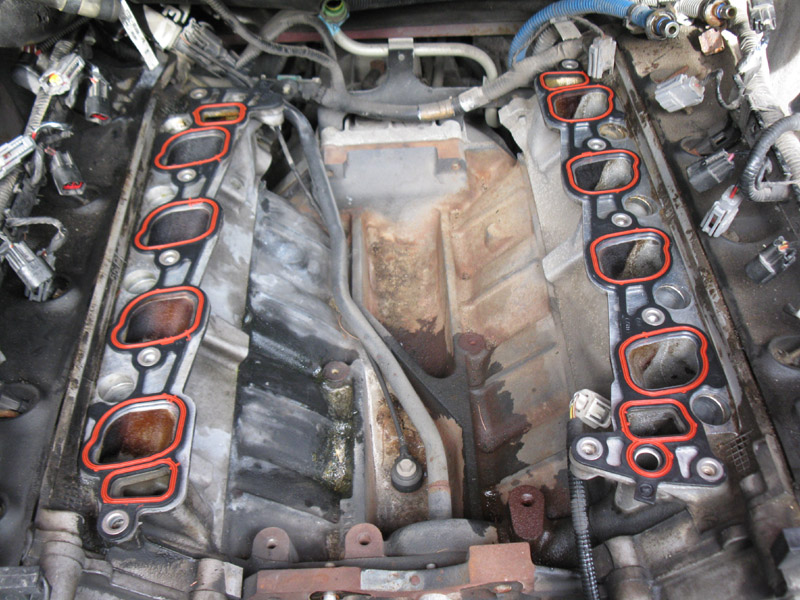
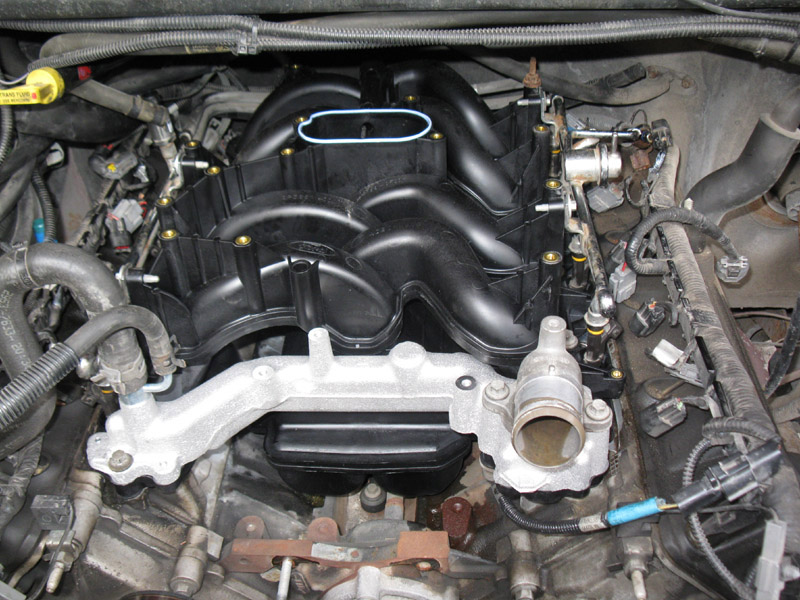
Finally, remove the intake manifold, and remove and discard the gaskets.
I decided to change the spark plugs during this process because it won't ever be any easier than this.
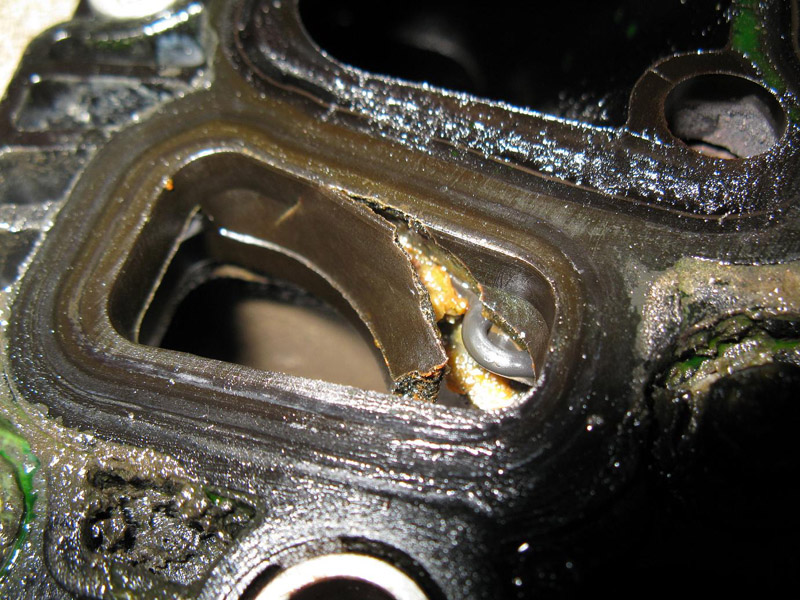
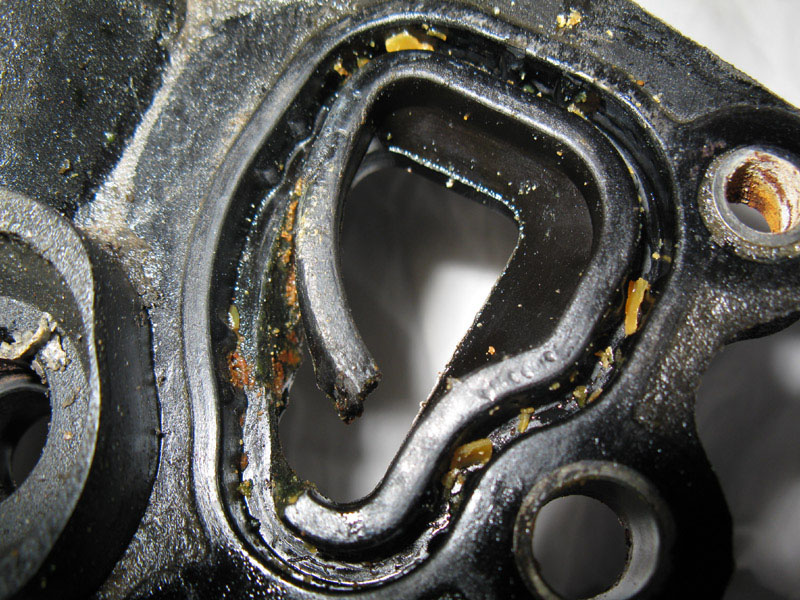
At this point I became very happy that I bought a new intake manifold as mine was indeed cracked! As expected, it was on the side where my leak was.
This is the view from the bottom side. Note the o-ring seal peaking through.
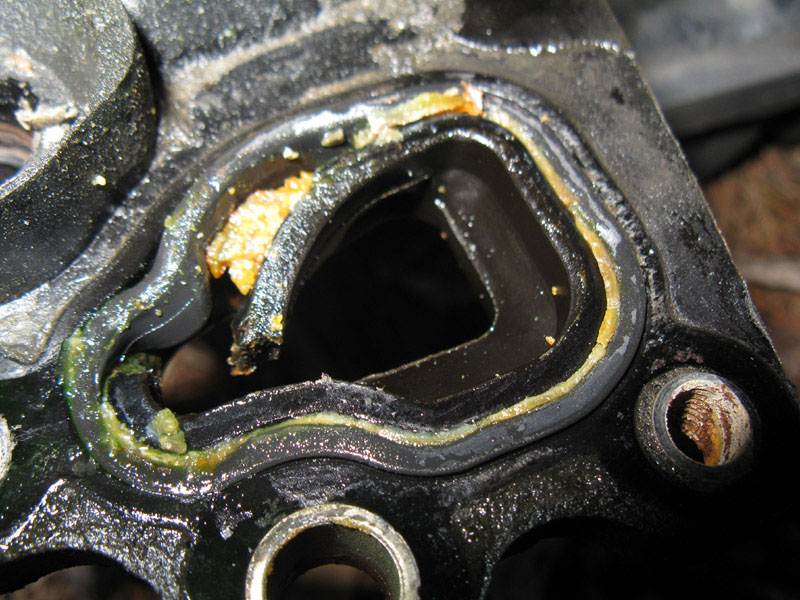
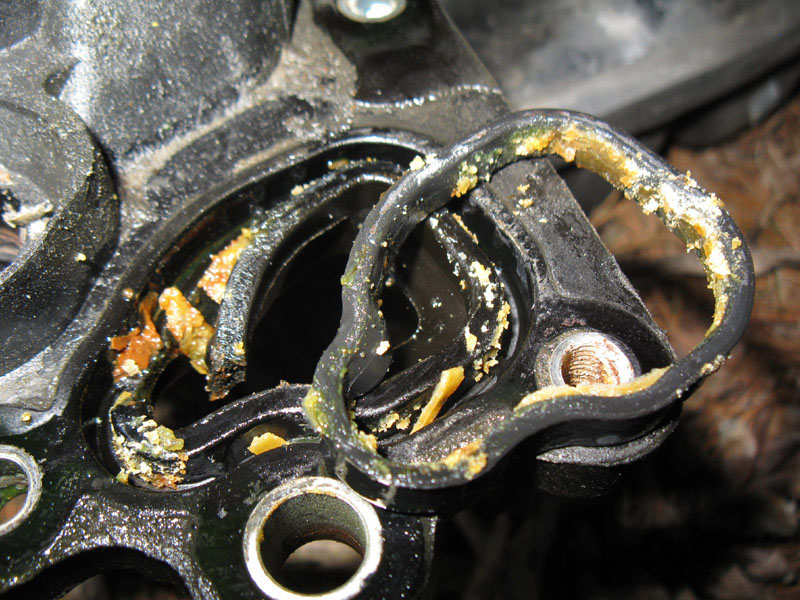
Views from the top side.
Now its time to swap the parts from the old intake to the new one. Mainly the fuel rail and injectors, but also a plastic bracket.
First, remove the four 8mm bolts holding the fuel rail in place. Then pull the fuel rail straight up. In my case, the injectors pulled out of the intake and stayed with the fuel rail.
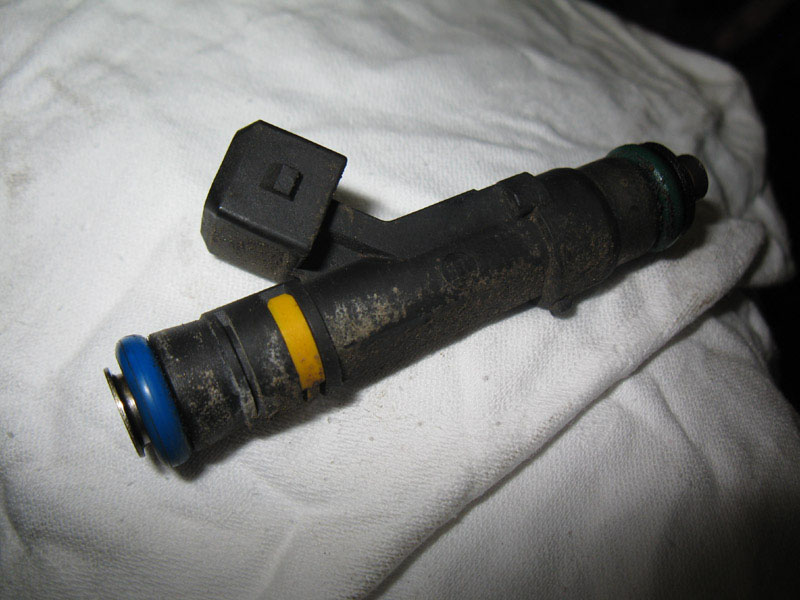
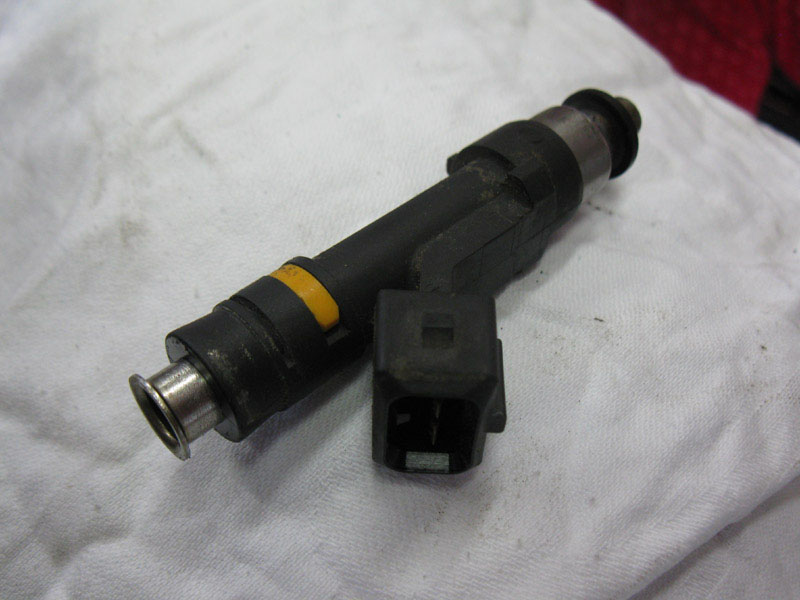
The o-rings on the fuel injectors should be replaced during this process. Simply pull the injectors out of the fuel rail.
Fuel injector, just after removal.
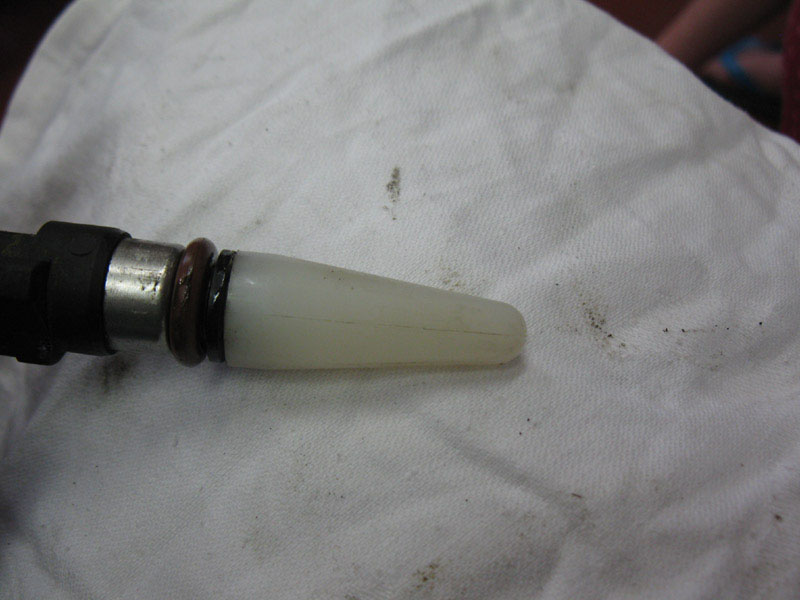
Remove the original o-rings, being careful not to scratch any surfaces!
The replacement o-ring kit I bought came with this handy little tool to guide the o-rings on to the injector.
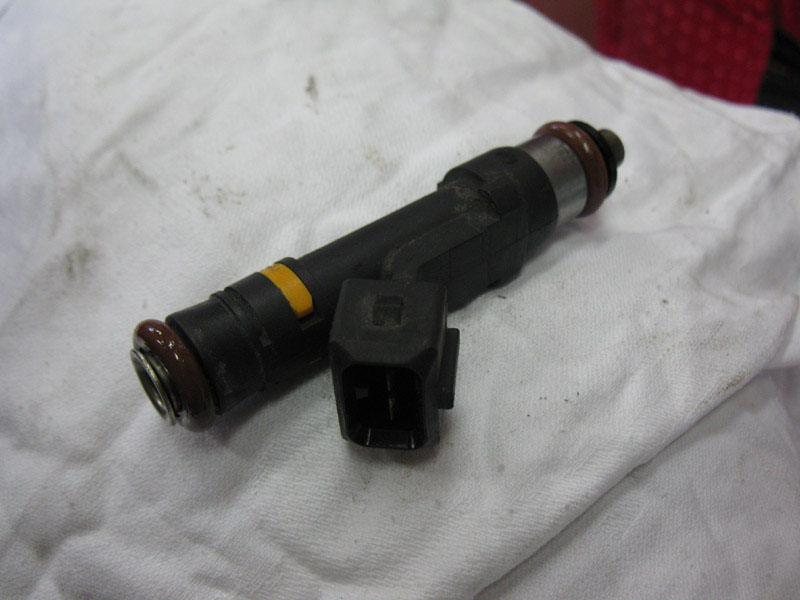
Apply a small amount of new motor oil to the o-rings before installing them.
New o-rings installed. Just push them back into the fuel rail. Then reinstall the fuel rail into the intake, carefully lining up all the injectors before pushing straight down to seat them.
Re-install the four bolts to attach the fuel rail to the new intake.
Pull this plastic clip up off of the stud, then move the stud over to the new intake & replace the clip. The nut is 13mm.
Done.
Now its time to put it all back together! Note that some of the pics below are from the removal process above.
Start by carefully cleaning the gasket surface on the engine block, and place the new gaskets.
Position the intake manifold and loosely install the nine bolts.
Next, install the thermostat, new o-ring (Fel Pro # 35489), thermostat housing, and loosely install the two bolts. These bolts will be torqued in sequence with the intake manifold bolts.
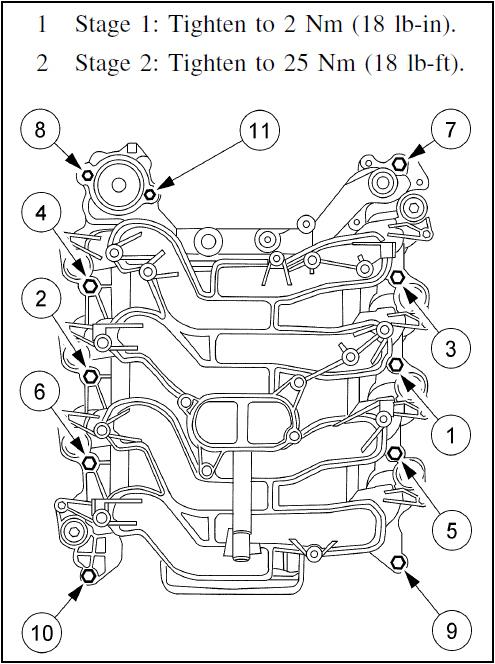
Next, torque the intake bolts in two stages, in the order shown in the diagram below.
Again, note that the view shown below from the manual is rotated 180deg from the view you see looking at the intake while working on it.
Next, install these two hoses to the intake manifold.
Connect the eight fuel injector connectors.
Install the eight coils and re-connect their connectors. There's more info about installing the coils in my spark plug writeup.
Connect the fuel pressure regulator vacuum hose.
Connect the PCV tube to the back of the intake manifold. No need to mess with the green tab circled below, just push the tube on and it will snap into place.
Connect the fuel lines and the safety clips. Just push them together and they'll snap into place.
Install a new throttle body adapter gasket. The new intake I bought came with one installed. Otherwise, the intake gasket set I bought also had one.
Then install the throttle body adapter and install the four bolts. Torque them to 89 lb-in.
Connect the two lines that attach to the bottom side of the throttle body.
Connect the IAC electrical connector
Connect the brake booster and main vacuum lines to the throttle body adapter.
Connect this vacuum hose to the throttle body adapter.
Install the IAC air tube. Attach it to the IAC valve, and then place it in the clip.
Connect the throttle position sensor connector.
Install the throttle cable bracket and connect the throttle return spring, the throttle cable, and the cruise control cable.
Install the plastic cover on the throttle body.
Install the alternator and attach the wiring harness clips.
Install the belt on the alternator pulley. Make sure the belt is seated properly in all of the other pulleys.
Install the upper radiator hose.
Connect the MAF sensor connector, and install the air cleaner assembly.
Connect these two hoses to the air cleaner pipe. These are the IAC fresh air tube and the crankcase ventilation tube.
Finally, refill the cooling system and you're done!
Questions or Comments? Email jmray@frontiernet.net