Ford Super Duty
5.4L Spark Plug Change
2004 F250 4x4 XLT Sport Crew Cab
Click Here for a PDF version of this article
At close to 100k miles, I figured it was time for a spark plug change. While I was at it, I changed the PCV valve as well.
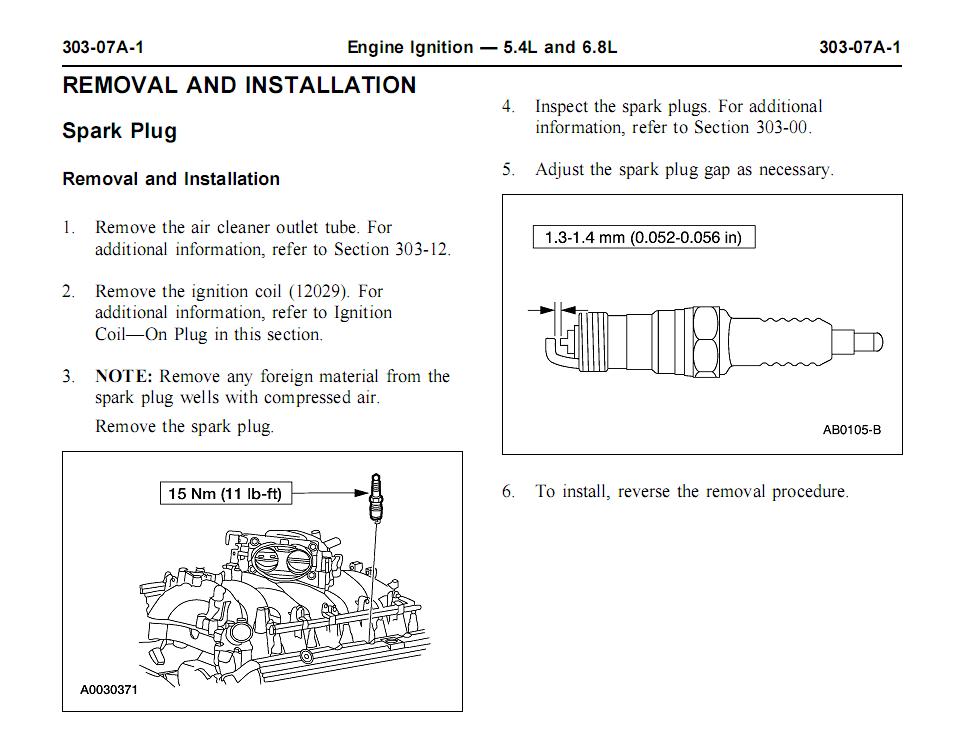
Here's the quicky 1-2-3 from the workshop manual. I'm mainly posting this to show the recommended torque setting and plug gap.
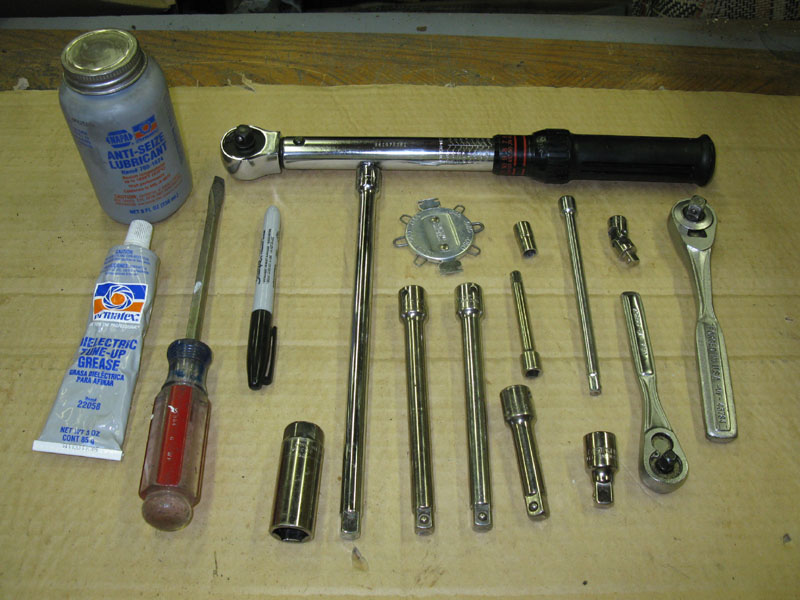
Here's all of the tools I used for the job. The only thing not pictured is the air nozzle for the air compressor to blow out the dirt/gunk.
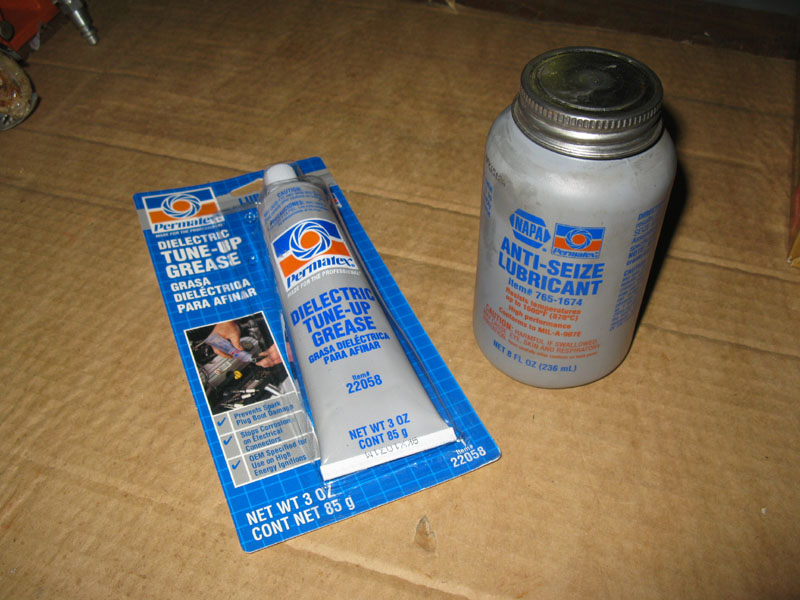
The dielectric grease and anti-seize.
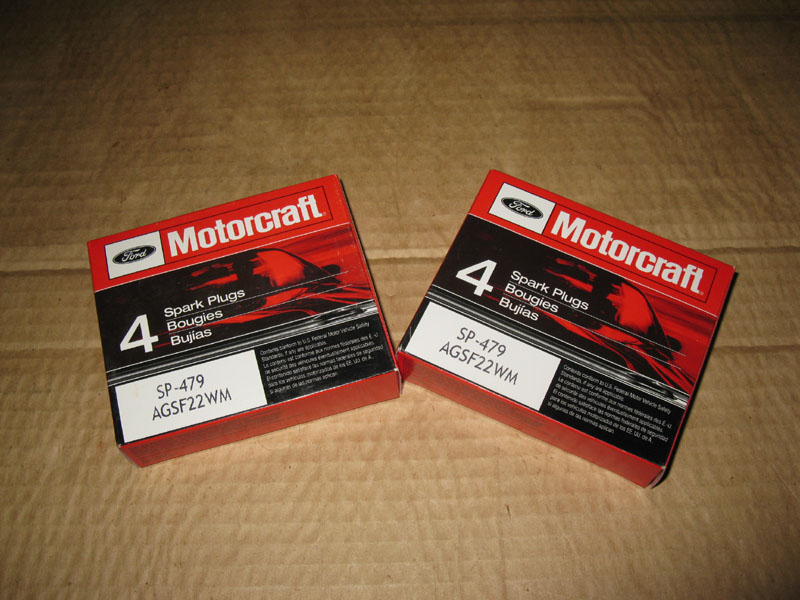
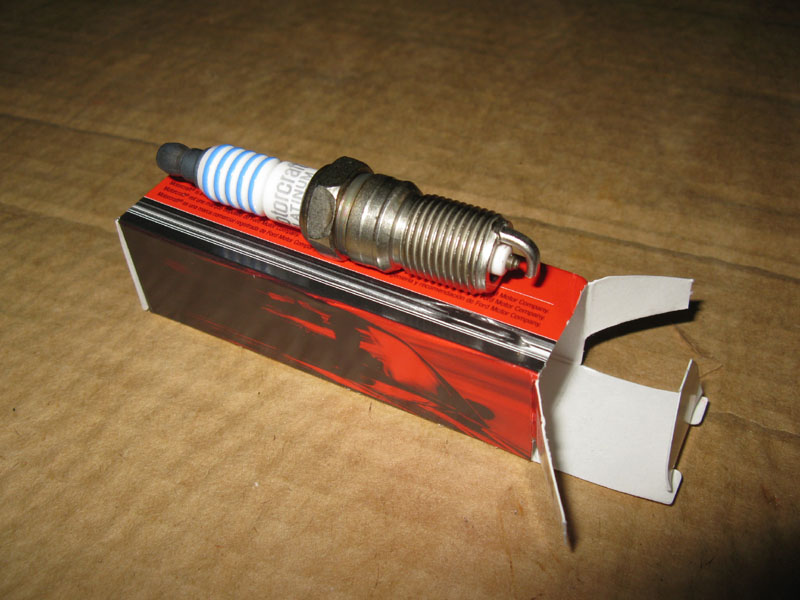
Motorcraft SP-479 spark plugs
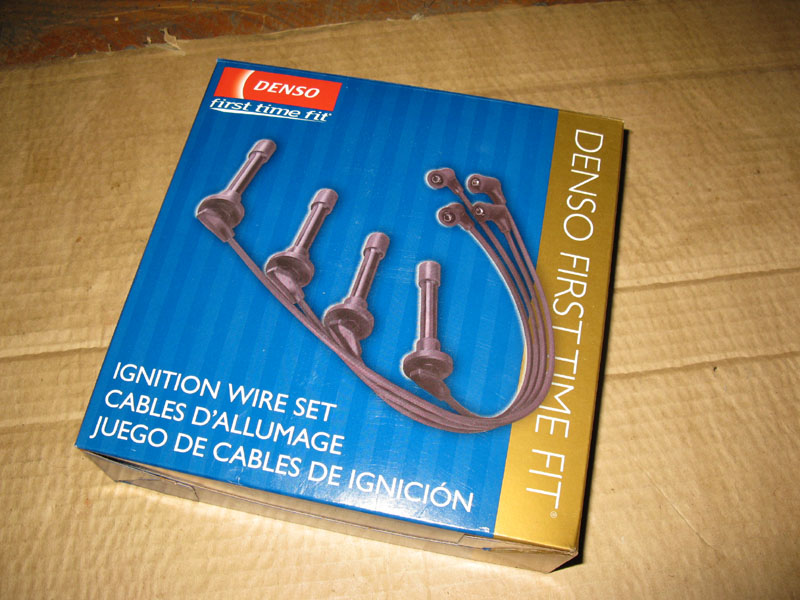
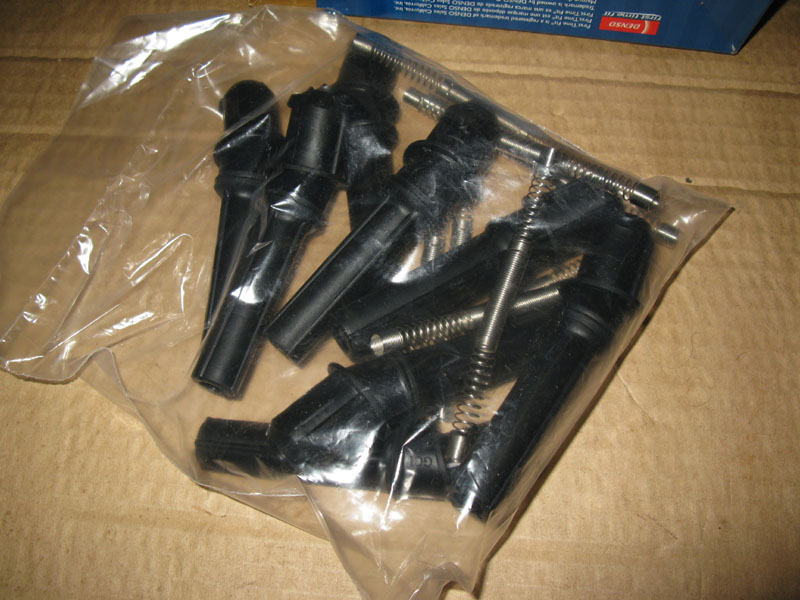
New boots and springs. I ended up with these Denso boots (part number 671-8110) from Rock Auto.
I started with the passenger side because it seemed the most accessible. I wanted to do the easy ones first to get a feel for what was required.
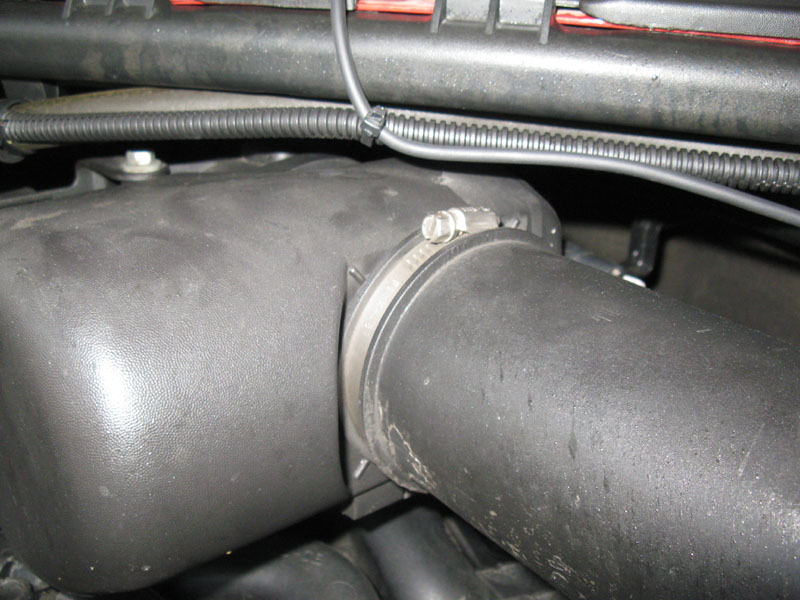
Start by removing the air intake tube.
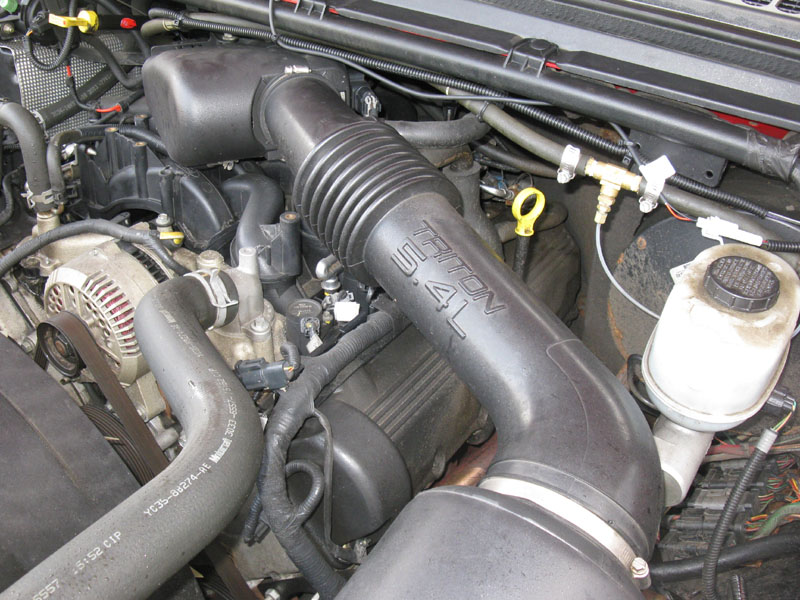
Loosen the hose clamp on the throttle body-end of the tube.
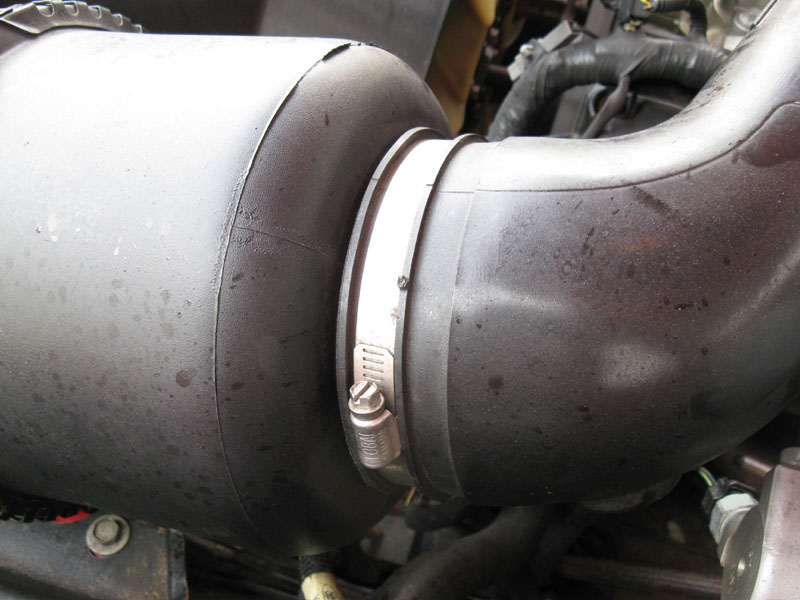
Then loosen the hose clamp on the filter-end of the tube
These two hoses will need disconnected as well. The upper one separated from the intake tube and the lower one separated from the valve cover.
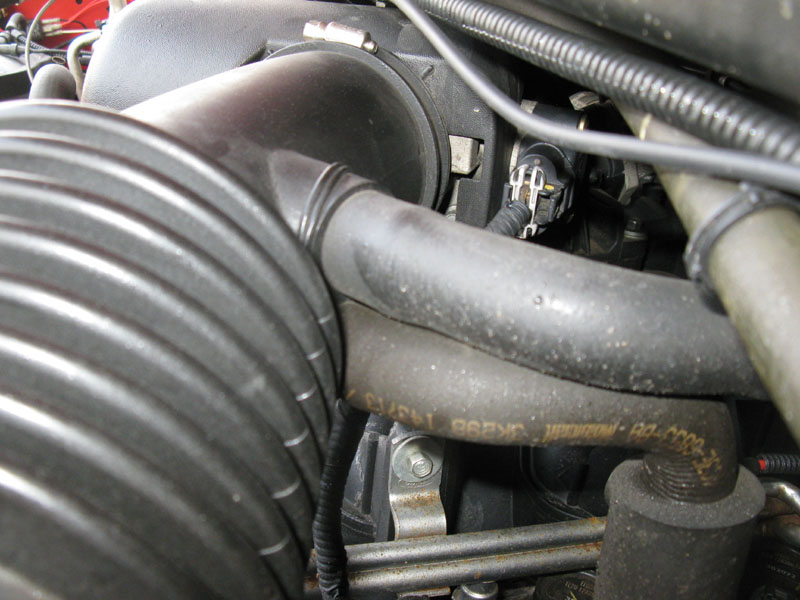
Air intake tube removed.

Plug any newly opened holes with a rag. There's gonna be all sorts of stuff flying around while blowing out the COP areas and you don't want it getting into anything.
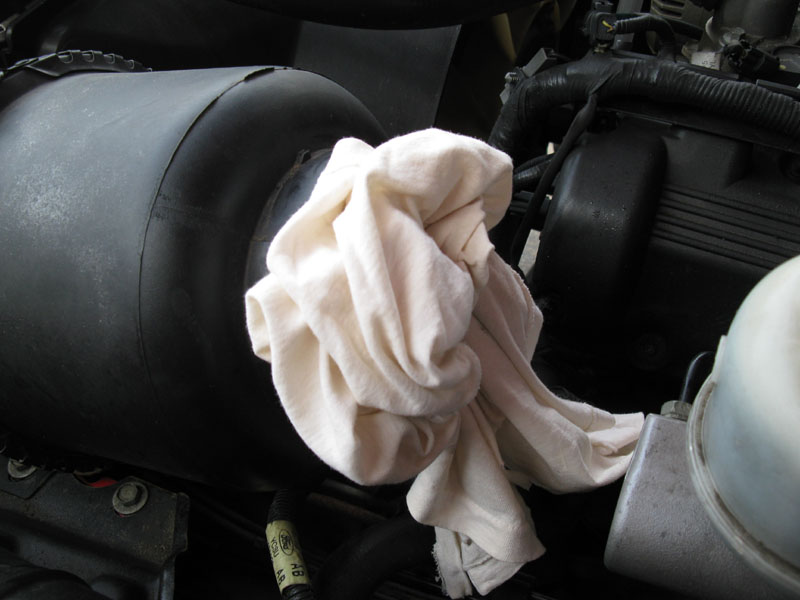
Plug the openings from the two hoses. Its not shown here, but the throttle body had a rag in it too shortly after this pic.
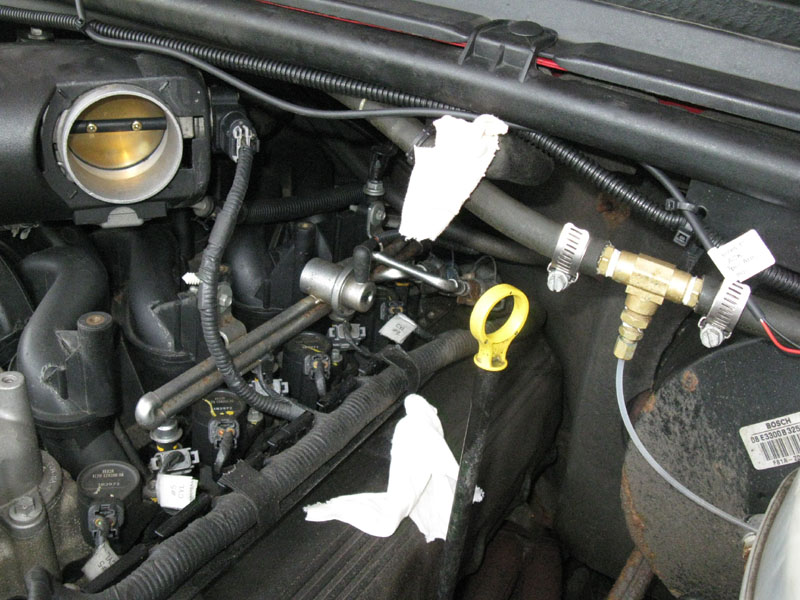
Now to the first plug, #5. Before doing anything, blow all the dirt and gunk out of the area with an air compressor nozzle.
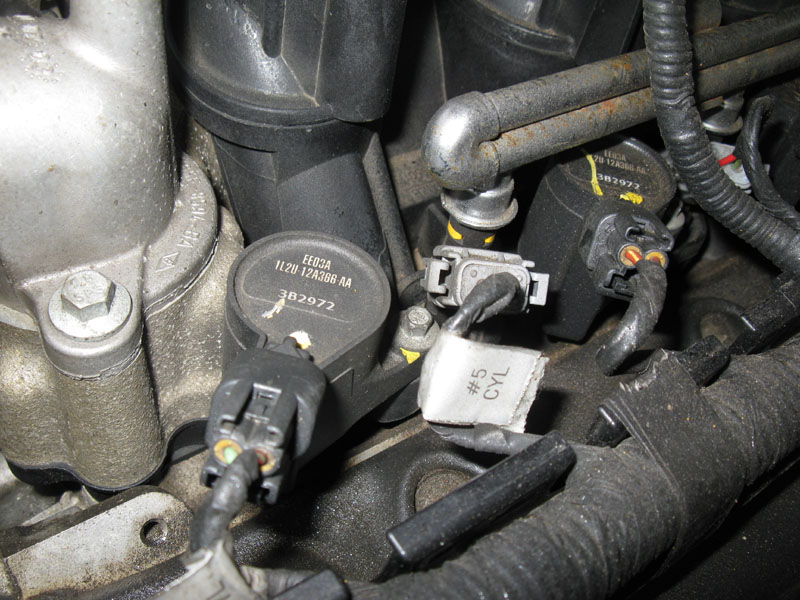
Disconnect the COP and fuel injector connectors for easier access. You can also rotate the injector a little bit as needed. I didn't have to loosen the fuel rail to access any of the plugs.
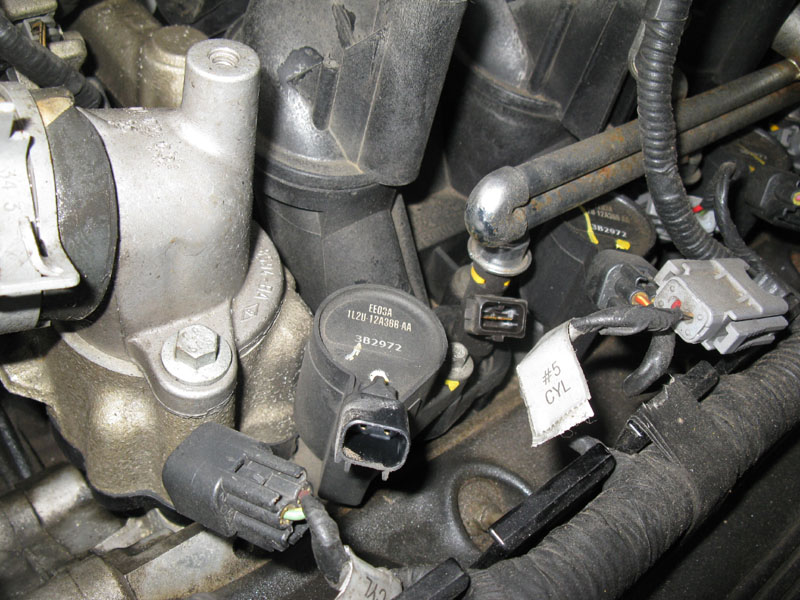
Remove the 7mm bolt holding the COP in place and simply pull it up and out. Blow the gunk out again before removing the spark plug with a typical 5/8" spark plug socket. I had to use various combinations of extensions and swivels (shown in the pic above) as needed to get to them.
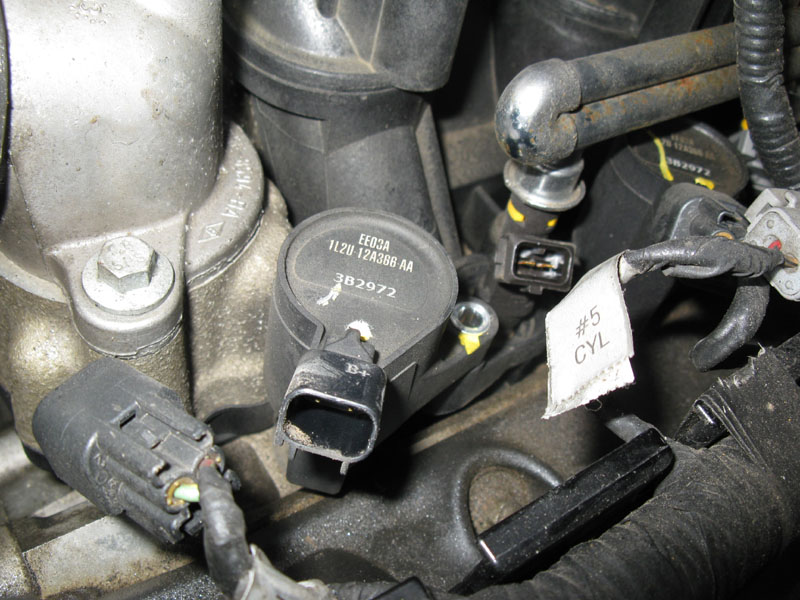
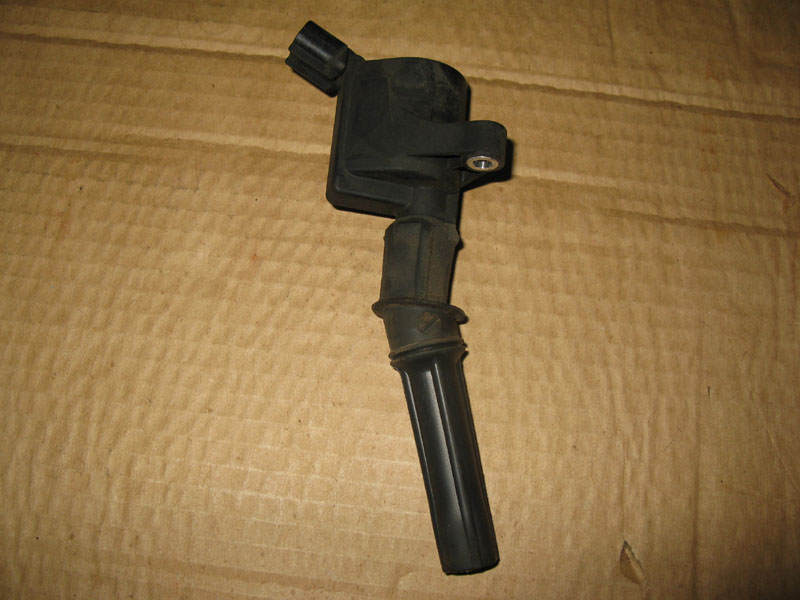
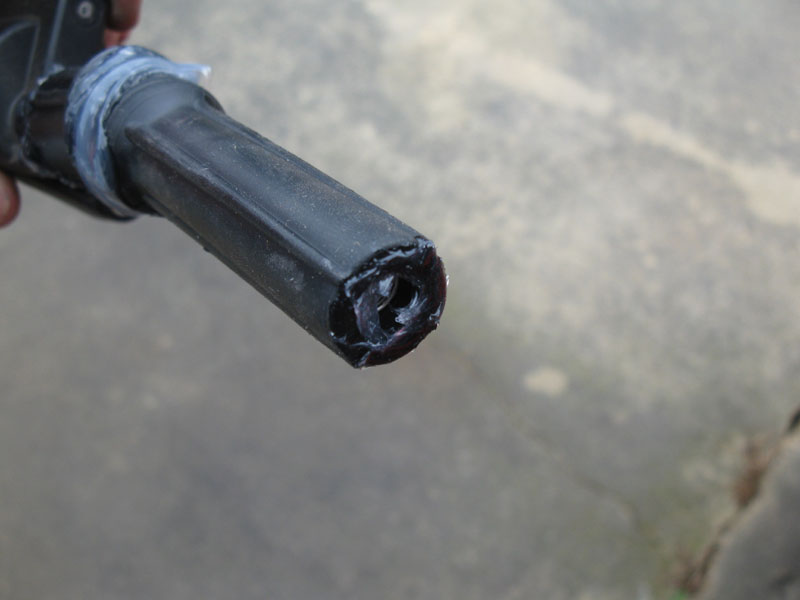
Here's the COP after removal
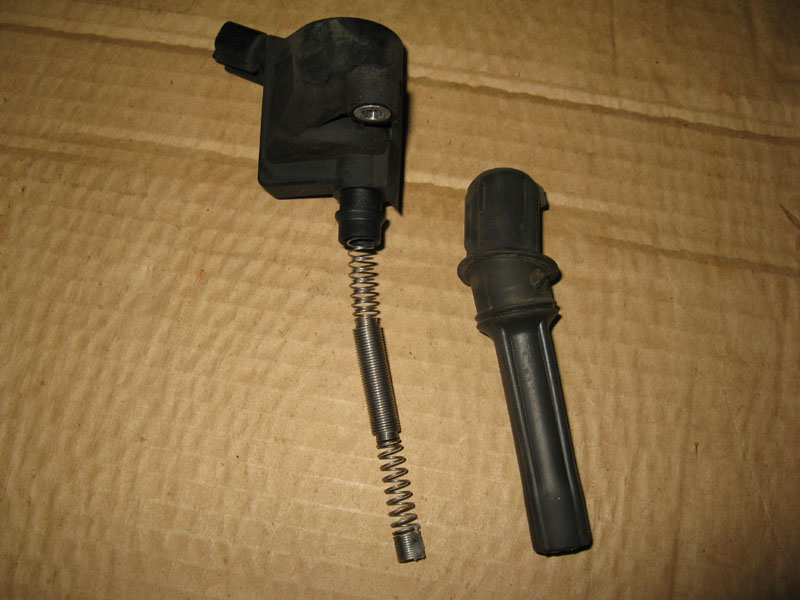
Pull the old boot off to replace it and the spring.
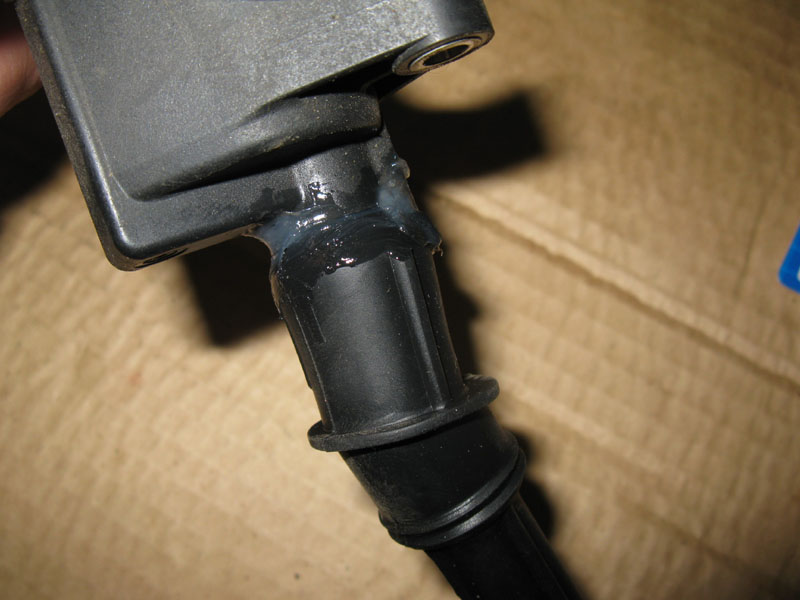
Here's everywhere I put dielectric grease. First, at the interface where the COP meets the boot.
Next, on the outside of the boot where it mates up with the opening in the head. This is mainly an attempt to keep stuff from getting down in the spark plug area.
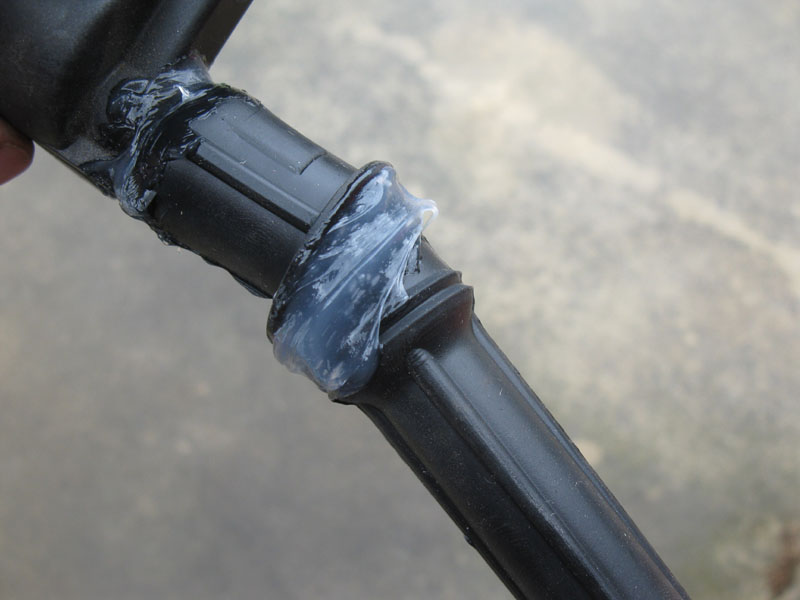
Finally, a smaller amount at the very tip of the boot.
Sorry for the lack of pictures in the next few steps. I always had my hands full/dirty and didn't take time to snap any.
Apply a small amount of anti seize to the new spark plug threads and use the spark plug socket & extension to get it started in the head. I was able to thread all of them almost all the way in by hand before using a ratchet. I torqued them to 11 ft-lbs.
Then re-install the COP and 7mm bolt and re-connect the COP and fuel injector connectors.
The next two plugs (#6 and #7) went exactly the same as #5 did. But, #8 was slightly more difficult. Only because of the fuel pressure regulator that was in the way of loosening the COP. I presume this is where loosening the fuel rail could come into play. I was able to get to it with a 1/4 drive swivel joint as shown here.
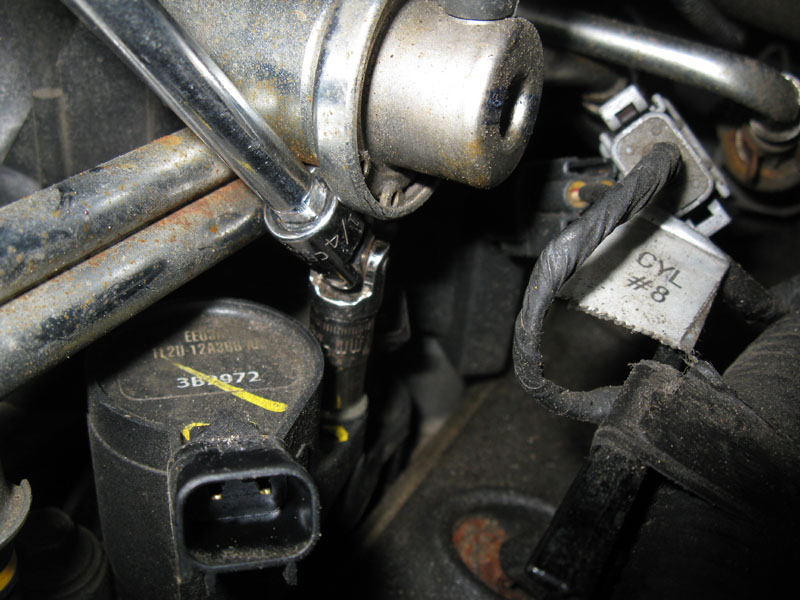
Otherwise, the procedure for changing plug #8 was the same as #5, #6, and #7.
Remove the rags and re-install the air intake tube and the hoses that attach to it. Tighten up the two hose clamps and you're done with the driver's side.
Now, on to the passenger side. It sure is a long way back in there to plug #4!
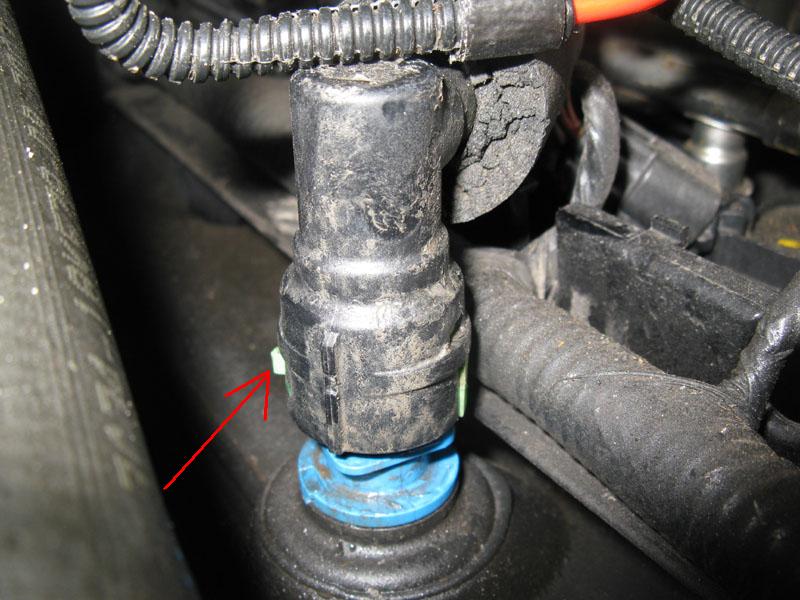
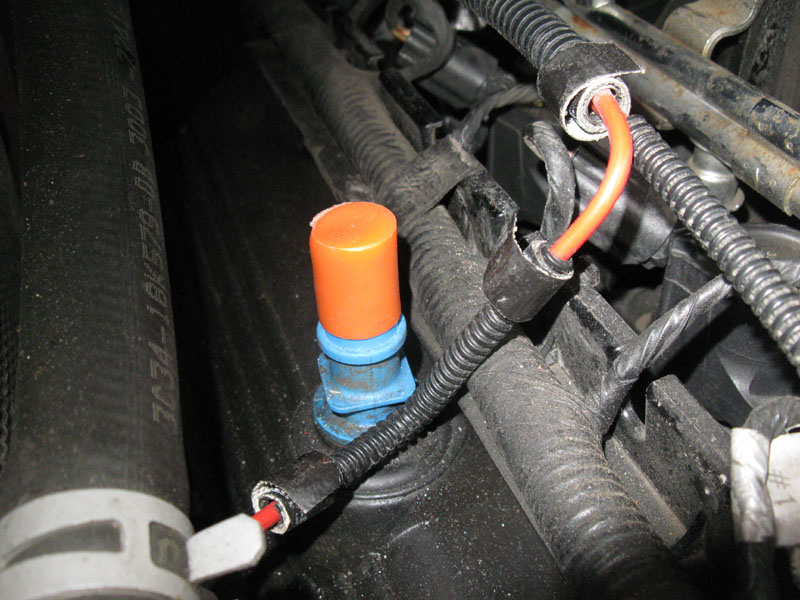
To help with access on this side, I disconnected the PCV valve hose. Do this by pushing the clip toward the intake manifold, where the red arrow is below, and pulling up.
Then cap off the PCV valve opening.
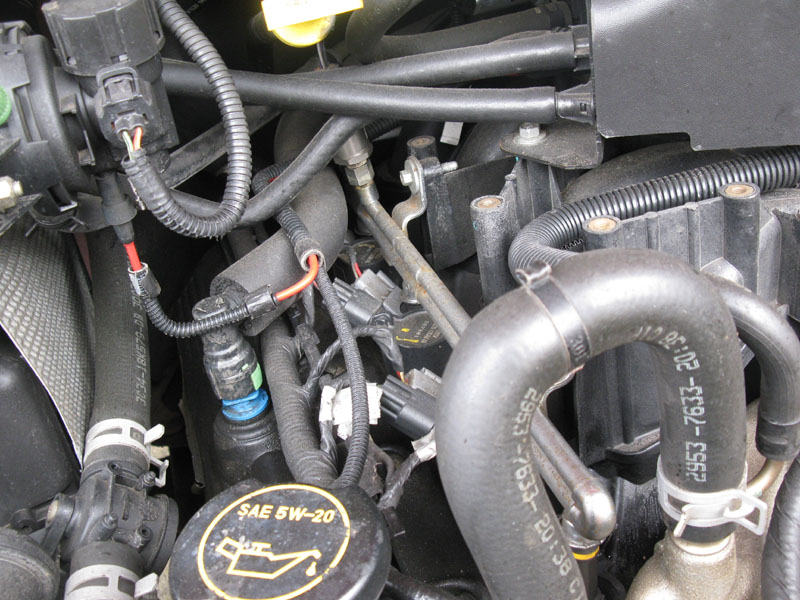
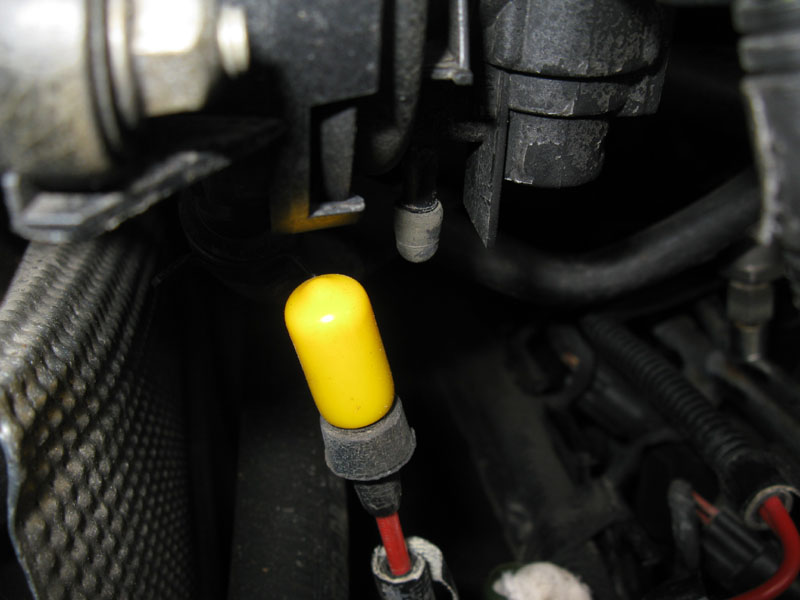
I also disconnected this vacuum hose and capped both ends off.
Other than being a little less accessible, and that the spark plugs are angled back toward the firewall on this side, plugs #1, #2, and #3 were basically as easy as the driver's side ones.
Plug #4 though, was the hard one. I pretty much had to do it by "feel" as it was kinda hard to see back in there while my hands were in the way.
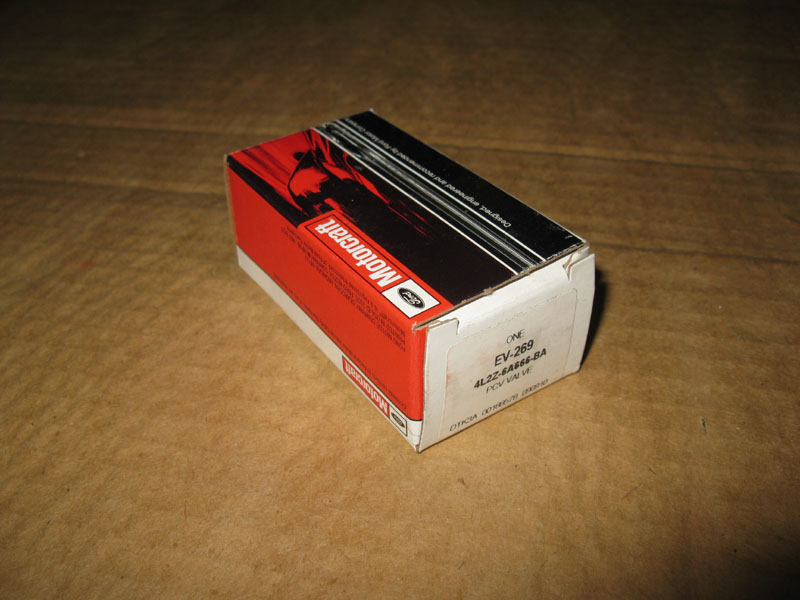
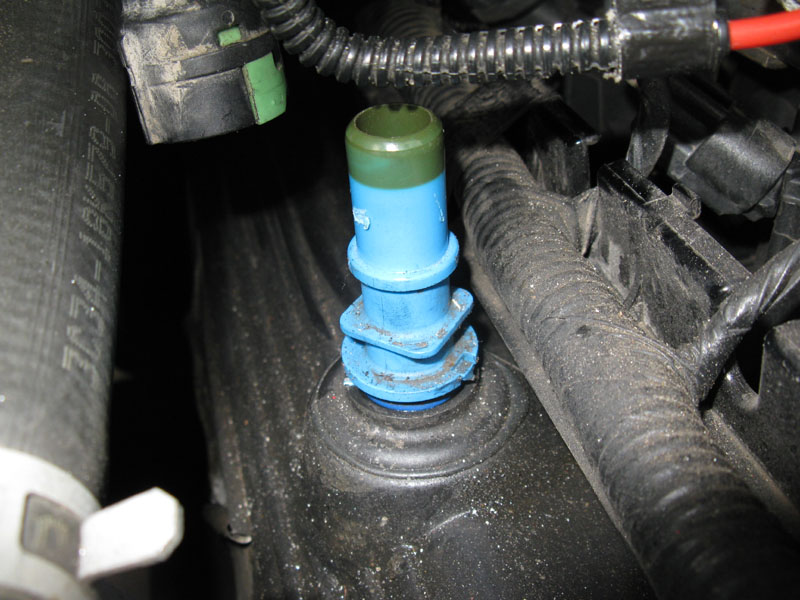
And, before buttoning up the passenger side, I replaced the PCV valve. Part number EV-269.
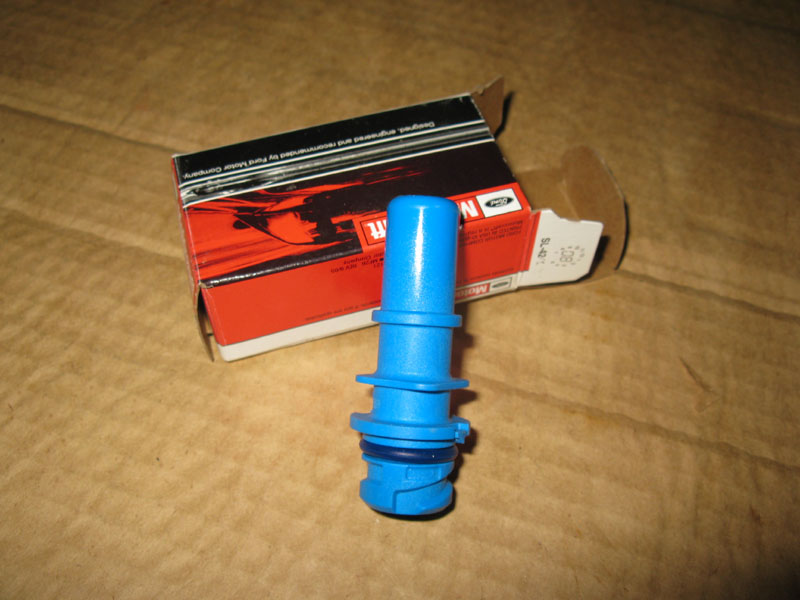
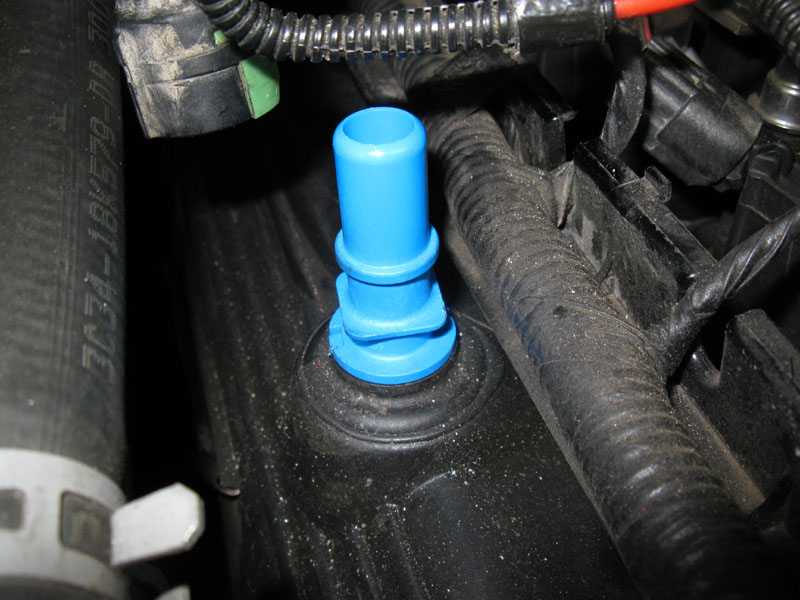
Removing it is super easy. Just give it about 1/4 turn counter clockwise and pull it out.
Likewise, insert the new one and give it 1/4 turn clockwise to install it.
Reconnect the PCV valve hose and that vacuum hose and you're done!
Questions or Comments? Email jmray@frontiernet.net