Ford Super Duty
ESOF Hub Service
2004 F250 4x4 XLT Sport Crew Cab
Click Here for a PDF version of this article
While I was replacing my ball joints, I decided to do a few other things while I had it apart. One of those things was to service the auto locking hubs. The ESOF 4x4 has been working fine on my truck, but I have noticed the dials have become a little stiff to turn, so I figured it was time to service them.
As a side note, I try to make it a point to twist both hubs and also to engage the 4x4 a few times a month, year round to try to keep everything working properly. So far so good.
There's an excellent tech article about this on Guzzle's Powerstroke Tech Articles. I only put this page together to add a few additional pictures of the process.
Start by removing the hub assembly. You can do this with the wheel/tire in place, but I had everything apart so that's how the pics are shown.
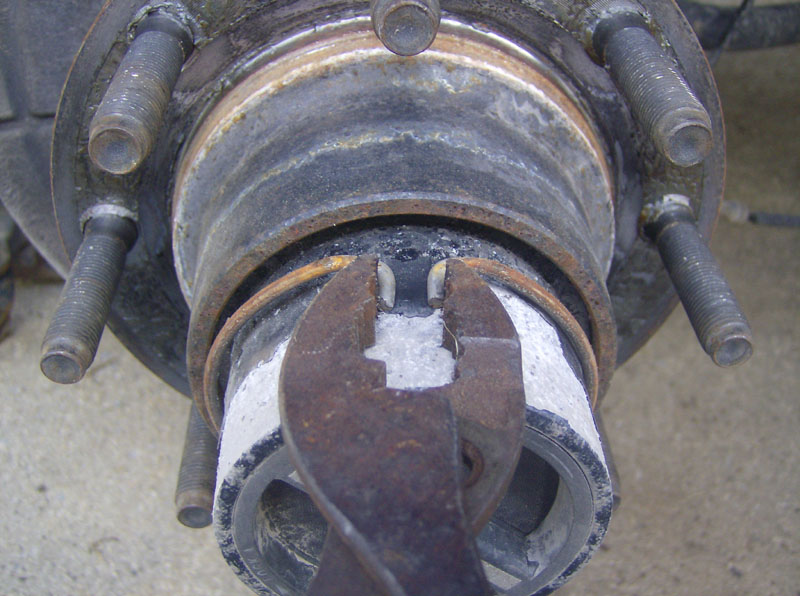
Remove the hub assembly retaining ring with a pair of pliers.
With the retaining ring removed, the hub will just pull out. I've read where sometimes this takes some persuasion, but mine basically pulled right out. The paint was flaking really bad, so I scraped off the loose paint and cleaned up the white corrosion with a Scotchbrite pad.
Start by removing the large clip ring that holds everything in. Just pry it up with a small screwdriver and work it around the perimeter until its out.

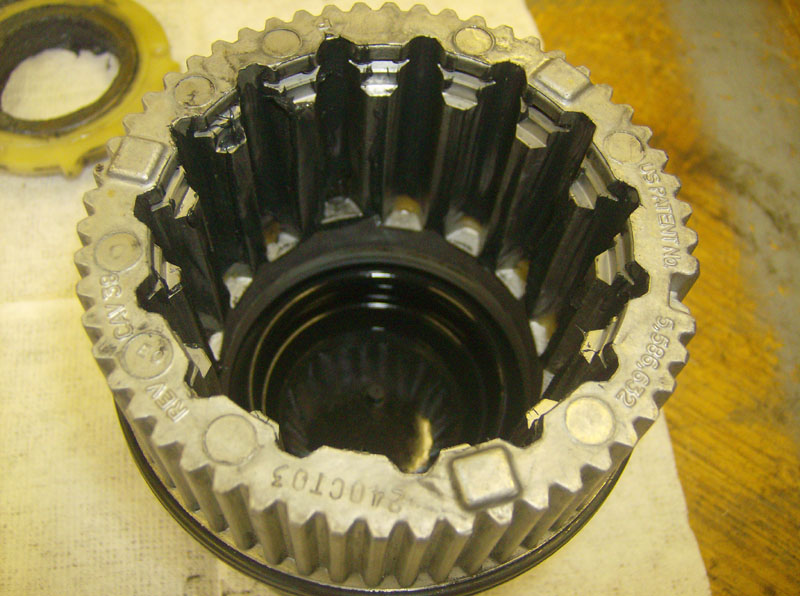
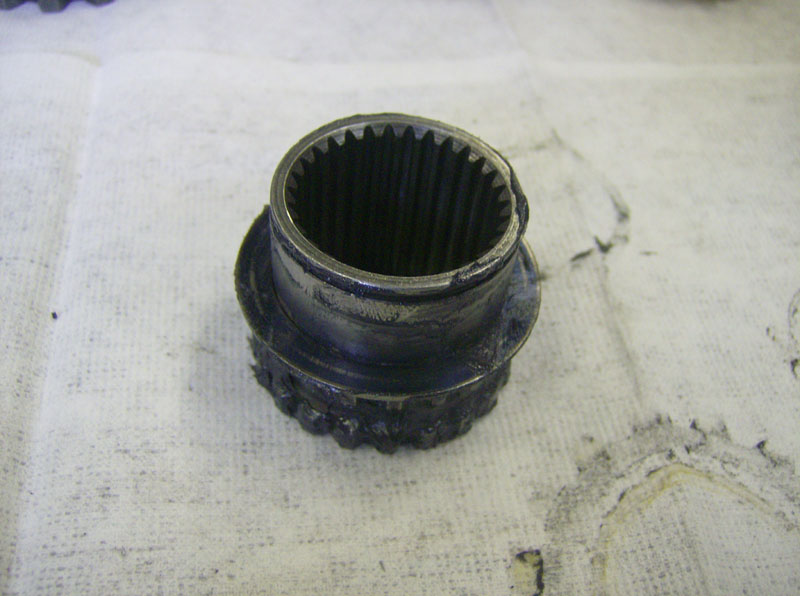
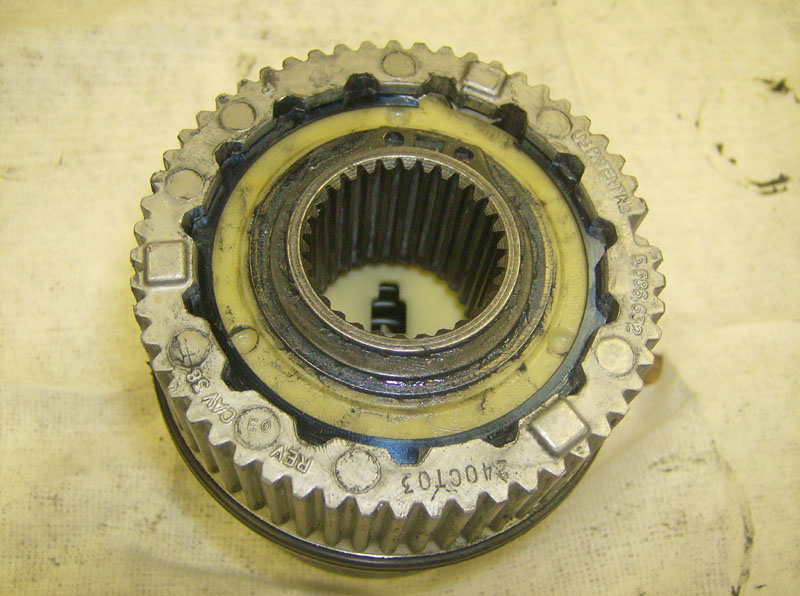
Now the internals can be removed from the hub. This may take a little work but it will pop up out of there.
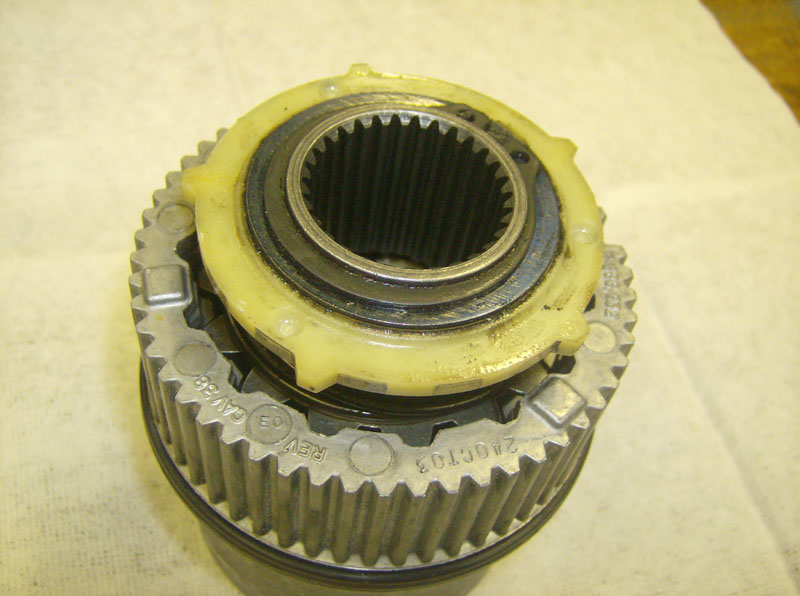
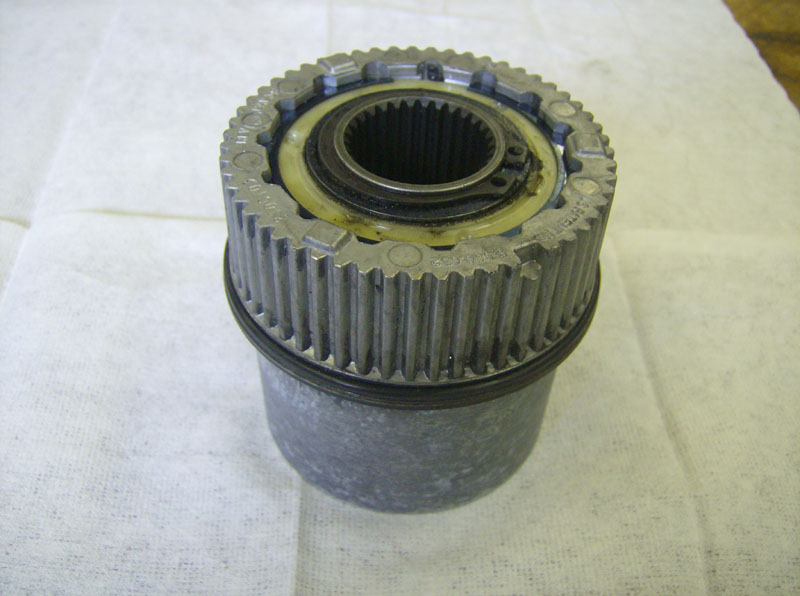
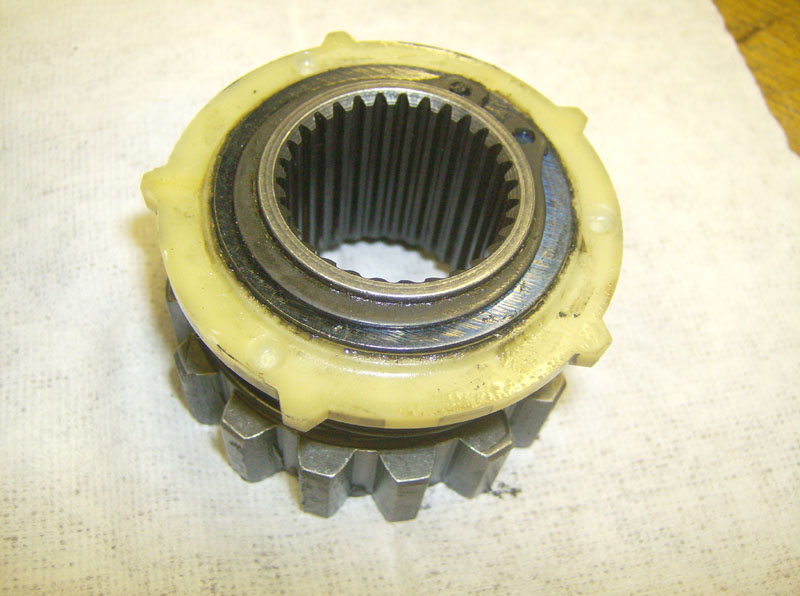
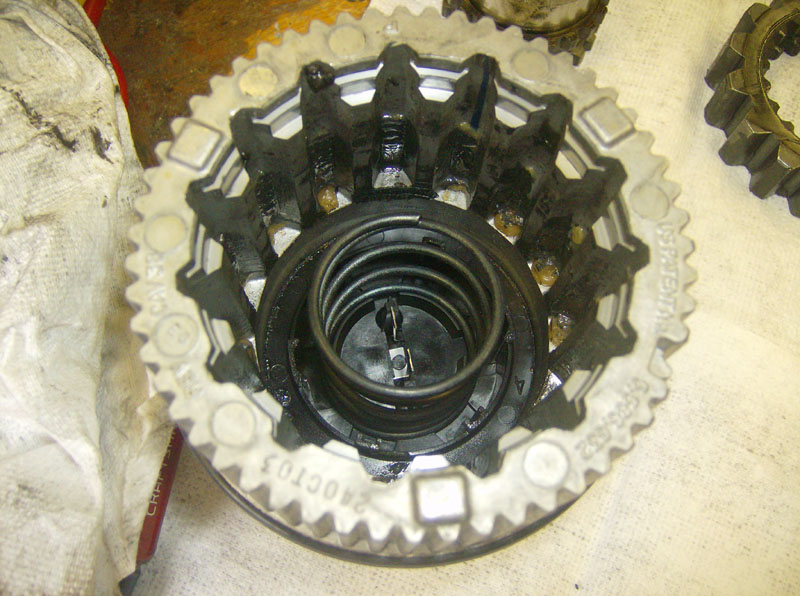
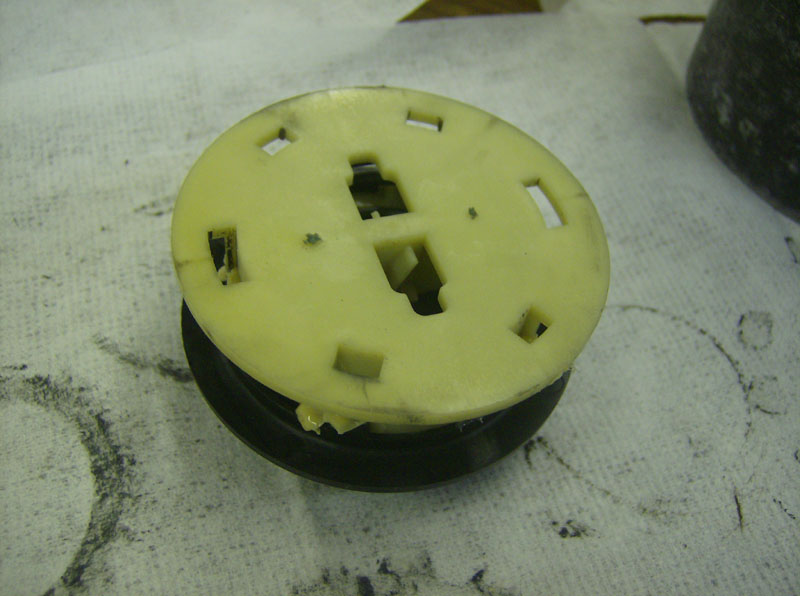
This is the assembly that was just removed from the hub.
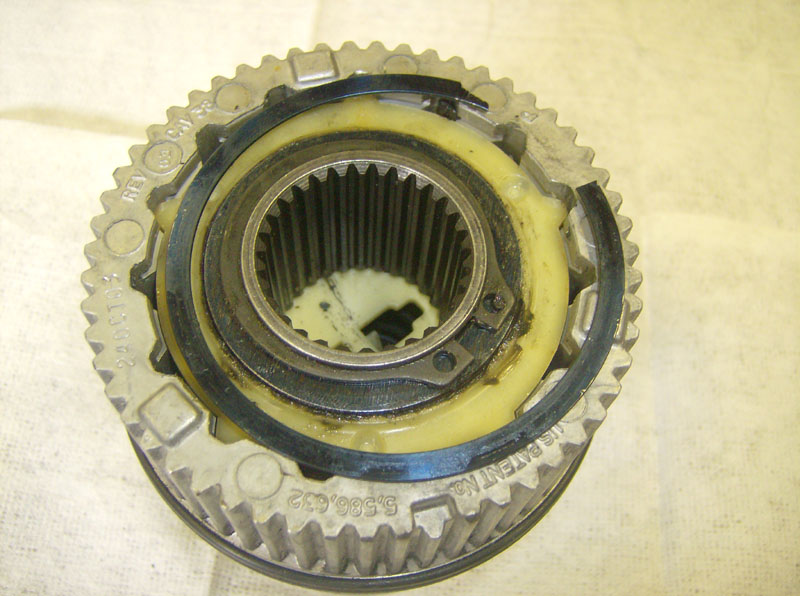
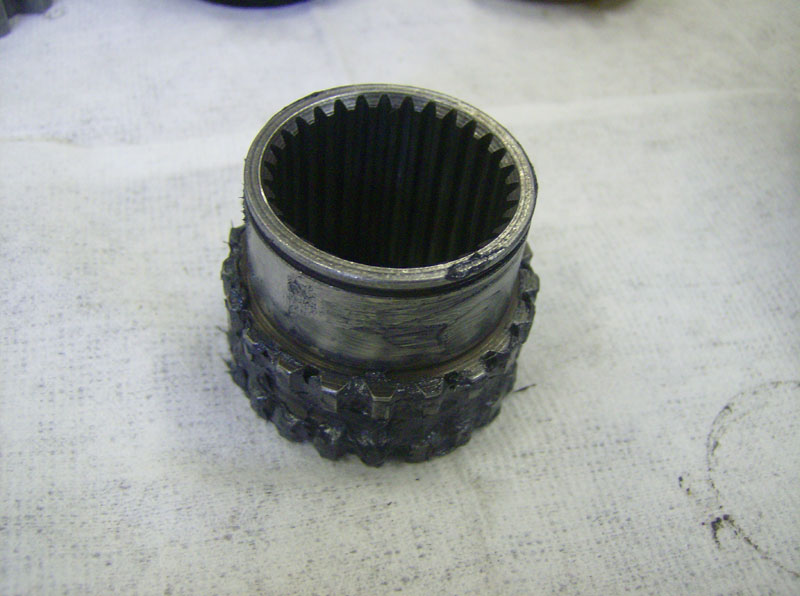
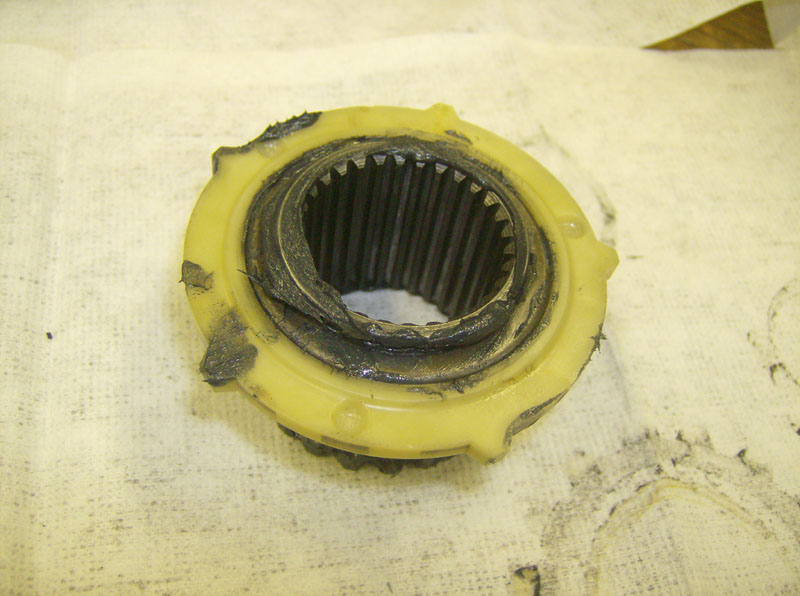
Next, disassemble the internals by first removing the snap ring and then remove the thrust washer, the plastic/bearing assembly and the other thrust washer.
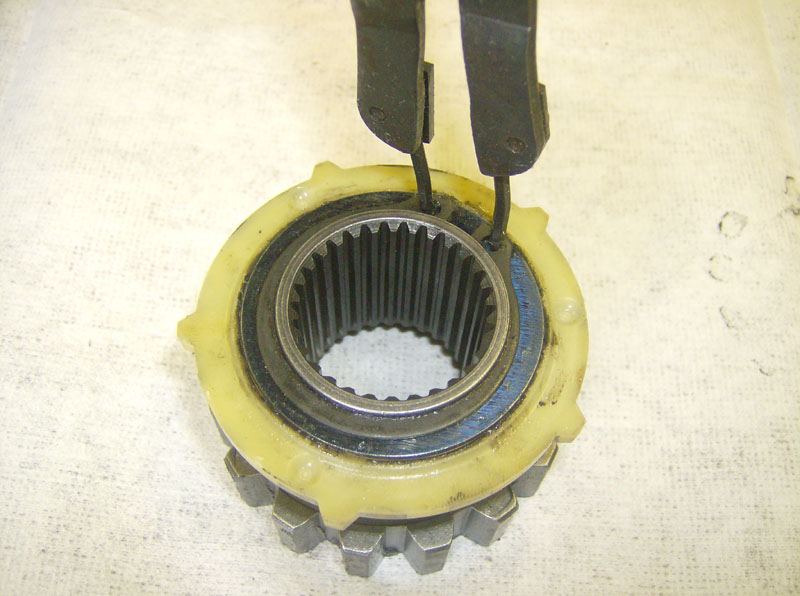
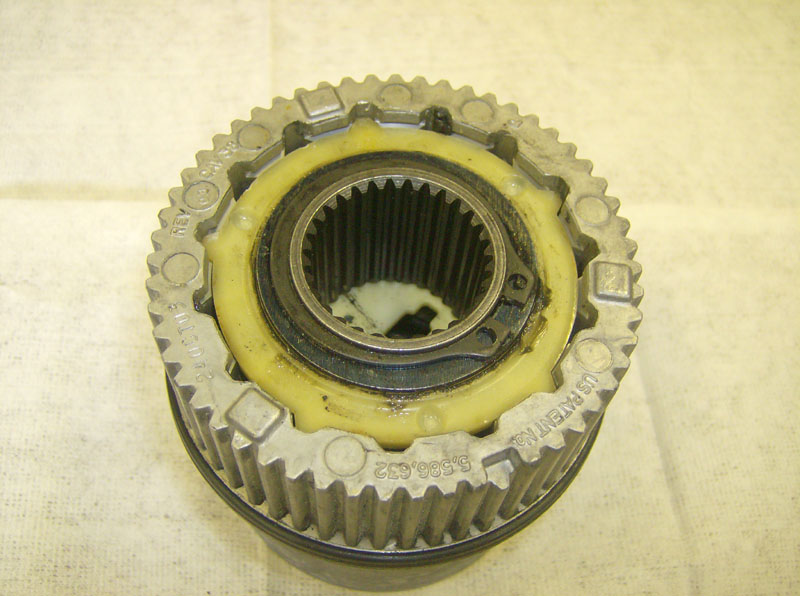
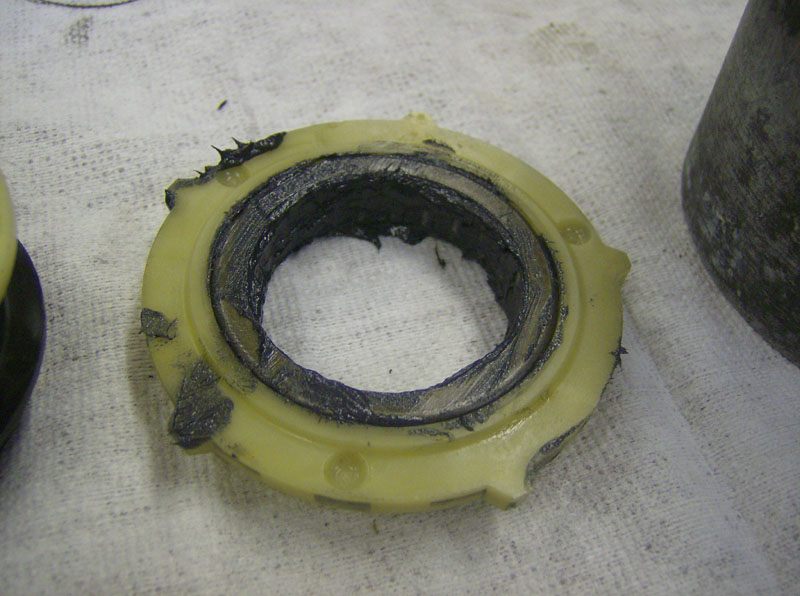
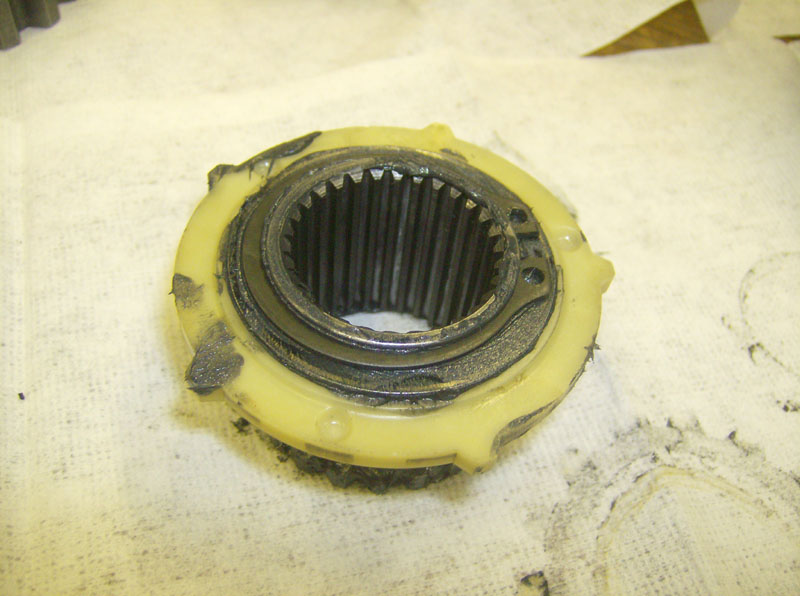
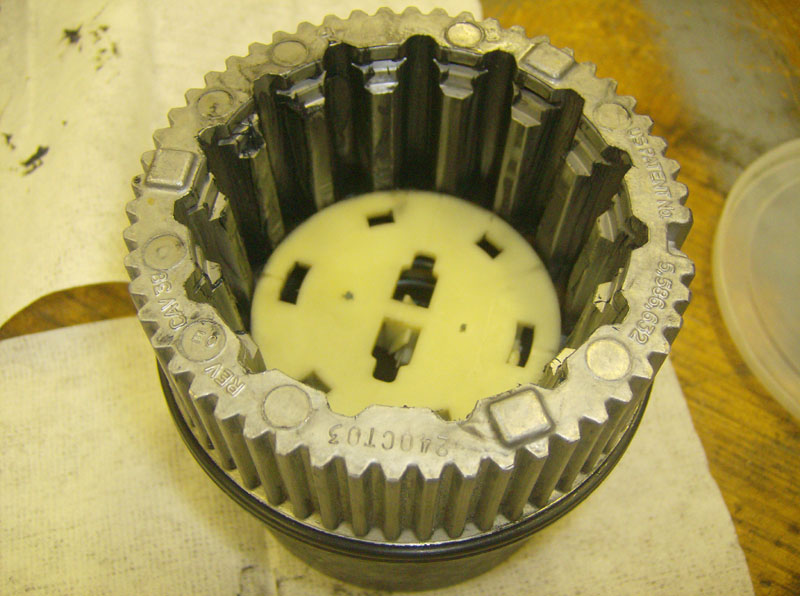
The plastic assembly that is still inside the hub can be removed by simply lifting it out with a pair of needlenose pliers. There's a small plastic boss under this assembly that holds it in place, but pulling up with the pliers will separate it.
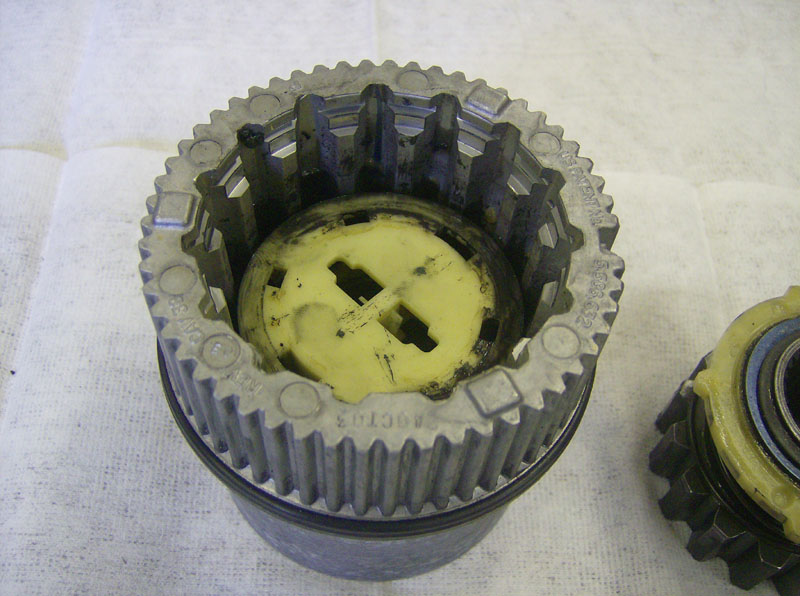
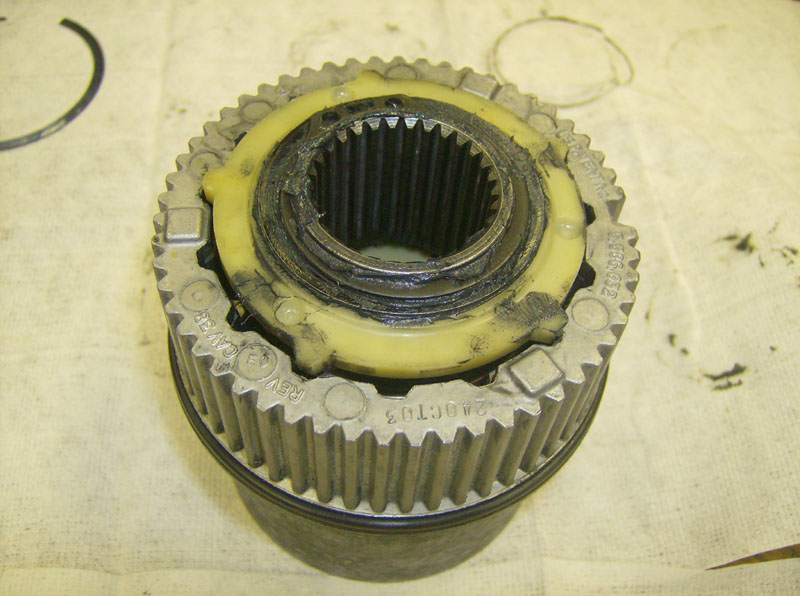
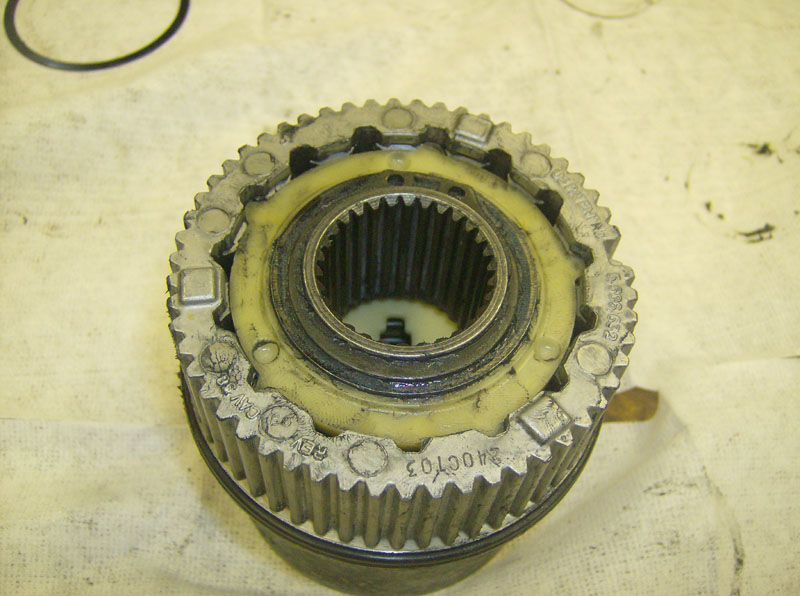
On this particular hub, the plastic assembly at the bottom was separated. Once you pull out the spring and the other plastic piece, you can snap the assembly back together.
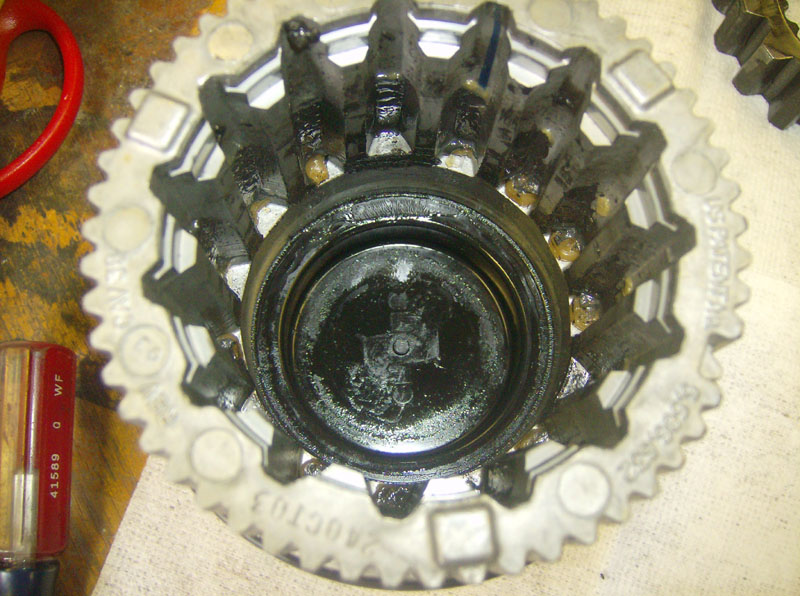
You can see the small plastic boss in this picture.
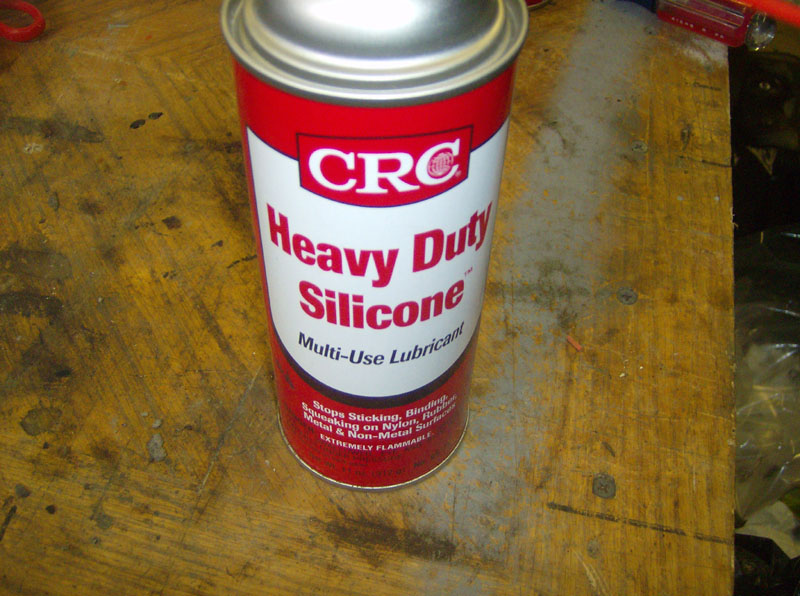
Clean up the hub components with a cleaner that doesn't harm plastic. I used CRC QD Electronic Cleaner and it did a good job of removing the old grease and cleaning up the parts.
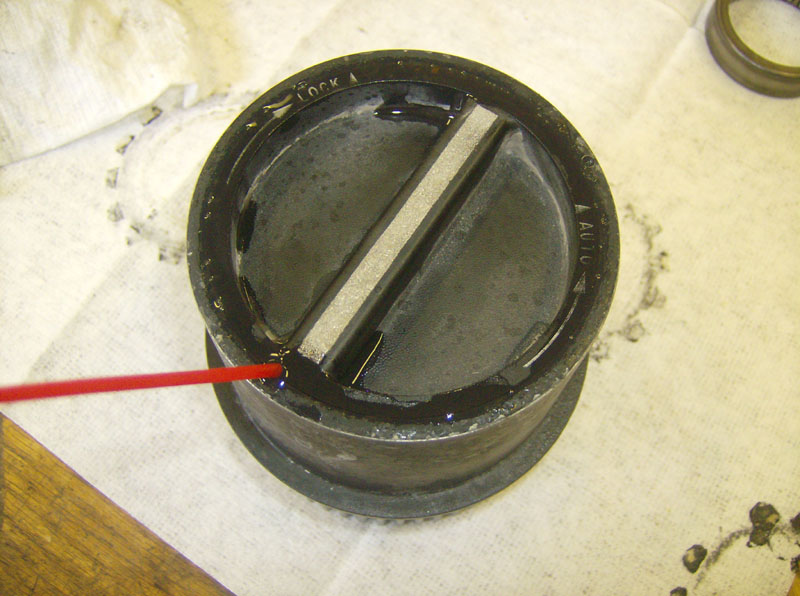
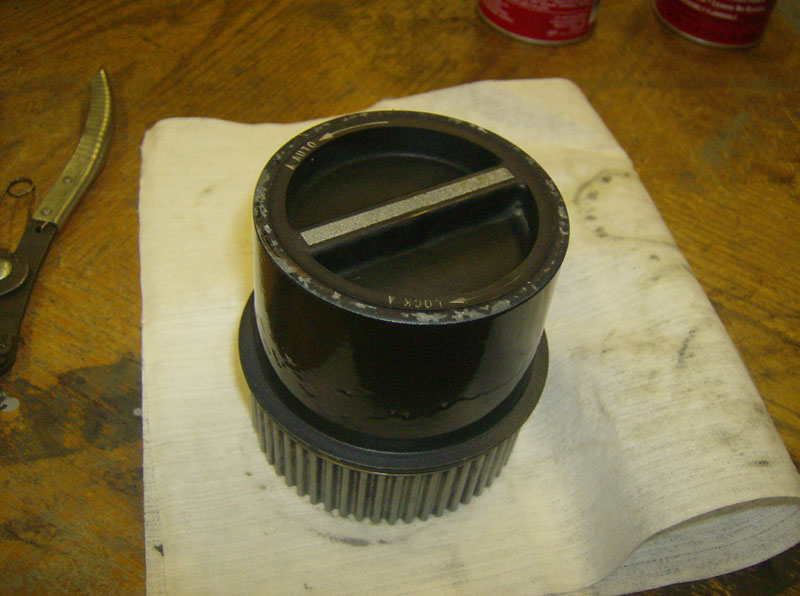
I used CRC silicone lube to free up the hub selector knob. As is usually the case, my hub knobs were getting hard to turn. After gently spraying this on the inside and around the perimeter on the outside (see second pic below), I was able to work it free.
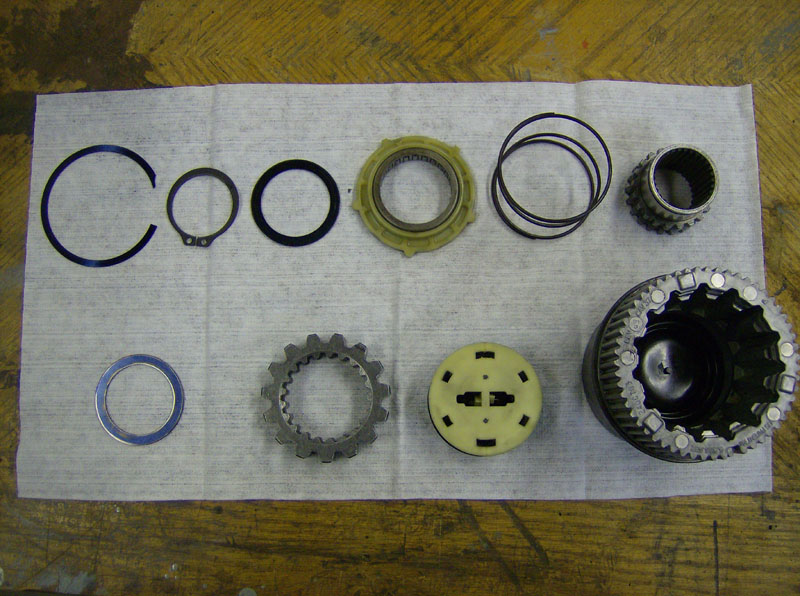
Here's an exploded view of the hubs.
Now that all of the parts are cleaned up, we can begin the reassembly process.
Apply a thin layer of wheel bearing grease to the splines on the inside of the hub.
After cleaning all the old grease out of the bearing (with the CRC QD cleaner), repack it with wheel bearing grease. Note the orientation of the bearing. The side with the writing on it faces up in the picture below.
Apply some bearing grease to the external teeth on this gear.
Install the first thrust washer on the gear.
Place the bearing and plastic housing on the gear next.
Install the other thrust washer.

Now install the snap ring to hold it all together.
Next, apply a small amount of grease to the internal teeth of this gear.
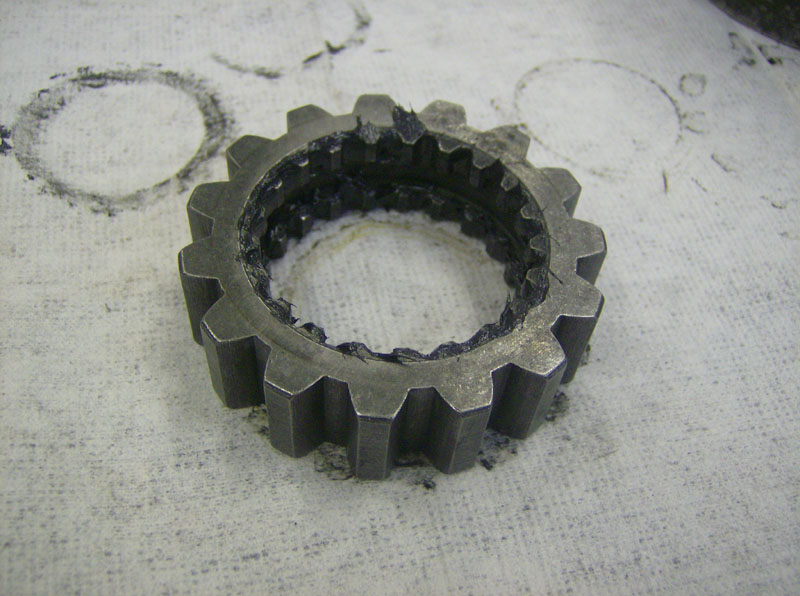
Place the spring on top of the gear
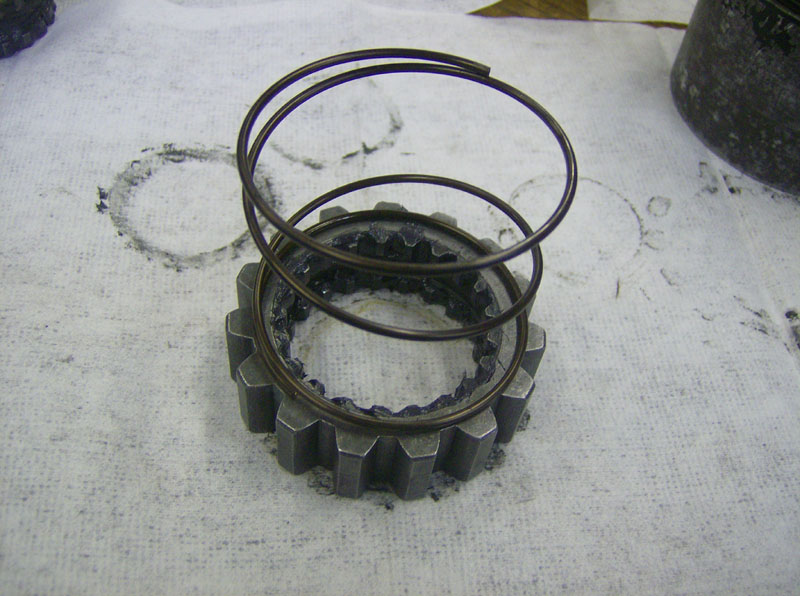
Place the previously installed gear assembly on top of the spring
Now you can compress the spring, align the gear teeth and insert the top gear partially through the bottom gear. Once you clear the upper set of teeth, give the upper assembly a slight turn to lock it all together.
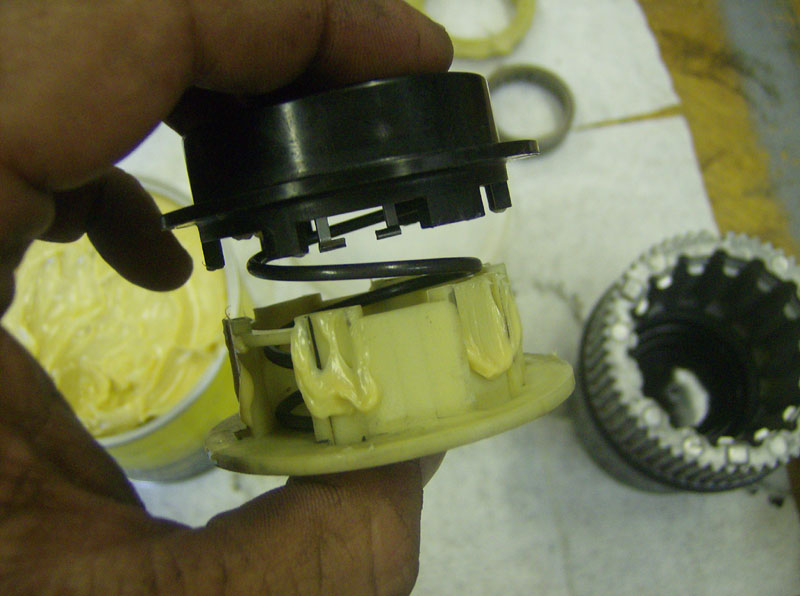
This pic shows how the "plastic assembly in the bottom of the hub" goes back together. Apply a little white grease on the areas where the pieces slide together. You can see how the metal tabs snap to the plastic housing, align the pieces and it will snap back together.
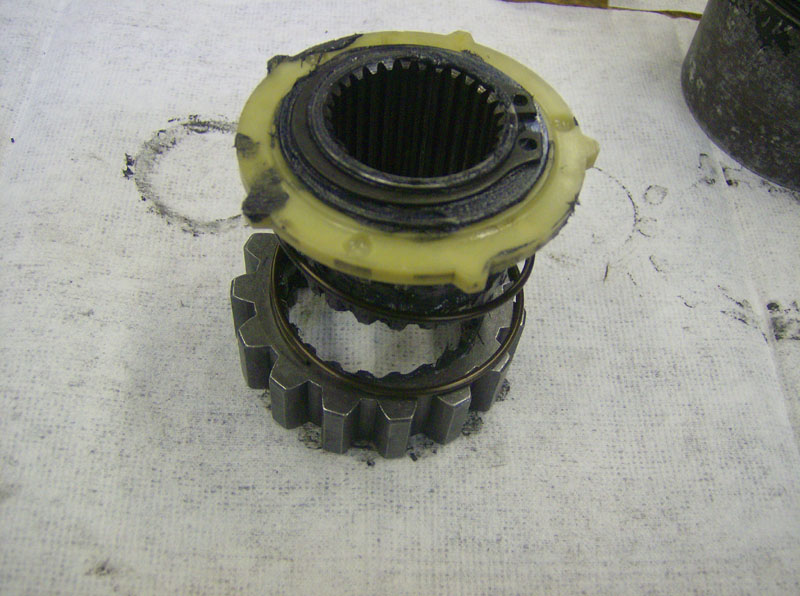
Insert this assembly into the bottom of the hub
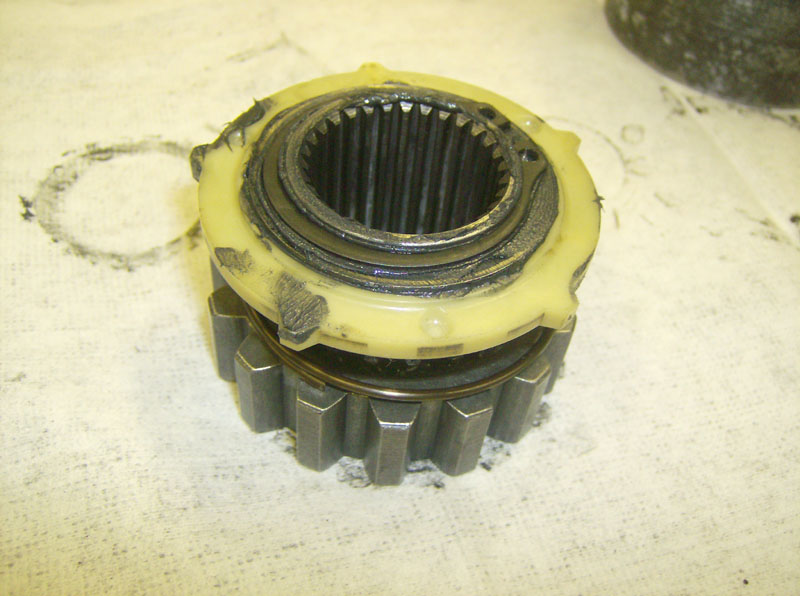
Install the entire gear assembly (upper gear assy, spring, lower gear) into the hub. It will slide in far enough to allow the large clip ring to seat into its groove.
Reinstall the large clip ring
Now that the reassembly is complete, I taped off the business end and primered and painted the hub.
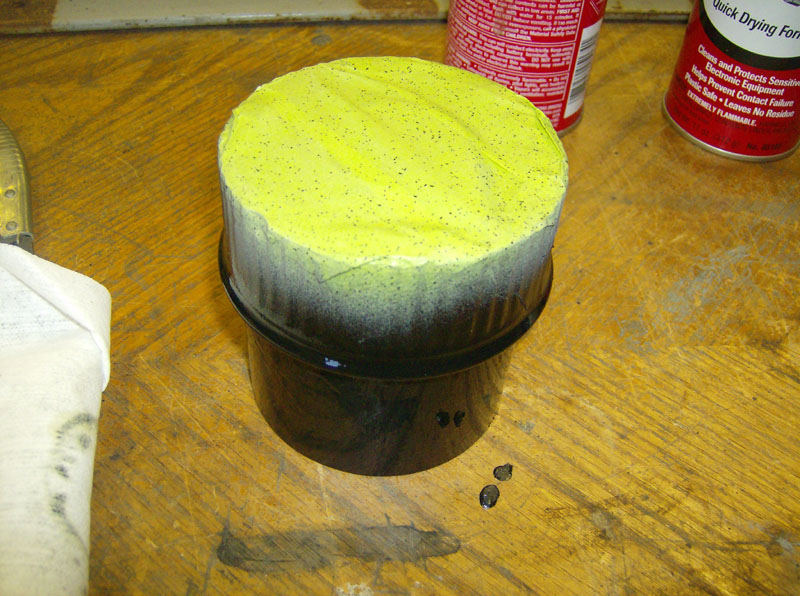
I did not paint the face of the hub because I didn't want to risk getting paint in the selector knob groove. Its hard enough to keep that knob moving freely!
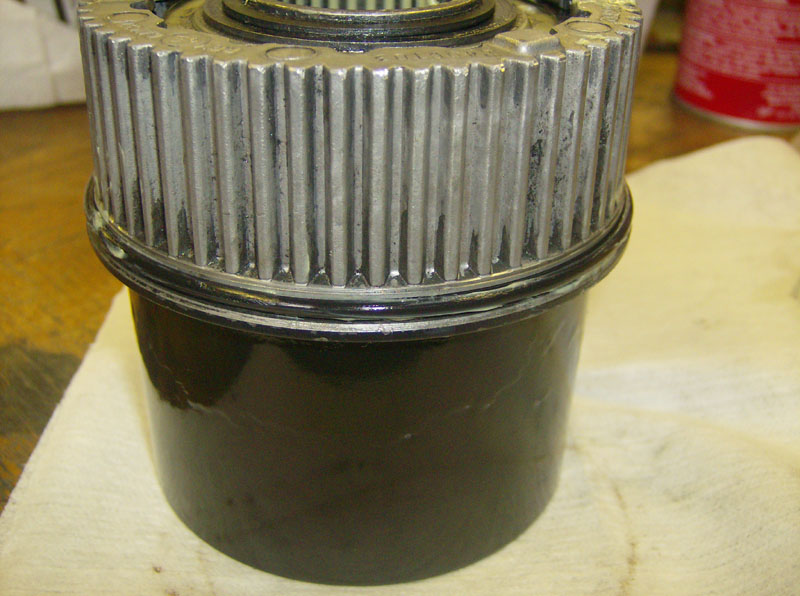
Last but not least, replace the black o-ring on the hub. You get two o-rings and one hub retaining ring in with Ford part number 4C3Z-1K106-AA. Remove the old one, clean out the groove, apply some white grease to the new one, and install it.
Questions or Comments? Email jmray@frontiernet.net