 By June 19th, I'd put a last coat of primer on the tank, though every time I look at it in different light, I see another line, or small chip, and I have to fight the urge to spot putty, wet sand, and prime. Sometimes a little wet sanding is enough.
 There's not a lot of room for extras on a motorcycle. It's a small vehicle, every extra pound makes it harder to handle, slower to accelerate, and slower to brake. If you don't have a plastic clad sport bike or tourer, there's really only one place for large amounts of decoration, and that's the gas tank. Since this is for a 1974 Kz400, the biggest splash of color on it will be the tank, and I want it to look halfway decent.
Someday I may have flames, or pinup girls, or other decorations on my tank, but for now, I'm just shooting for something decent looking. However, every little flaw on the base primer coat will be magnified under the paint, and this tank had many, many little chips in the previous coat of paint. The answer, spot putty, wet sand, and prime.
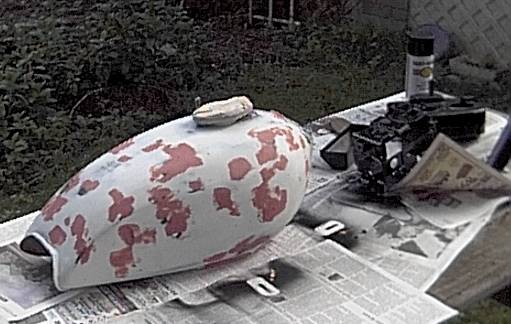
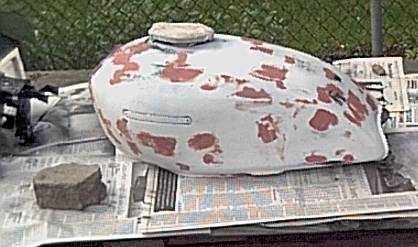
You can see from the pictures, where every orange splotch was a chip, and it now an orange splotch of spot putty, that there were a lot of chips and imperfections on this tank. Find a chip or divot, spot putty, wet sand with 700 grit emery paper, and prime. Repeat.
By June 19th, I'd put a last coat of primer on the tank, though every time I look at it in different light, I see another line, or small chip, and I have to fight the urge to spot putty, wet sand, and prime. Sometimes a little wet sanding is enough.
It hasn't all been tedious spot puttying, wet sanding, and priming. I've also been sanding, priming and painting the battery box, tool box, brake light bracket and air filter box (since I'm using pod filters, I may not even use the air filter box), which you can see in the background (as well as mint terrorizing my garden). I've also been able to do a little bit of mechanical work, there's a new chain on the bike, new ignition switch and mirrors. Gosh, when will I be able to ride this?