

This page has some pictures of the metalworking setup used at home and the previously used improvised forge. There are pictures of some of the items that I have forged such as hooks and knives. A section about removing rust using electrolysis can be found towards the bottom of the page.
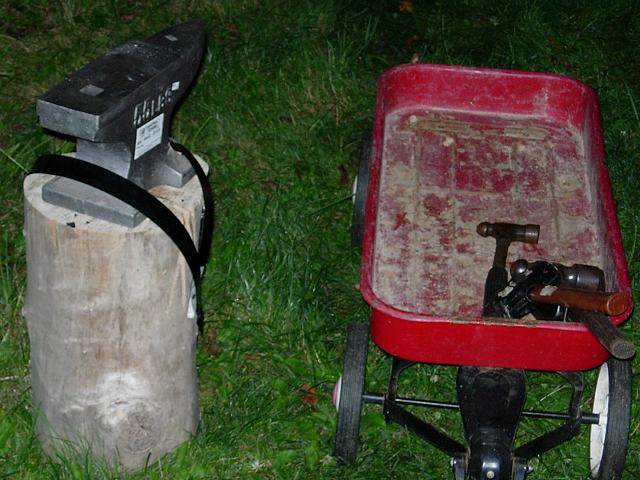
Portable Forge and 105 lb anvil (2007-)
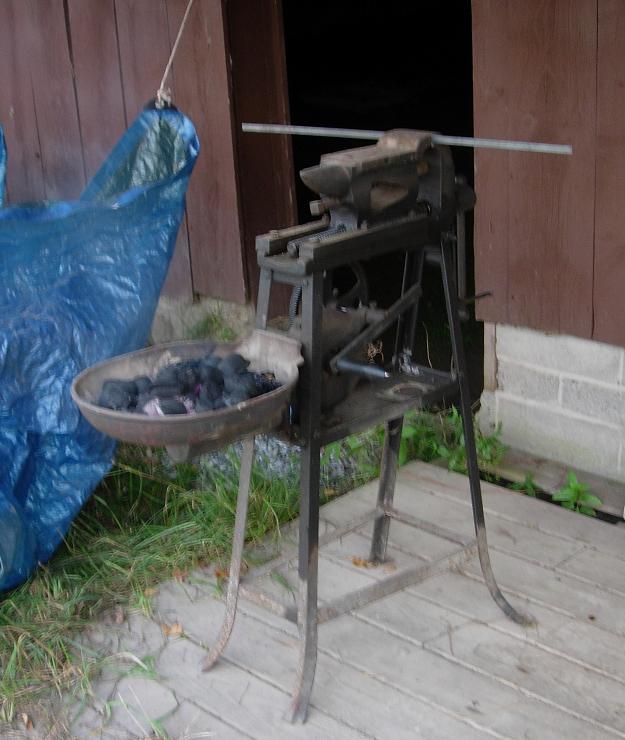
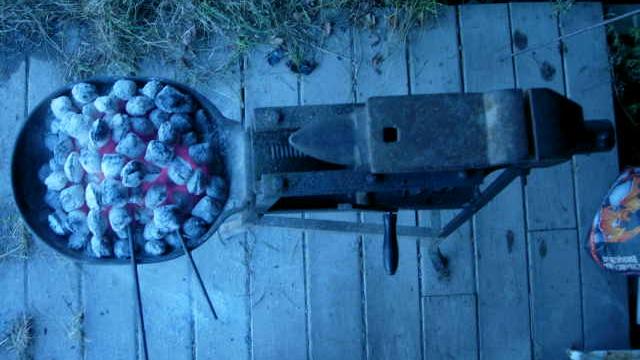
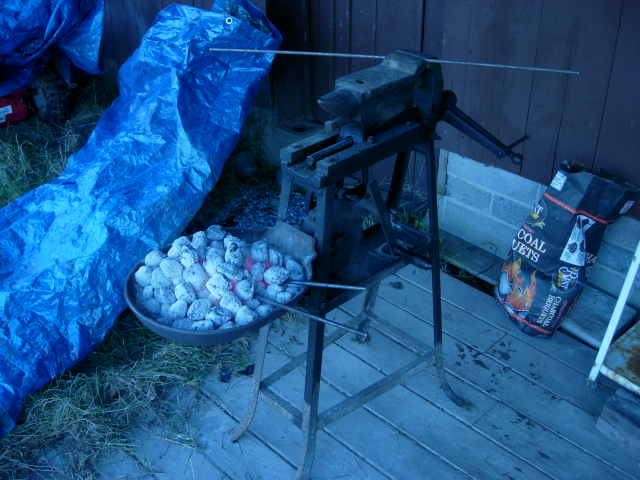
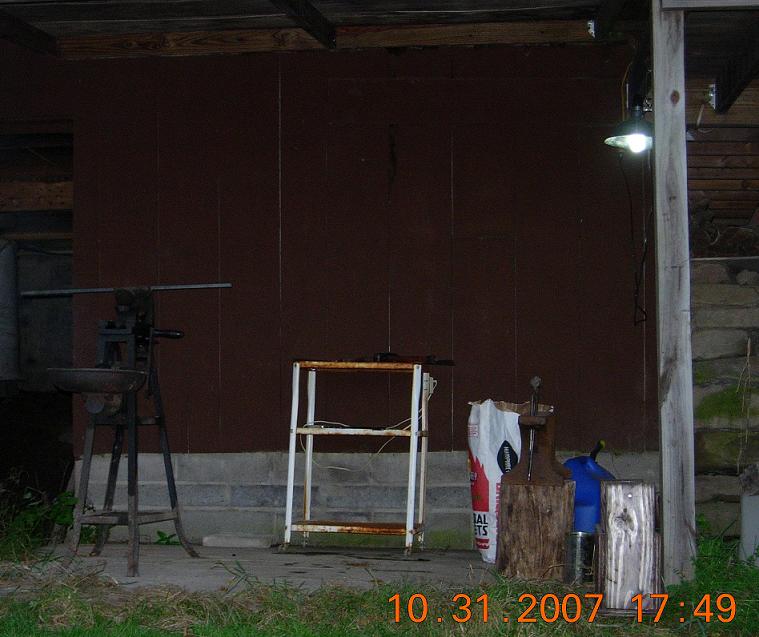
The forge is small enough to be portable and has a rather heavy vise installed on it. This vise has what I would call a mini-anvil built into it. It has the feel of a 30lb anvil. It could be used as is as a portable demonstration setup. The forge blower is hand cranked so nothing other than coal fuel, metal stock, tongs and some hammers are need to do work.
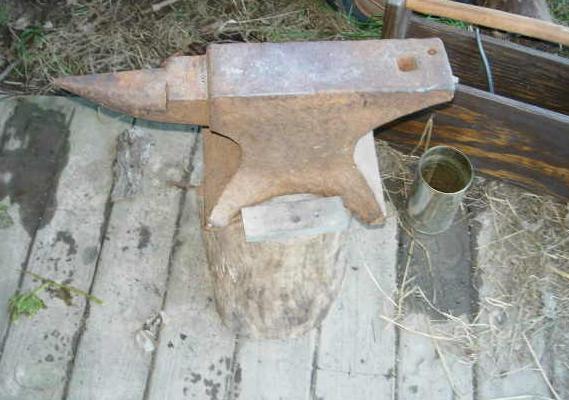
Better yet is using the forge in conjunction with the 105lb actual (labeled as 0-3-23 = 107lbs) Wilkinson anvil. The face of the anvil is in fair condition, no gouging or sway and the edges still have some square spots left. Looking at information on-line about this type of anvil it dates to 1860-1880. The anvil is a much better quality than the 55lb cast anvil. The Wilkinson has a 'bounce' close to that of a Peter Wright that I tried. It has noticeably less ring than the Peter Wright which is good or bad depending on how you look at it. The Wilkinson is a composite anvil where the wrought body, top , horn, tail and feet were forge welded together and the hard steel top plate applied. The setup with forge on one side, anvil across and tool table to the left of the anvil seems to work out well. The entire setup is under the house deck at ground level on a wooden platform. Just below the desk is a small roof attached to the bottom of the deck. Generally when I am not using the forge and anvil I cover them. I have no information about the history of the forge.
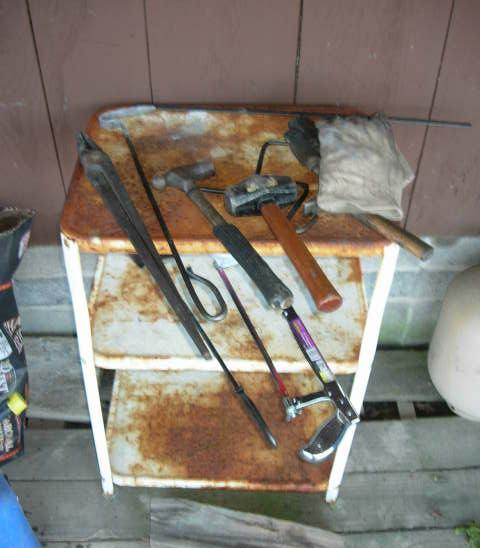
The metalworking setup is simple to use, all I have to do is put the hammers, clamps, tongs and etc. into the tool carrier, grab stock and go. Generally I start the fire in the forge and get it going strong for a few minutes then let the coals burn for 30-45 minutes,then the fire is ready. In between starting the fire and it being ready gives plenty of time to grab the tools, stock and a lamp. The clamp-lamp gets clamped to the bottom of the deck support directly over the anvil. This provides a directed source of light for forging at night.
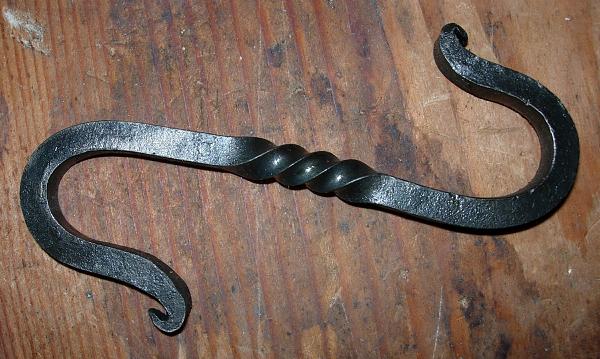
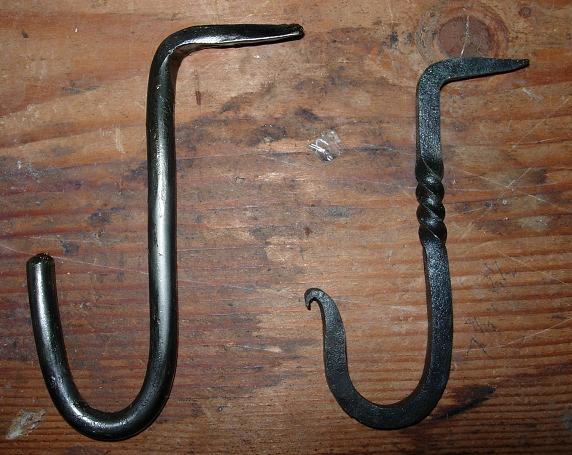
Below are some of the unique items made on the new setup. Besides these I have continued to made many hooks similar to the ones depicted below under the improvised forge setup heading.
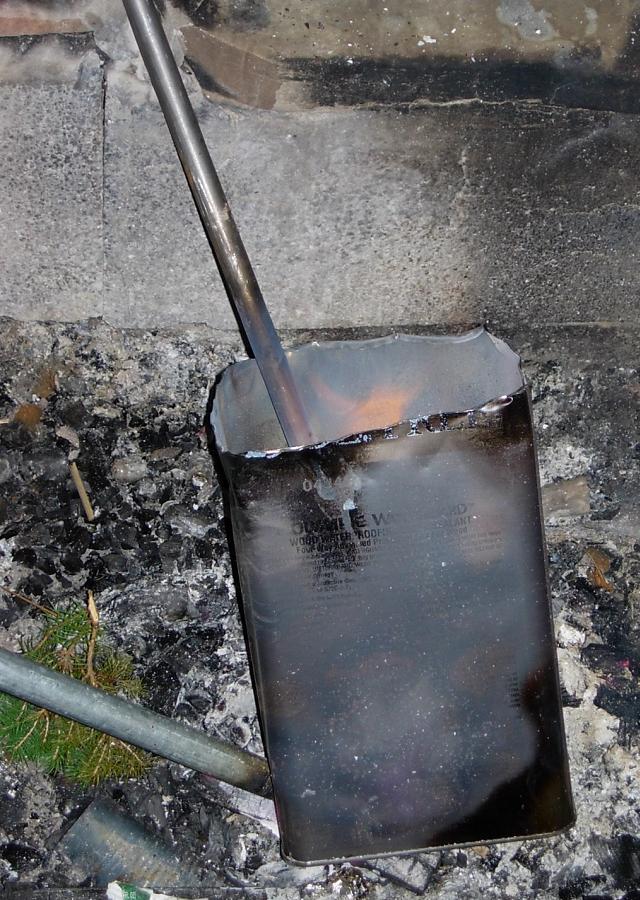
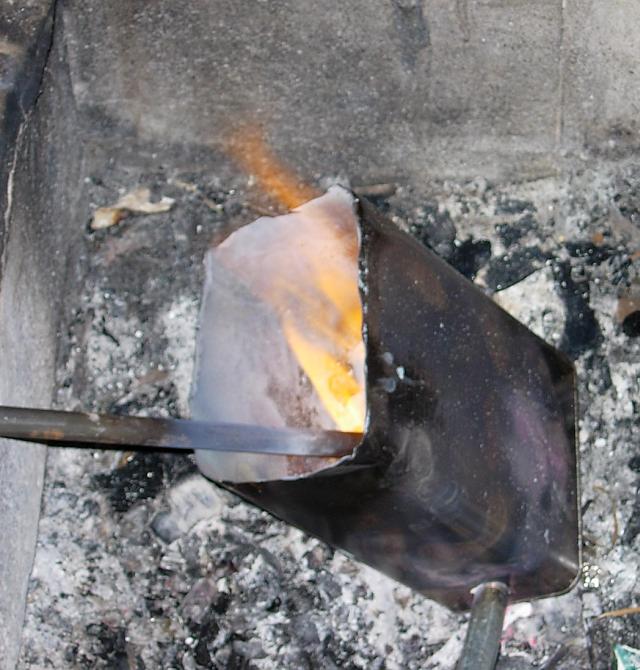
Improvised forge and 55 lb anvil (2005-6)
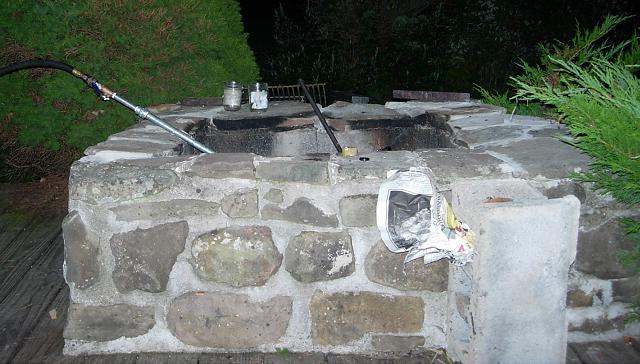
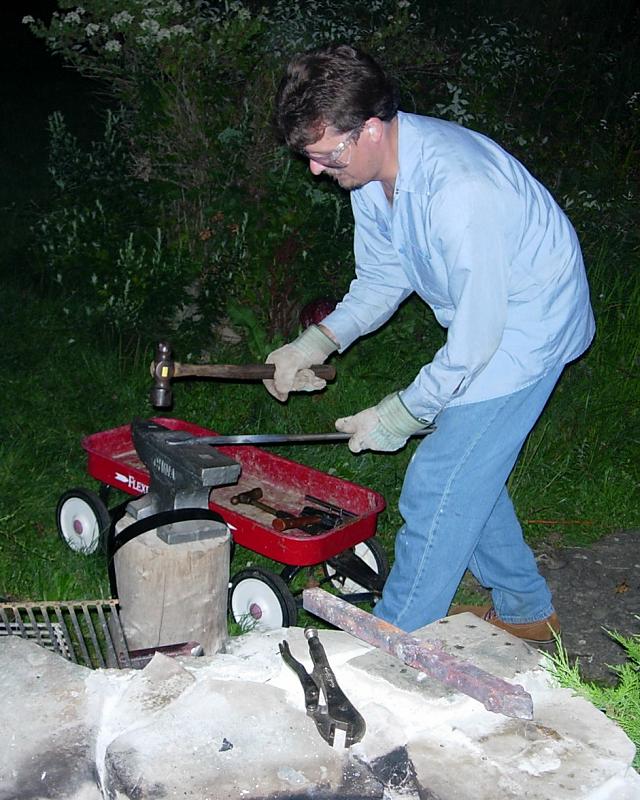
The setup consists of an improvised forge that is used in the outdoor fireplace that is built into the deck. The bellows is a blowpipe that blows in compressed air through a hole near the bottom of the 1 gallon steel container. The anvil,vise and tools get carted out from the main shop when needed. The anvil is 55lbs, it is not the best quality but it works for now. It is set next to the fireplace, which has a shelf on the back side of it. This is good for placing tools on it and a quench can. The pond is actually behind the setup to the right of the fireplace, if a large quench is needed.
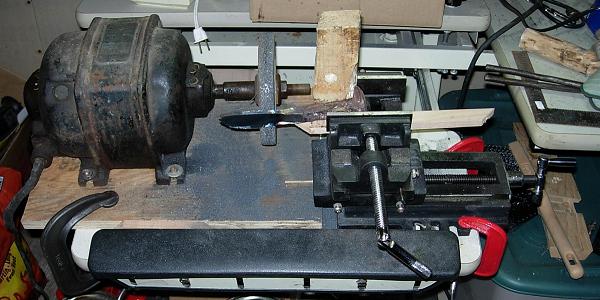
The knife grinder uses an X-Y axis vise in which the knife is clamped. This is fed against the open bench grinder wheel. The entire apparatus is clamped down onto the bench.
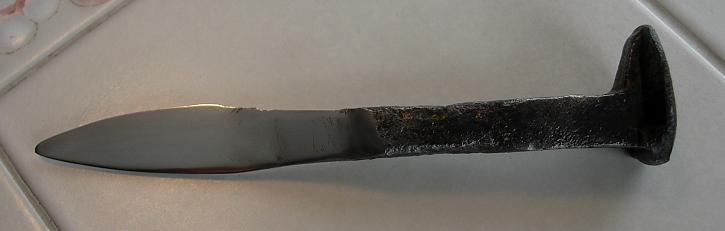
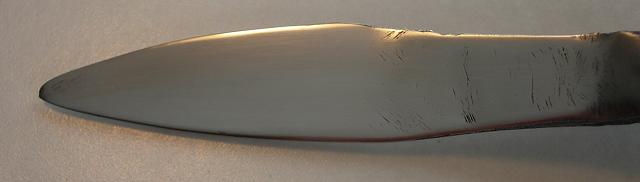
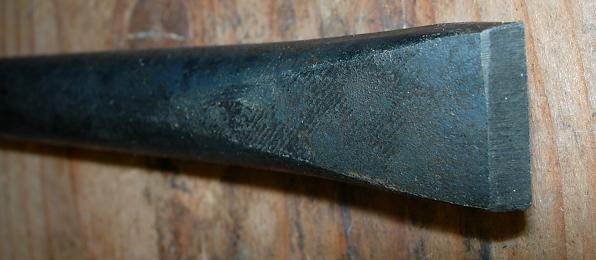
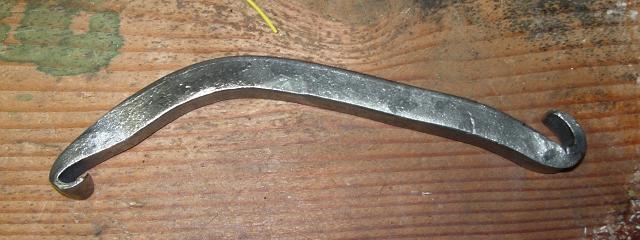
Here are some of the items I have made so far. The knife is a railroad spike. The chisel is made from a piece of scrap 1/2 inch steel. The hooks are made from wrought iron stock, 1/4 inch square and 5/16 inch round stock.

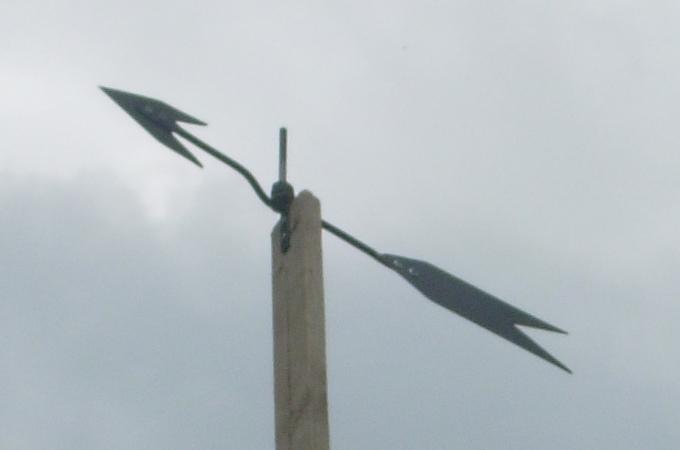
Closeup of the Windvane that is outside the house

Bottle opener and bucket lid combination tool.
Electrolysis Rust Removal
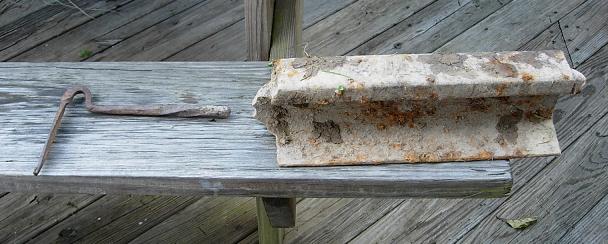
Below are artifacts that have been dug up on the property. A piece of rail and part of a coal rake. These are perfect examples of items that can be cleaned up by electrolysis. I plan on using a metal detector and digging around the area where these items came from. You never know what is buried there, it may be good to use for something or at least interesting to look for.
Recently I have tried rust removal on some tools and pieces such as railroad spikes. The method used was to use a small plastic container 12 inches long, 6 inch wide, 3 inch deep. This I filled 2/3rds full with a lye-water solution. About 1-2tbsp of Lye in the cold tap water. I found a piece of scrap steel for a sacrificial anode. I found a lid from a 'tin' can seemed to work. I used a clip lead attached to it. Making sure the clip lead itself is NOT submerged into the solution. The other (negative) clip lead is attached to the piece of metal to remove the rust from and is ok to submerge. The sacrificial metal and lead must not come in contact with the workpiece that the rust is to be removed from. That would short circuit the power supply.
For the power supply I have a regulated 1A supply that dials 0 - 25V. Attach the positive lead to the sacrificial metal and the negative lead to the workpiece. According to sources that I have found on-line, approximately 5mA per square cm is the proper amount of current for derusting. Too much current causes excessive bubbling, this blasts the flakes of rust of without much of it converting back to iron itself. The objective of electrolysis for this setup is to convert as much of the Fe3O4 and Fe2O3 oxides to Fe by reduction. The scrap piece of metal will be oxidized in return and eventually disintegrate. Using this setup, you have to be patient. Use low currents and just wait up to a week for best results. Results can be seen in just 24 hours and if the working piece is not very rusty, this might be sufficient.
When the work piece is done derusting, turn off the current and remove. Rinse,scrub and dry the piece. Apply some oil to keep it from rerusting. Do not leave the piece in the solution without the current applied or else it will start rusting. Even when it is derusted, having current applied is cathodic protection for the work piece.
Types of oxide for iron, that we deal with as rust. The Iron II,III (Fe3O4) oxide is the black oxide of iron that takes up the same volume as the original iron. It can usually be reduced to iron that adheres well to the work piece. This oxide is referred to as magnetite depending on its form. The Iron III (Fe2O3) oxide is known in its natural state as hematite is the one we usually refer to as rust. It takes up more volume than the base iron and flakes off, leaving pits, unless it is a thin layer. This means the flakes do not convert back to base metal well, but usually dislodge via the bubbling and fall off. I obtained some of the oxide info from Wikipedia.
The workpiece has to be fairly clean as well for electrolysis. If it has a layer of dirt or oil/grease, it will be hard for the current to flow. It may be wise to scrub it before electrolysis.
Additional experiments. I've tried to deoxidize copper using steel as a sacrificial anode, it works well. Copper will clean up within 30 minutes. Don't use a lot of current or leave it for long or else iron will be plated onto the copper. With silver the results were not as good. I have heard having it in direct contact with aluminium in a lye solution, without electric current works for silver. The contact between the metals is enough to cause the redox reaction to occur.
![]()
Original Build Date:08-19-2005
Last updated 11-20-2007