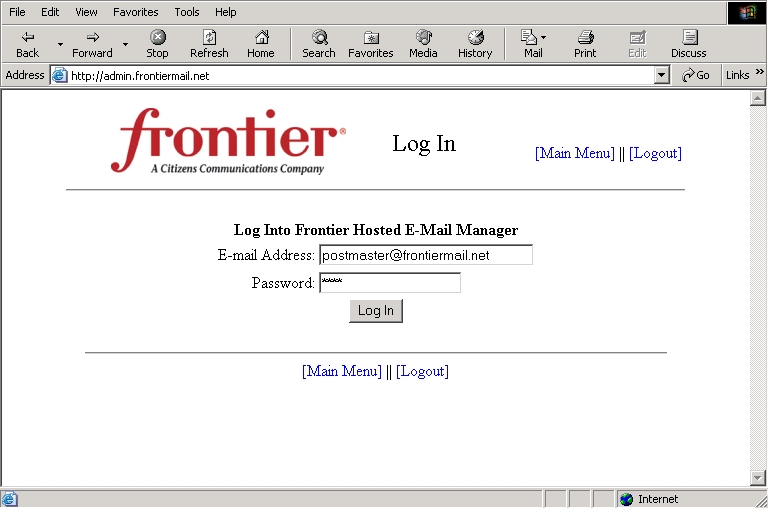
Frontier Hosted Email Manager
The administrator of the account can log in and has access to:
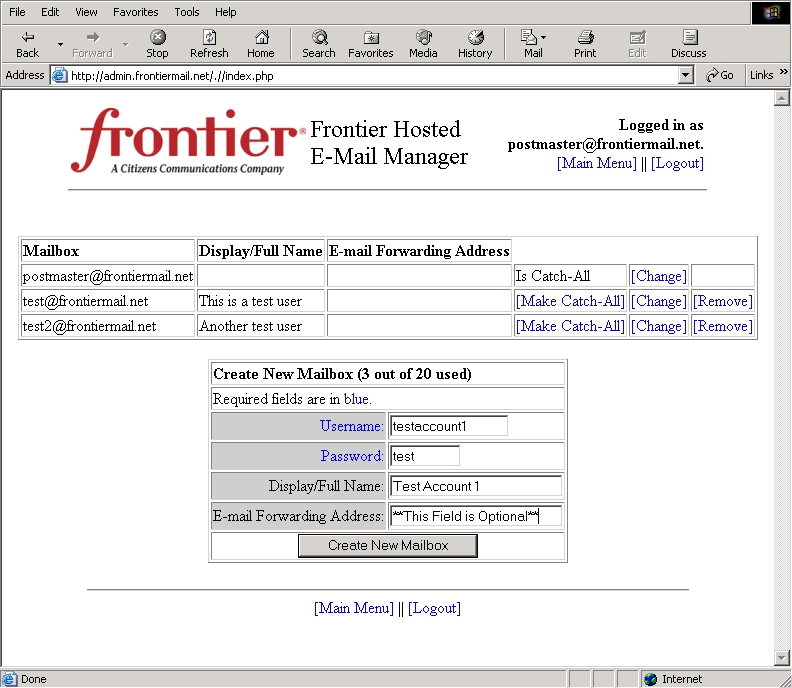
Frontier Hosted E-Mail Manager
Click on any of the options in red below for specific screenshots.
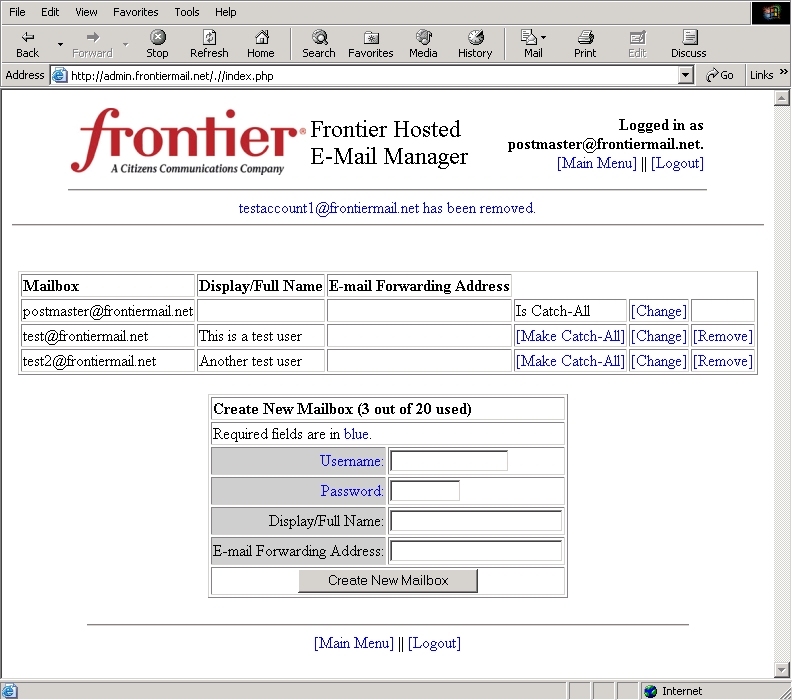
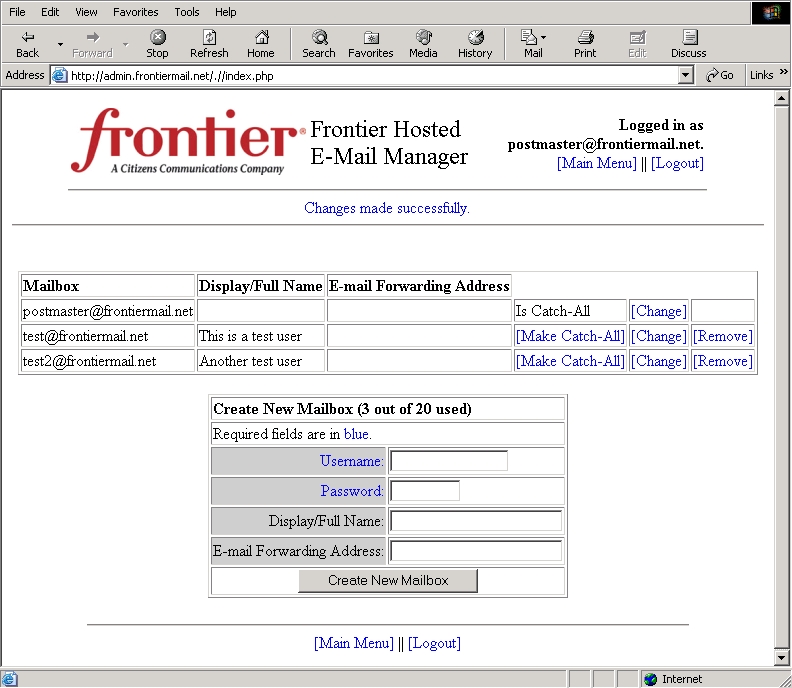
Mailbox: Will list the postmaster (administrative account) and all additional mailboxes
under the domain.
Display/Full Name: The owner's full name of that specific account.
E-mail Forwarding Address: An optional feature and will forward your mail to
another e-mail account.
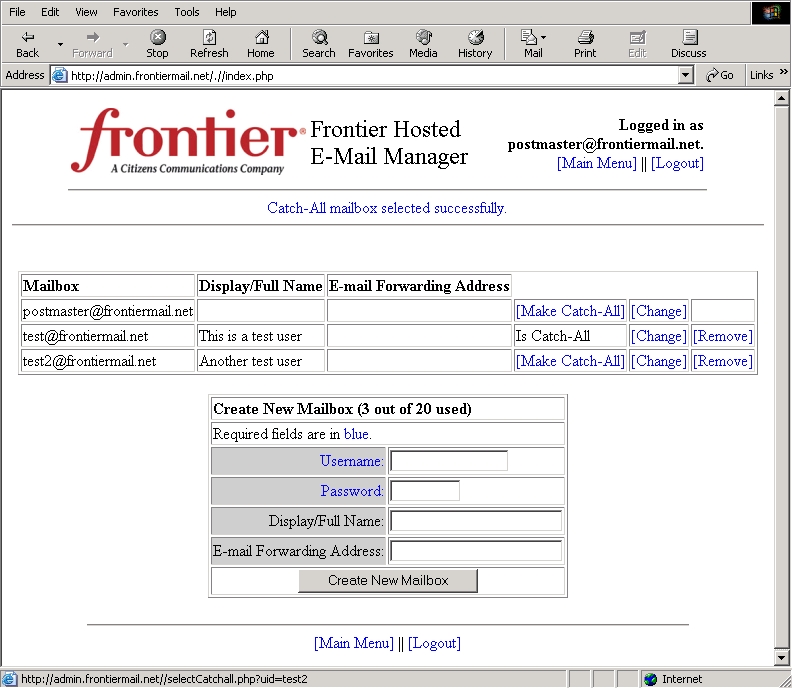
Is Catch-All: The 'default' and will accept mail fro any address at that domain
that does not have an individual account set up. Selecting "Make Catch-All" will
make a different account the "Catch-All" account.
[Change]: Gives you the option to modify the username, password, display/full
name, and forwarding address for that account.
[Remove]: Removes that particular account.
Create New Mailbox: You can create
additional mailbox accounts up to the allowed amount.
(Example: (2 out of 20 used), You are currently utilizing 2 out
of the 20 allowed mailboxes. In this case, you can create up to 18 additional mailboxes.)

The Modify Mailbox window is displayed.
Modifications can be made to the Username, Password, Display/Full Name, and E-mail Forwarding Address.
Click "Modify Mailbox".

Catch-All mailbox selected successfully.
You can create additional mailbox
accounts up to the allowed amount.
(Example: (2 out of 20 used), You are currently utilizing 2 out
of the 20 allowed mailboxes.
In this case, You can create up to 18 additional mailboxes.)
Enter the pertinent information:
Username: The first part of the users e-mail address before the @ symbol.
Password: Users password
Display/Full Name: Enter the name you would like to be displayed when you
sent e-mail.
E-mail Forwarding Address: Enter the e-mail address you would like your
mail forwarded to; this field is optional.
Click "Create New Mailbox".
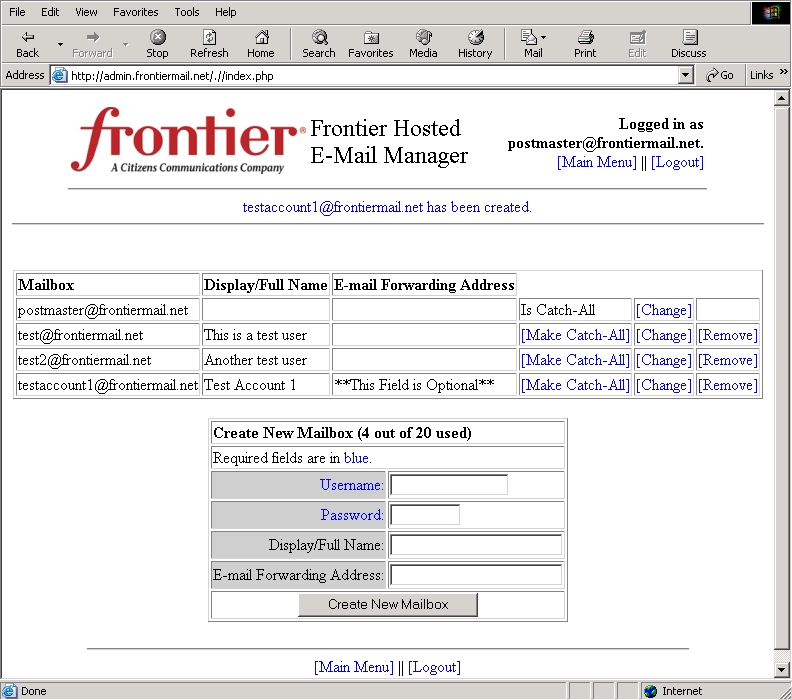
username@<domain> had been created.
username@<domain> has been removed.