Ford Super Duty
Broken Exhaust Manifold Stud(s)
2004 F250 4x4 XLT Sport Crew Cab
Click Here for a PDF version of this article
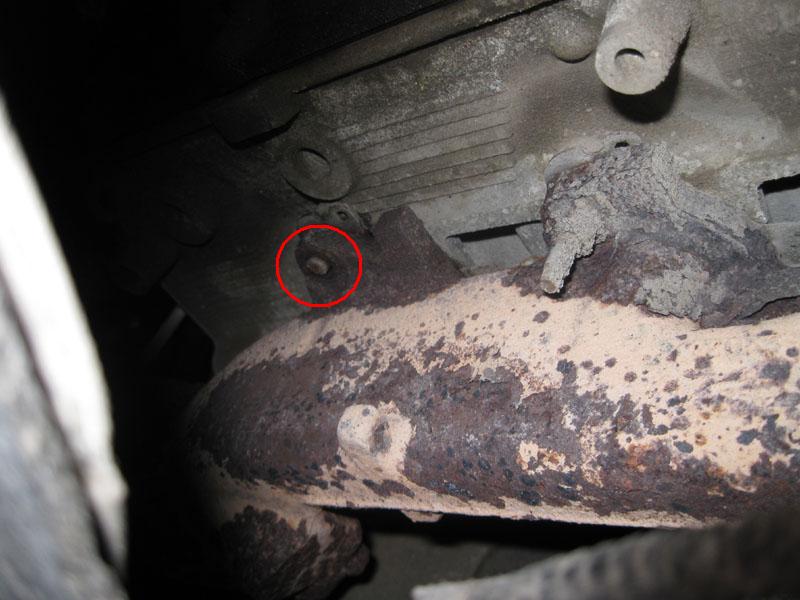
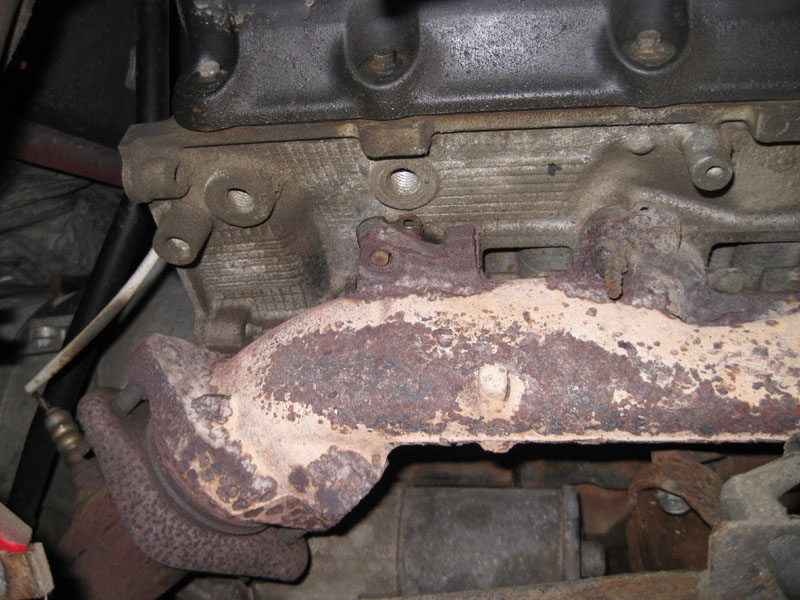
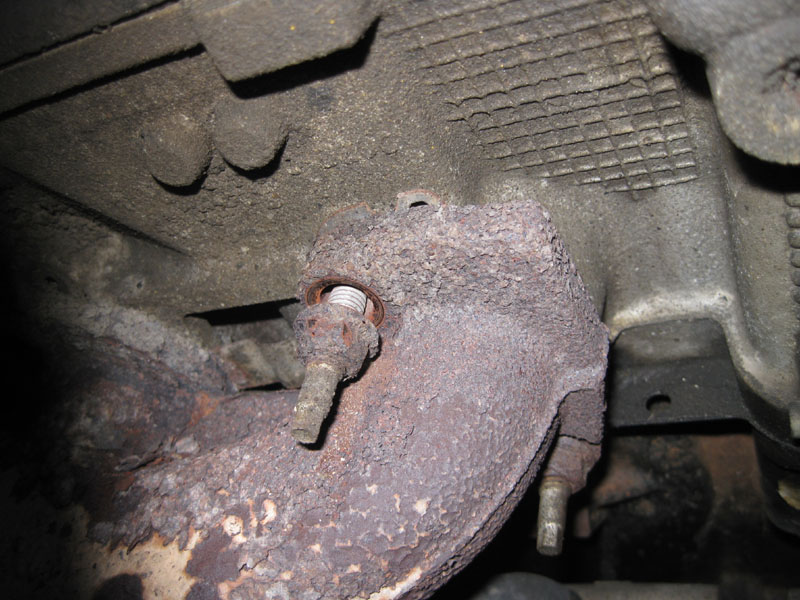
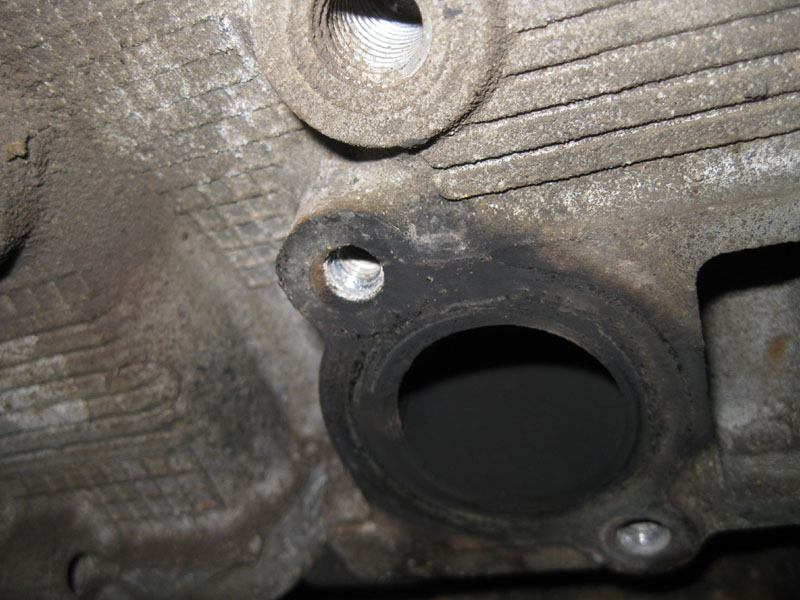
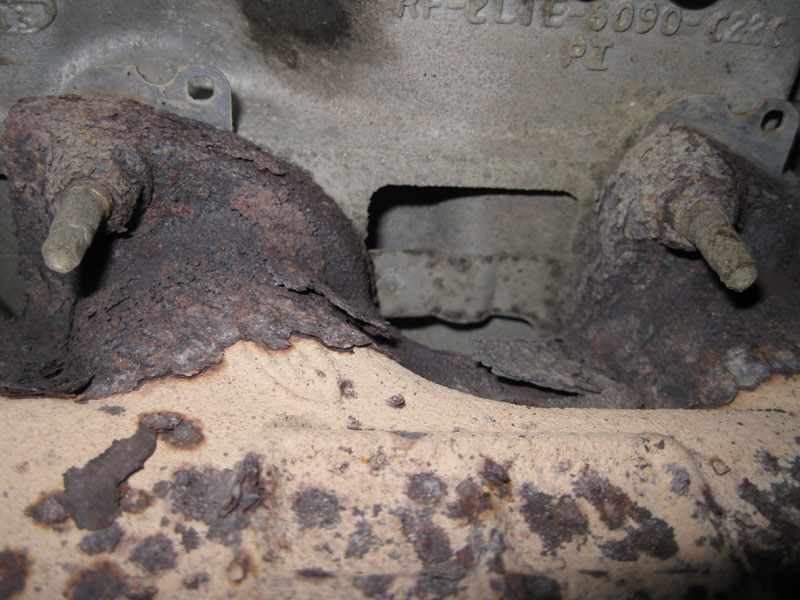
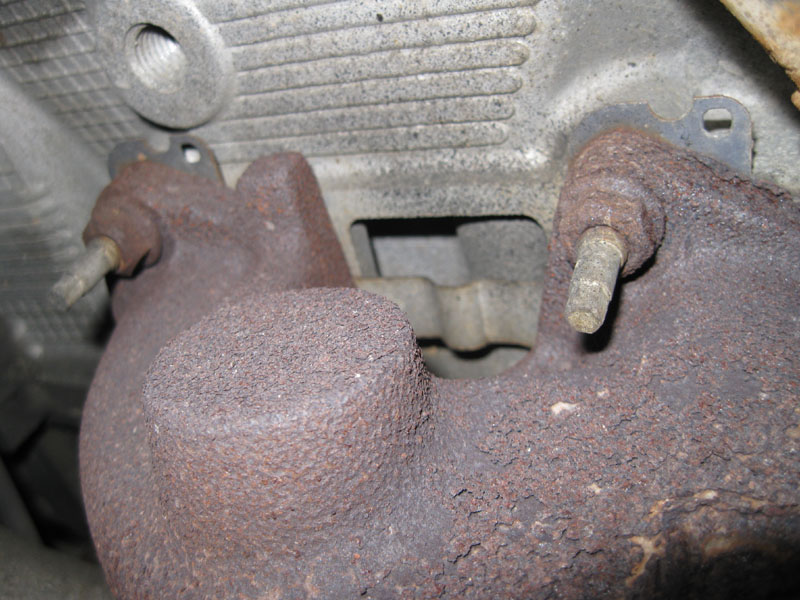
Well, below is a pic of what I found on the right side exhaust manifold. This problem is very common on the 5.4L and 6.8L gas engines.
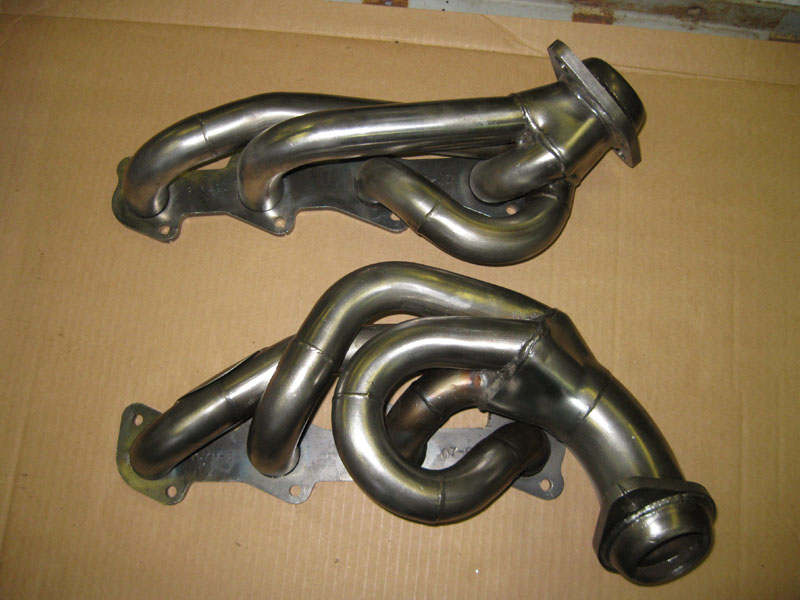
Updated 02/09/10 -- Well, it looks like headers for me. I bought these JBA headers from Summit Racing.
Updated 03/08/10 -- Got the SPD Y-pipe.
Updated 04/16/10
Ok... the long winter of 2009-2010 is finally over enough for me to tear into this.
I've been spraying the studs/nuts for the past week or so with PB Blaster.
I started on the passenger side. Mainly to tackle the broken stud and get it out of the way first.
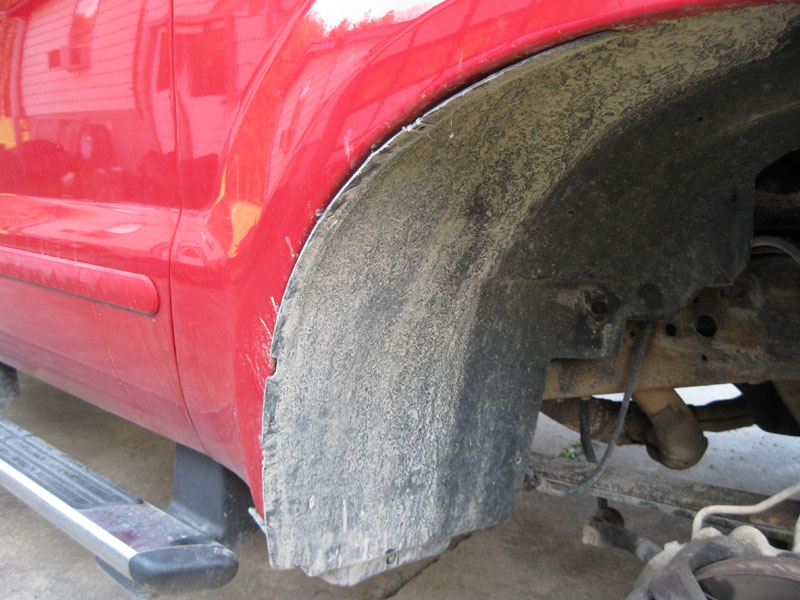
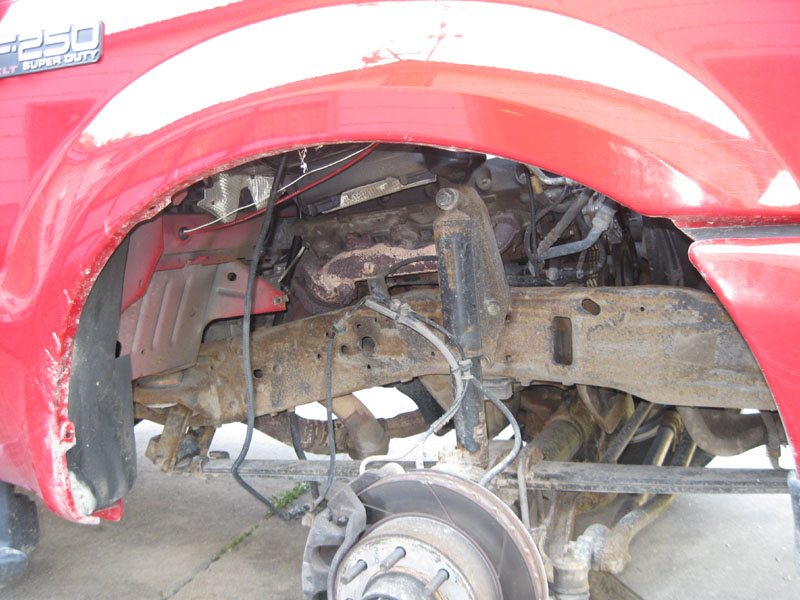
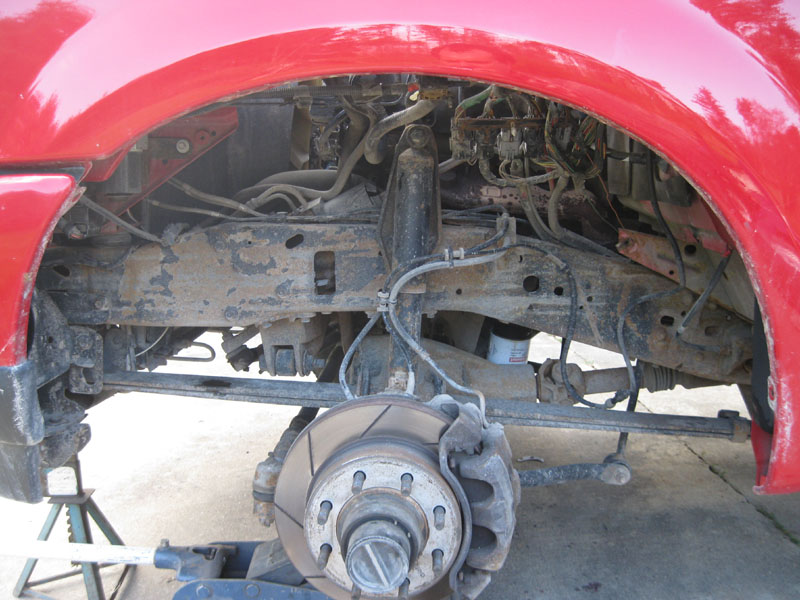
First thing is to remove the wheel & tire.
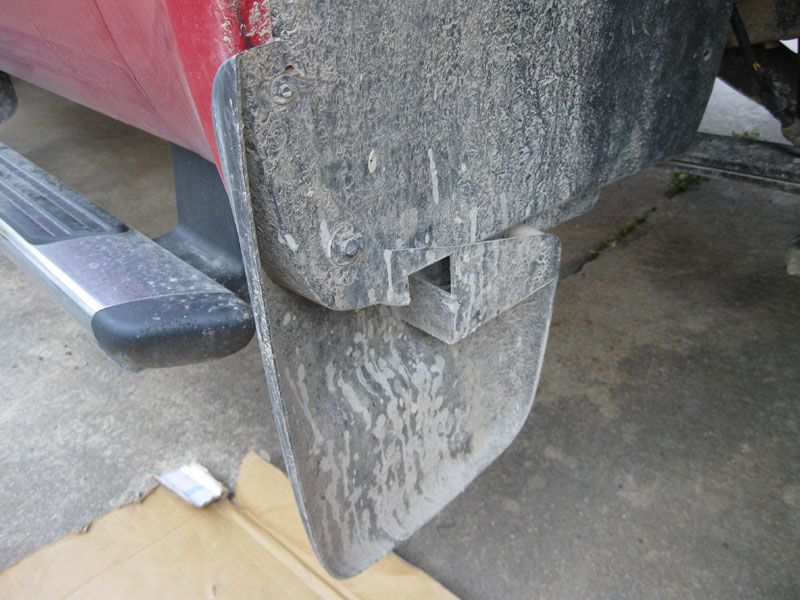
Then, remove the mud flap
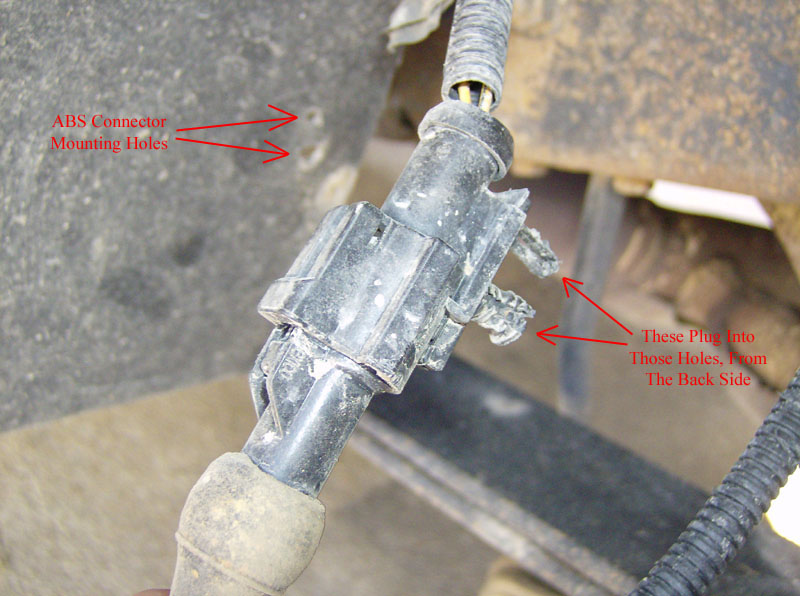
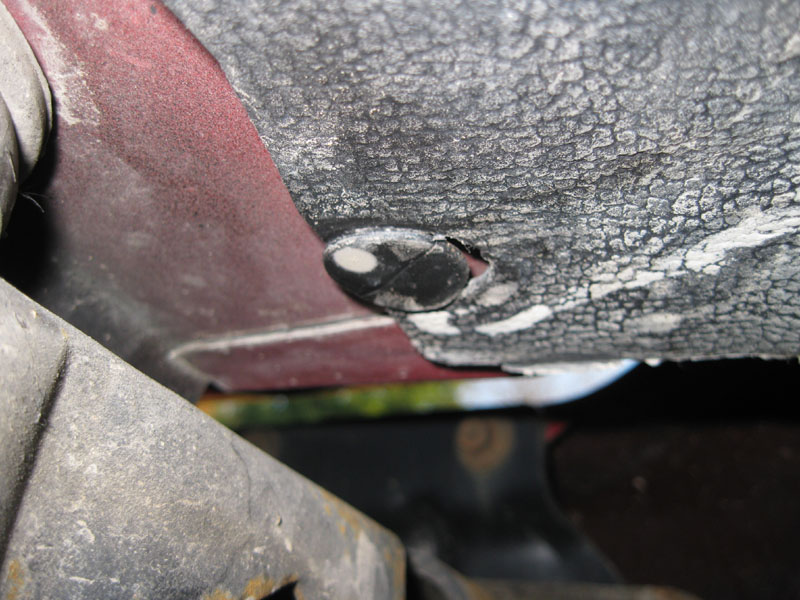
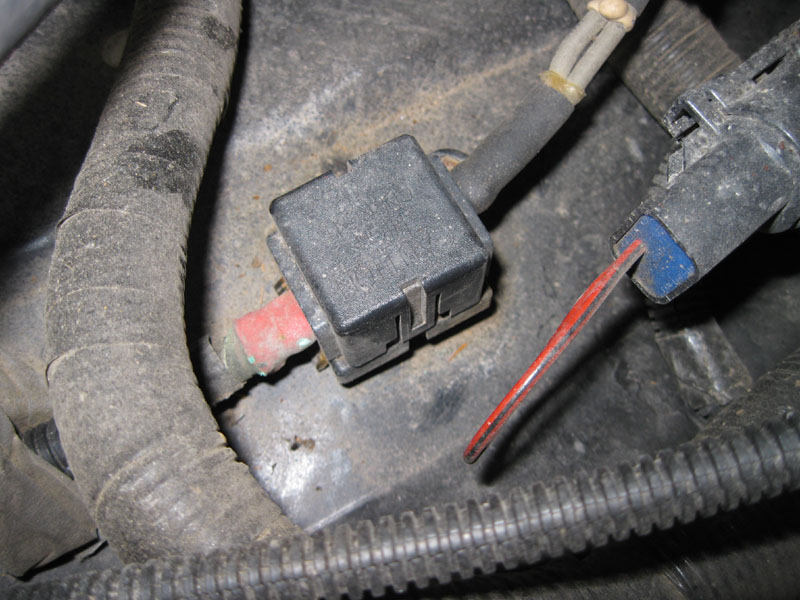
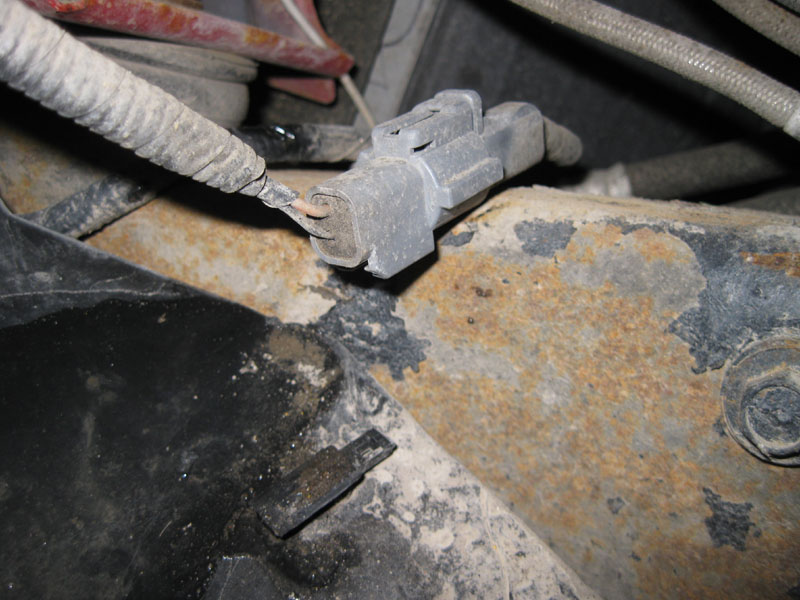
Then, remove the splash shield. First reach up behind the liner at the rear, and remove the ABS wiring connector shown here
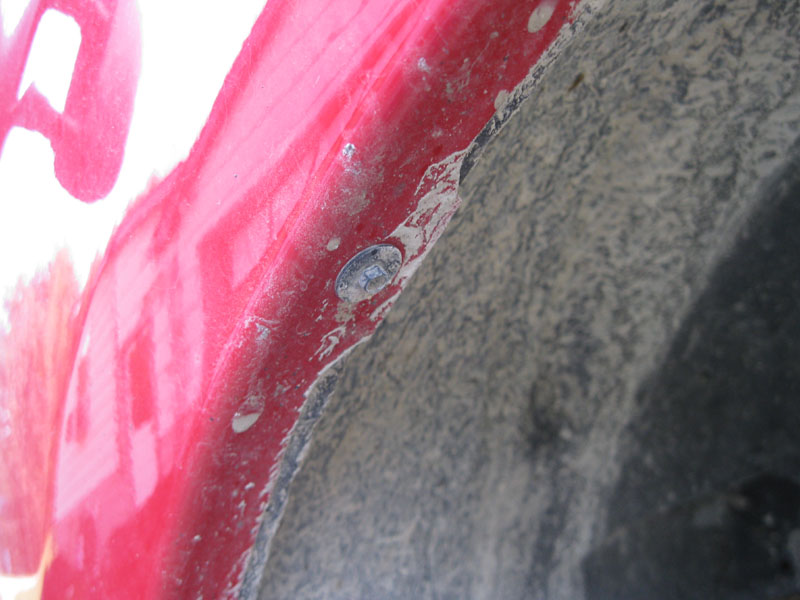
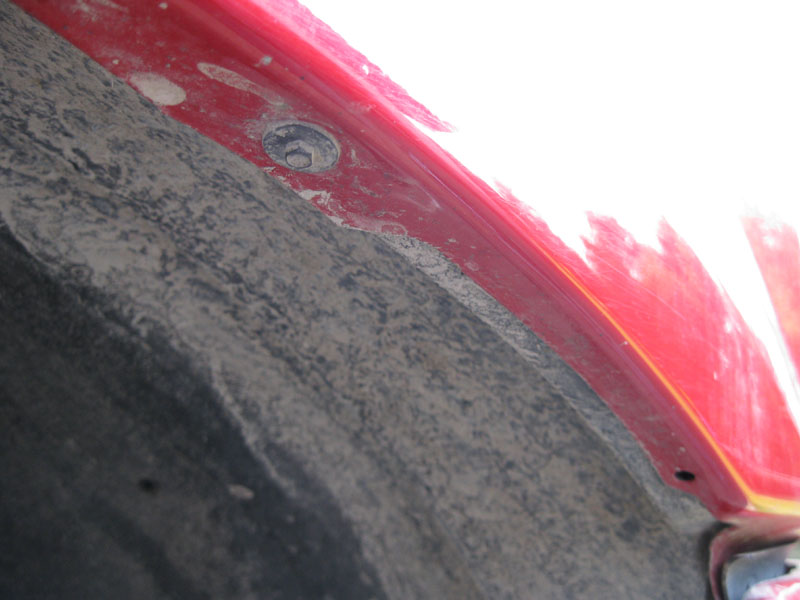
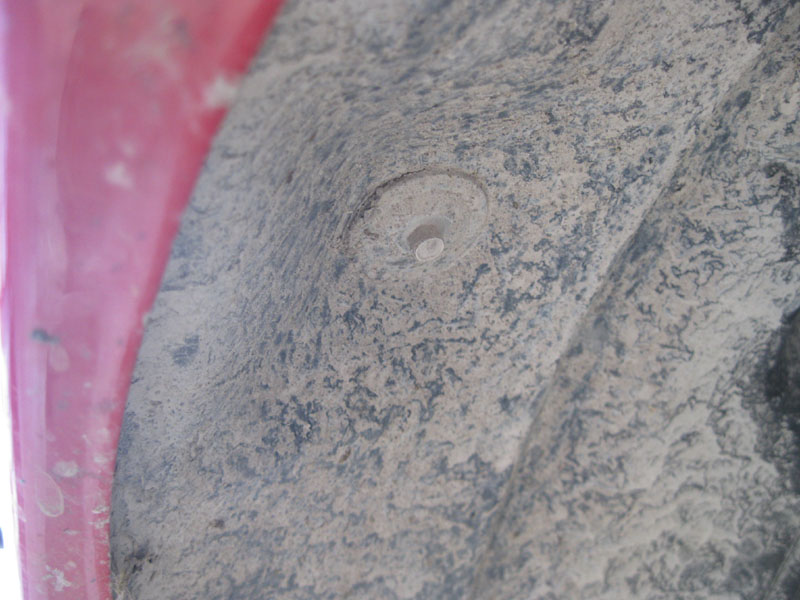
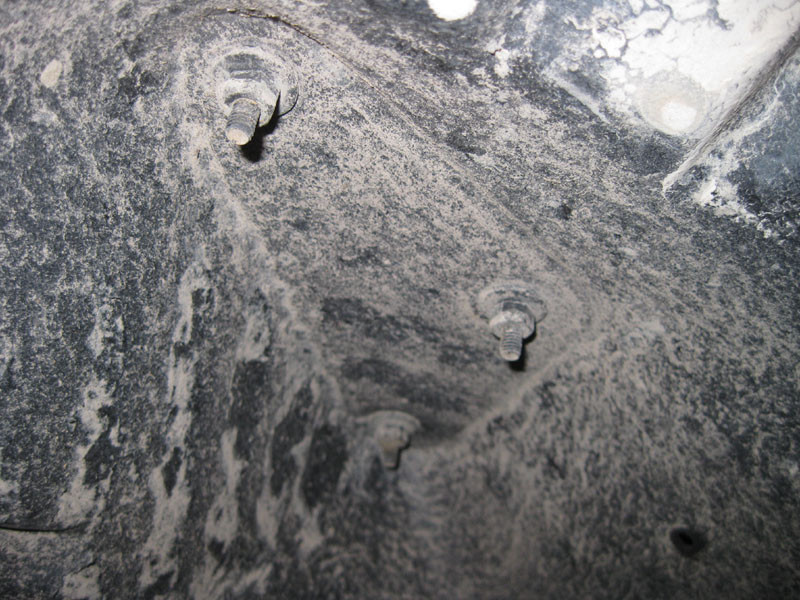
Then remove the 3 screws around the wheel opening
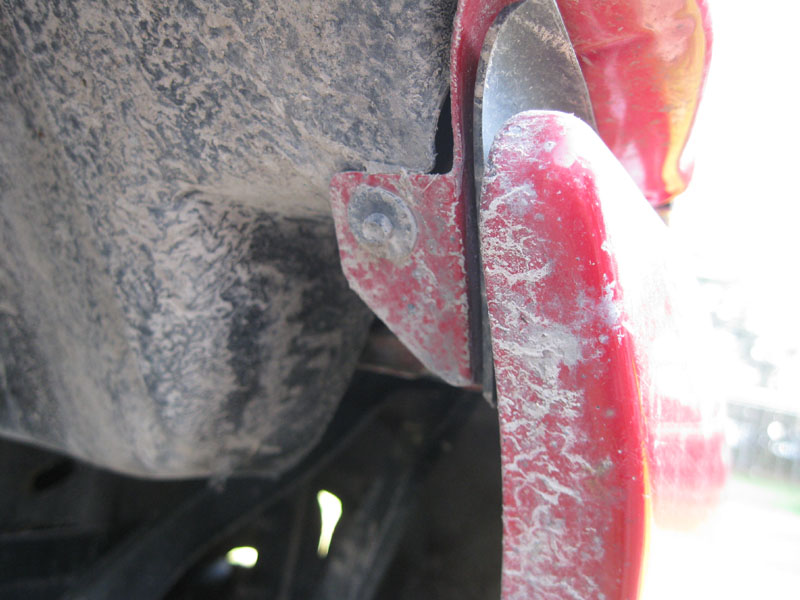
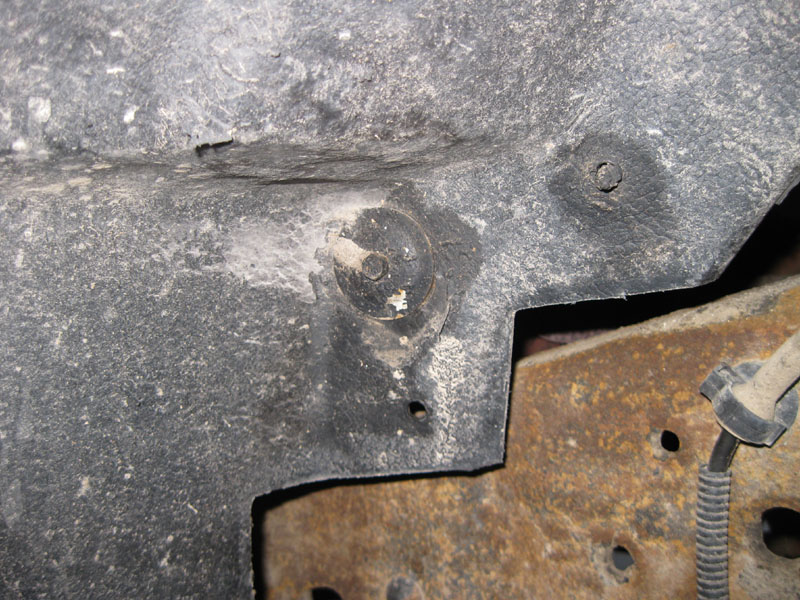
Then the 3 bolts inside the wheel well. One at the front, one at the back, and one at the top
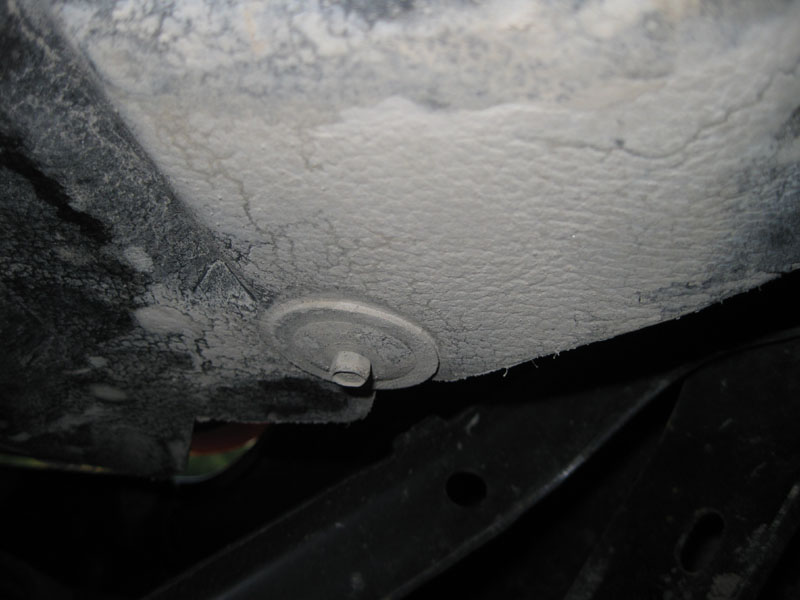
Then the 3 push-in clips. One on the bottom at the front, and two on the bottom at the back
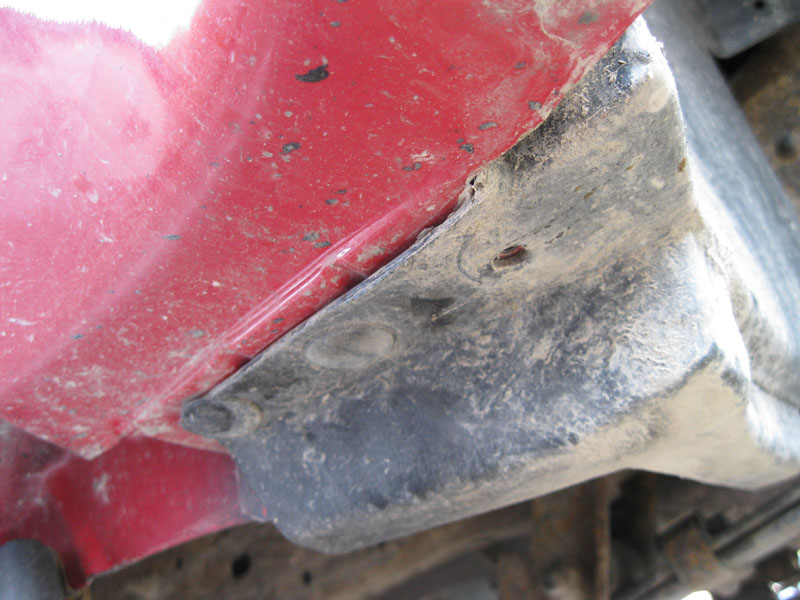
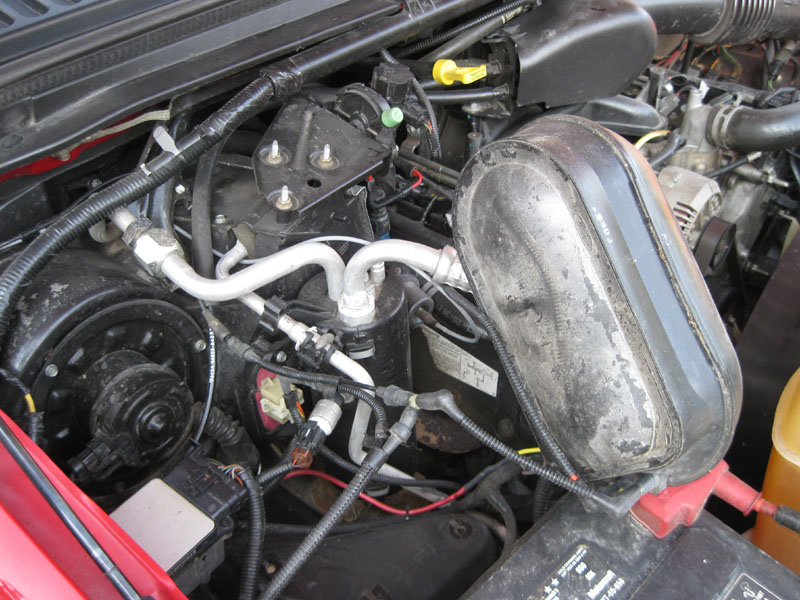
Then, the three nuts that hold the vacuum canister to the splash shield
After removing them, stow the vacuum canister somewhere so it doesn't try to fall with the splash shield removed
Finally, remove the splash shield by pushing it inboard and upward and working it out from around the wheel opening
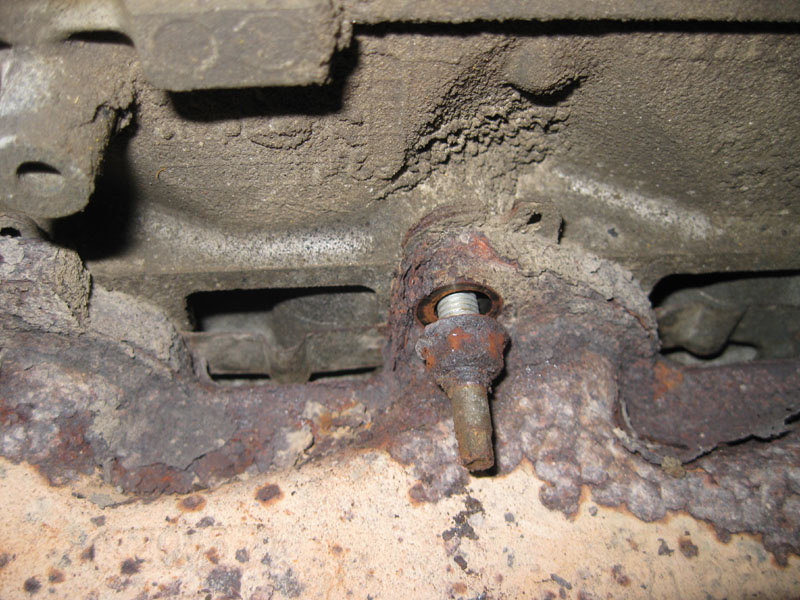
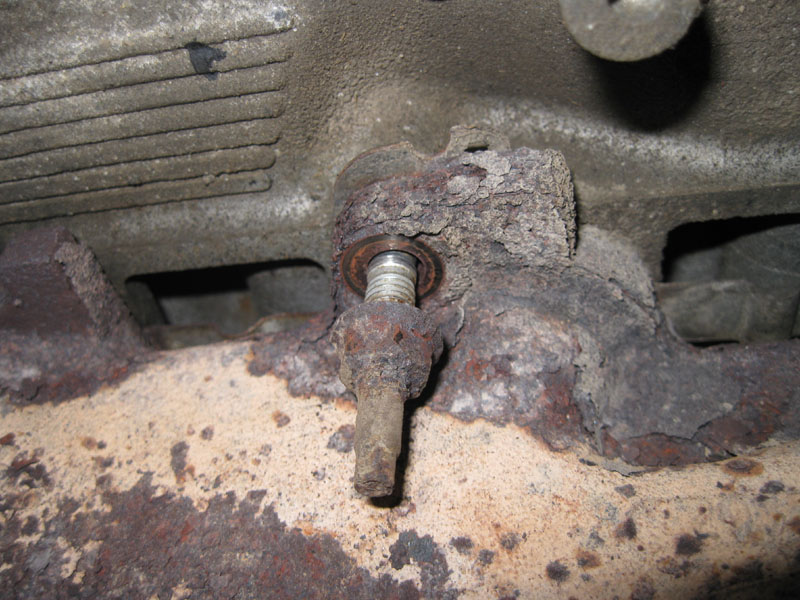
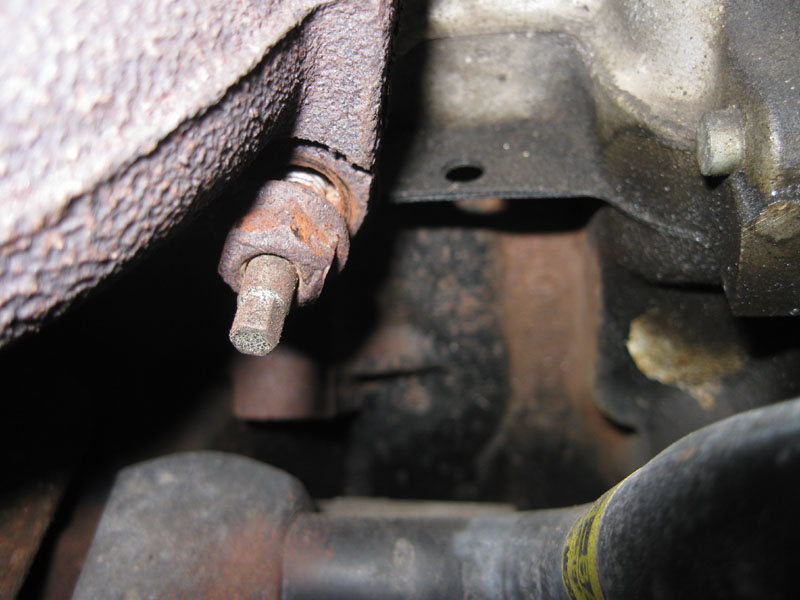
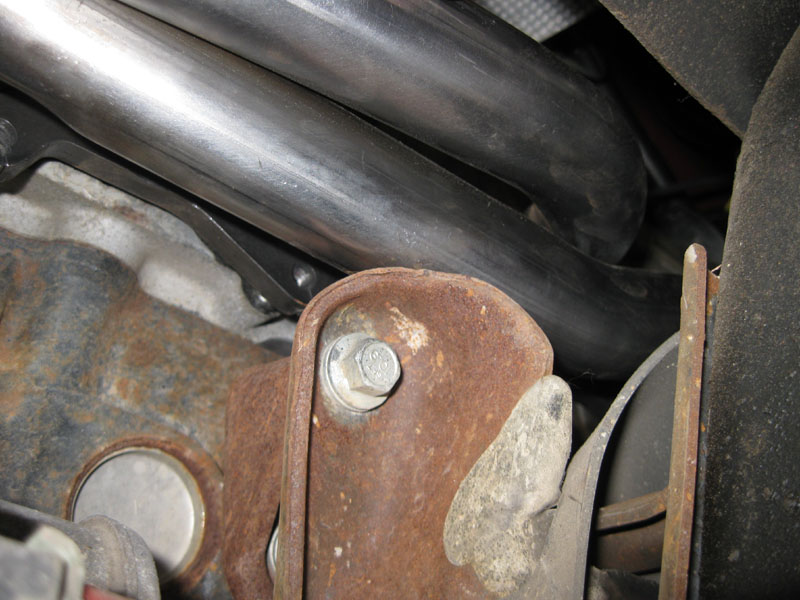
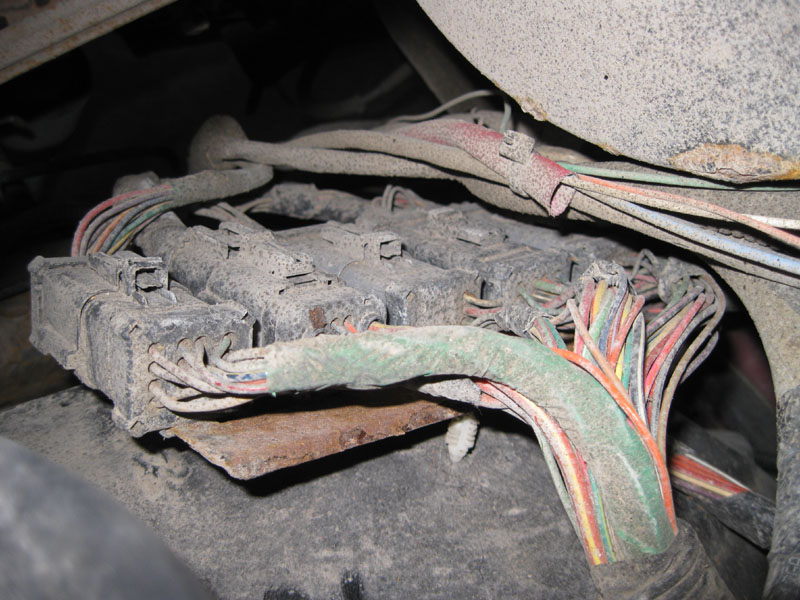
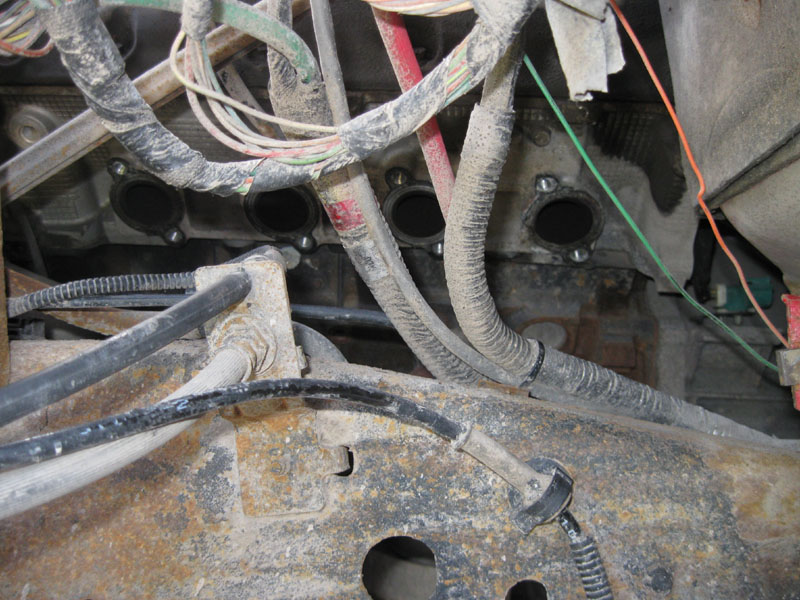
Now, access to the manifolds is much more clear
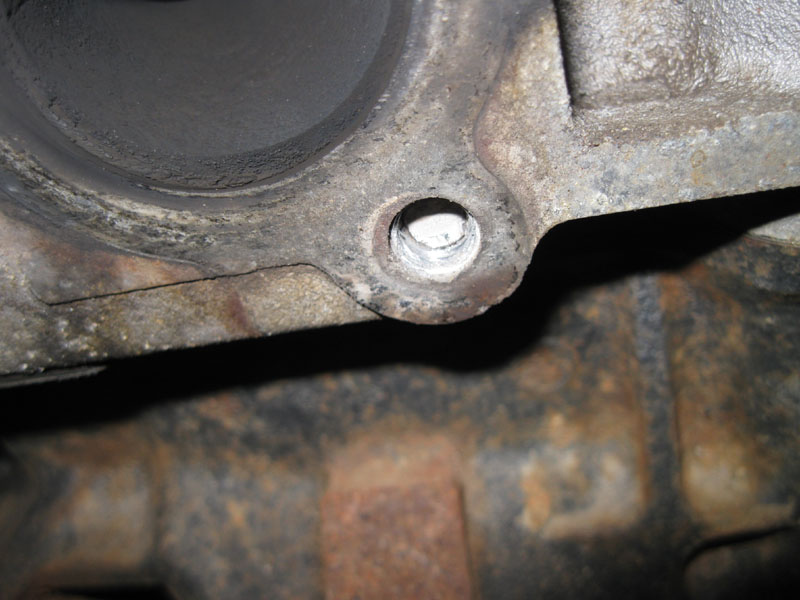
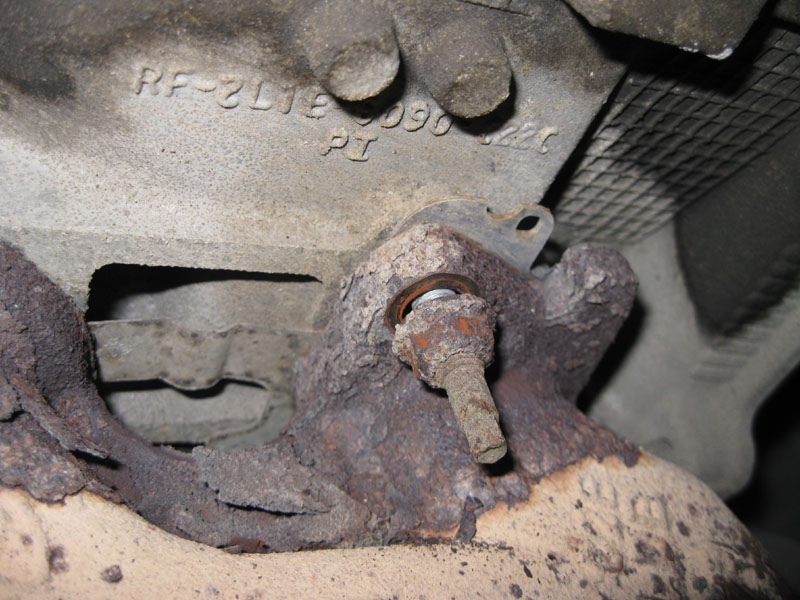
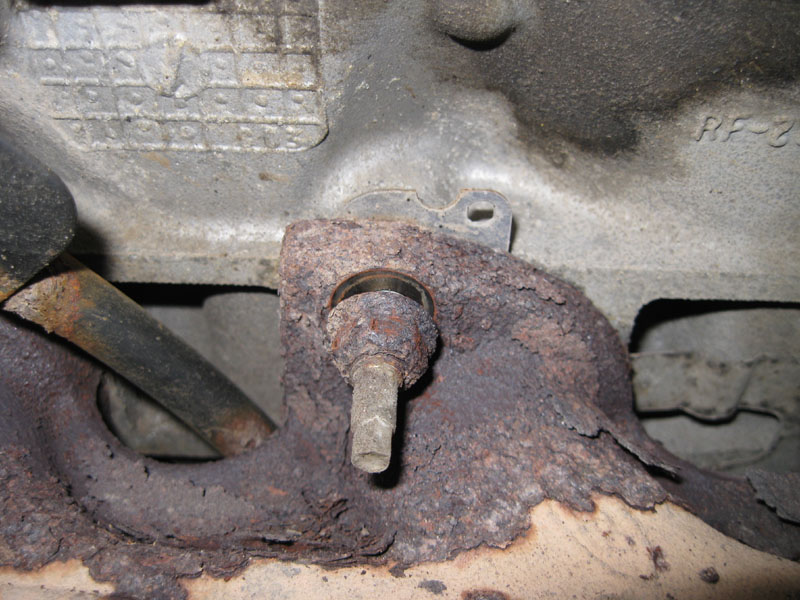
Here's a few shots of the studs
Next, remove the two nuts that attach the manifold to the stock y-pipe
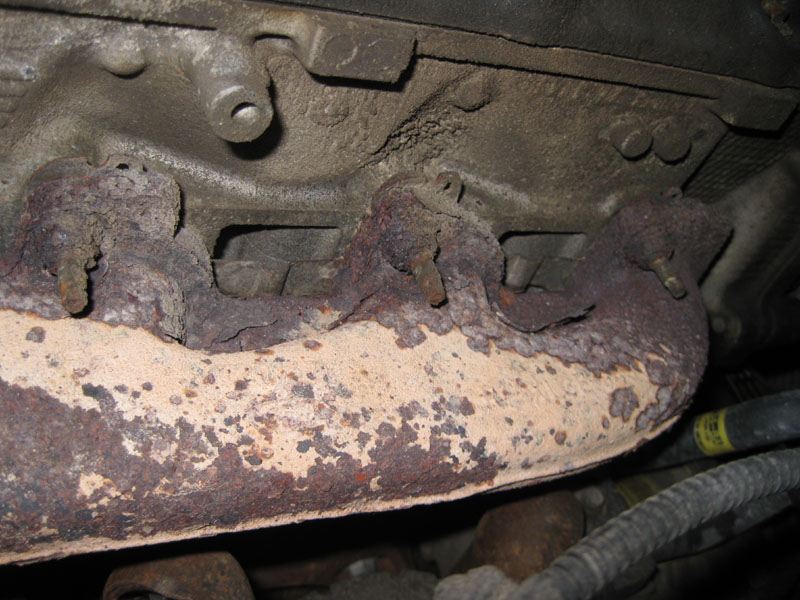
Next, start removing the manifold nuts/studs....
First, the top row. The front three came right out!
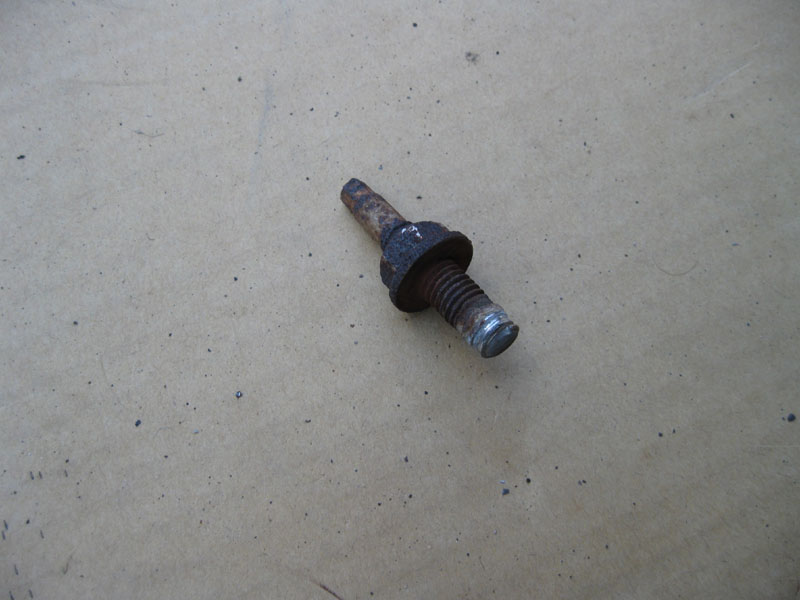
The last one on the top row was the original one that I found broken. More about that below.
Now for the bottom row. Again, the front three came right out. For some reason the nut came off on the front one. The studs for the other two came out same as the top row. I couldn't get pics of the middle two on the bottom row.
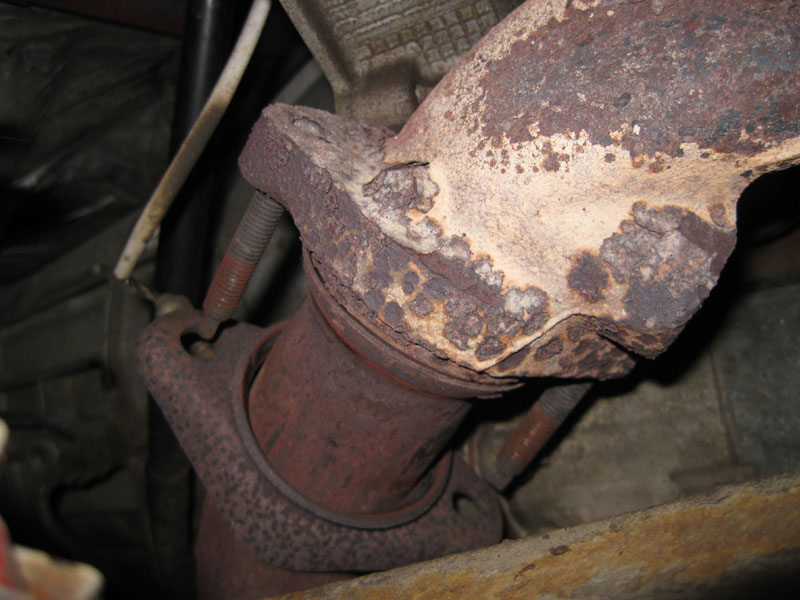
Finally, I broke the rear-most stud on the bottom row
Now, I was able to remove the manifold and deal with the two broken studs.
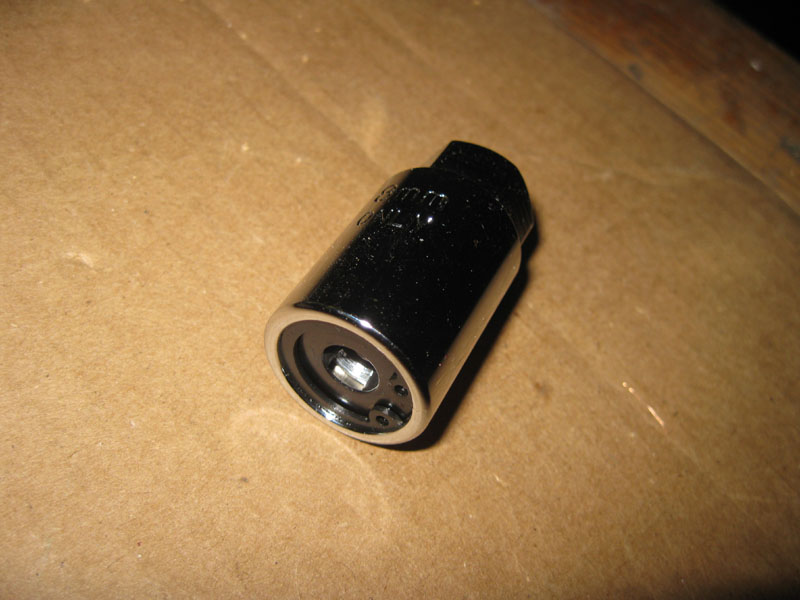
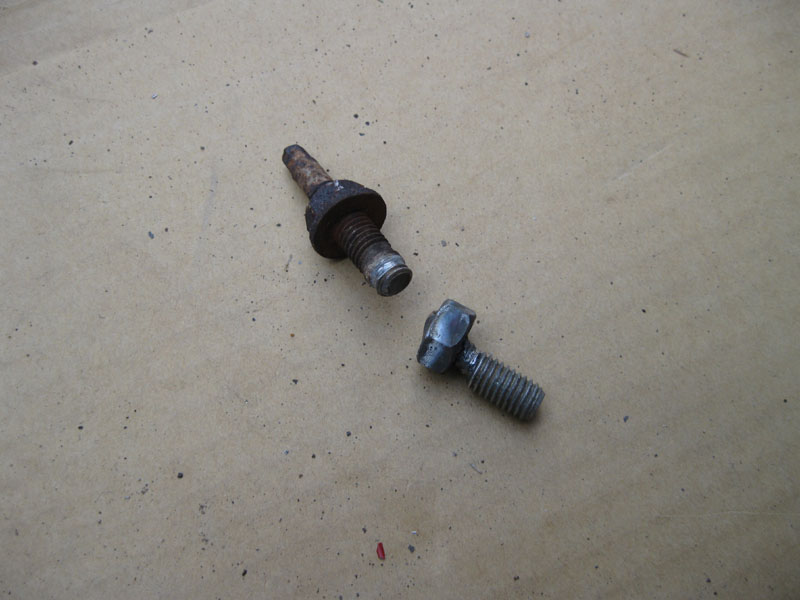
First the upper stud. I used an 8mm stud remover and it came right out. This tool is KD 41762.
Now for the other broken stud. It broke off down inside the head. I unhooked the battery, broke out the mig welder, and built up the stud enough to weld a nut onto it. Then it came out easily. I think the heat helped alot here.

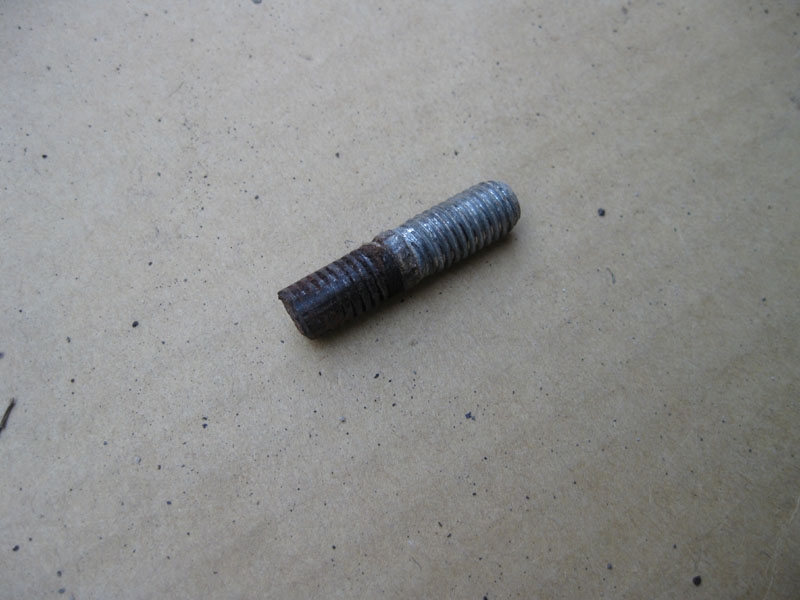
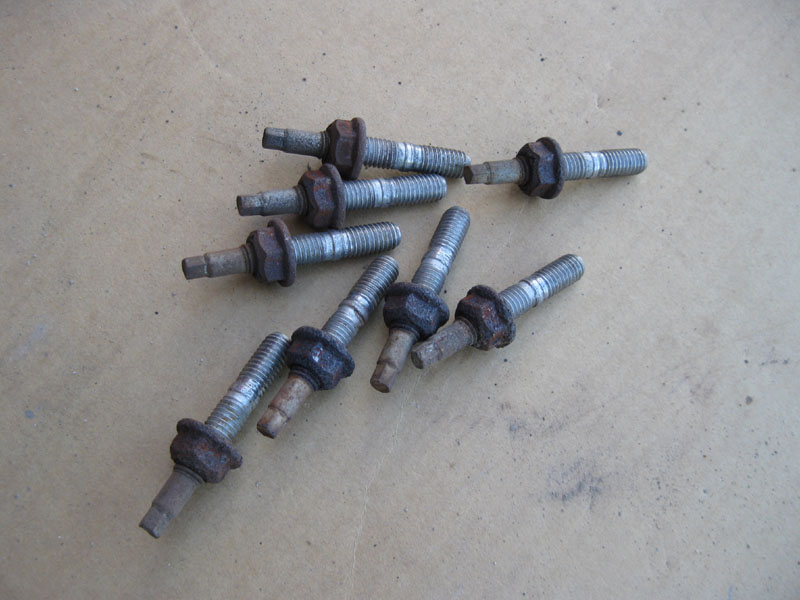
Now, all the studs are out
Before starting the header installation, I finished removing the y-pipe. I disconnected it from the driver's side manifold (2 nuts), and from the rest of the exhaust system (3 nuts), and dropped it down out of the way.
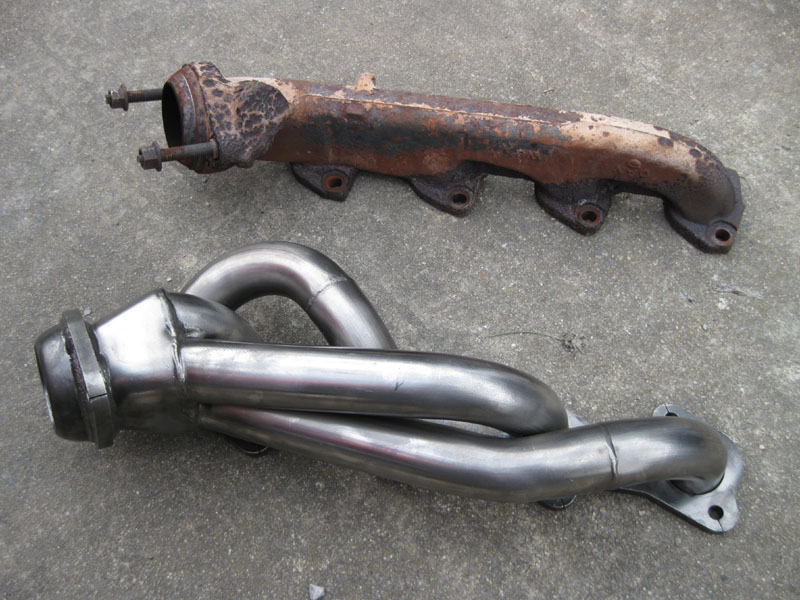
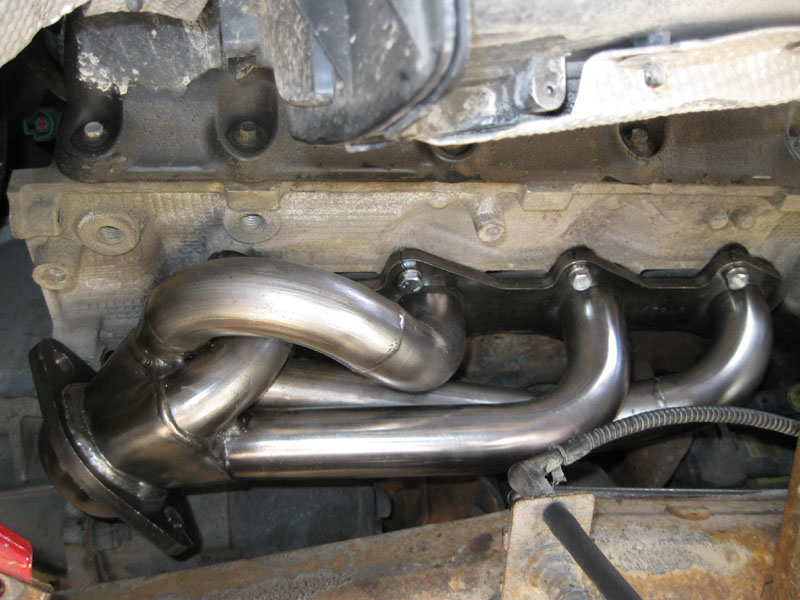
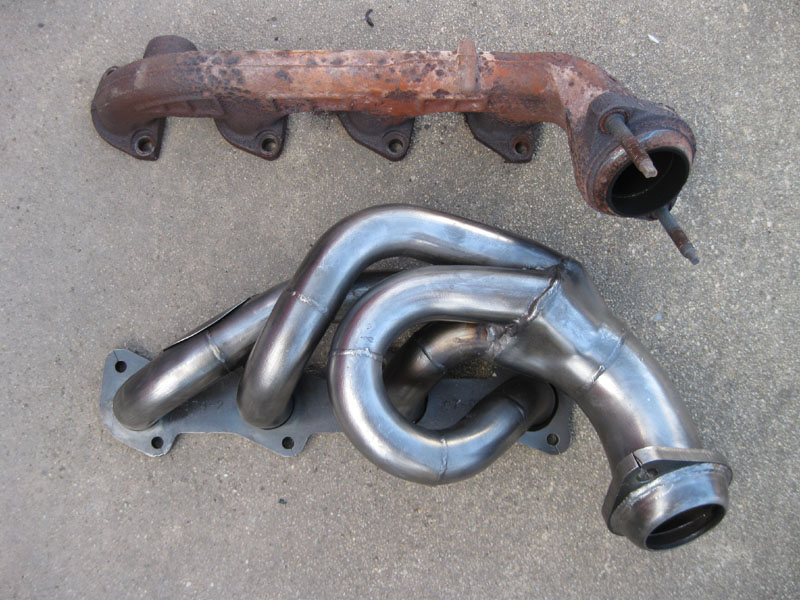
Here's a comparison shot of the right side manifold vs header.
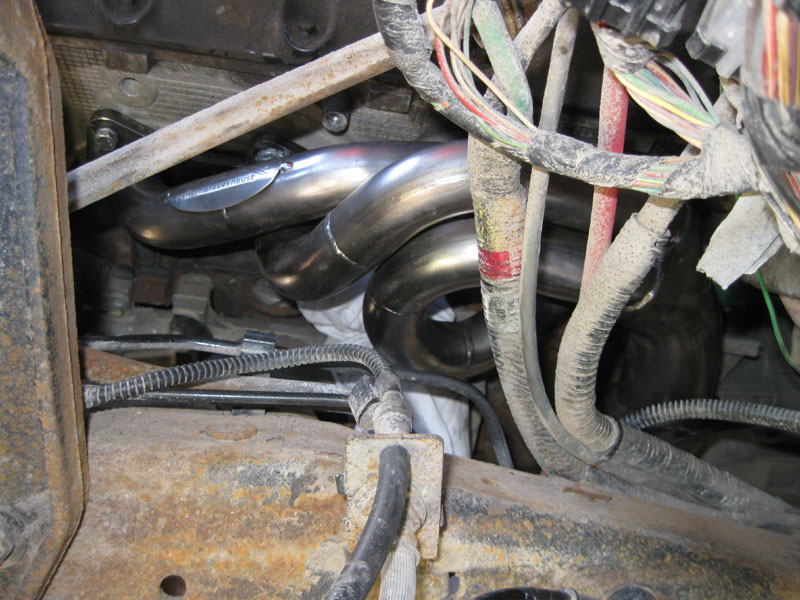
After cleaning up the mounting surface, I began fitting up the header and ran into a problem right away. The header was hitting the motor mount. After a phone conversation with Alex at JBA, it turns out he occasionally gets calls about this on these trucks. He said something like 1 in 20 sets. He said people usually just grind the motor mount a little bit to clear.
So, I broke out the grinder. Its not pretty but it did the trick. If I would've had a better idea exactly where it was hitting, I probably could've ground less away, but it should be fine.
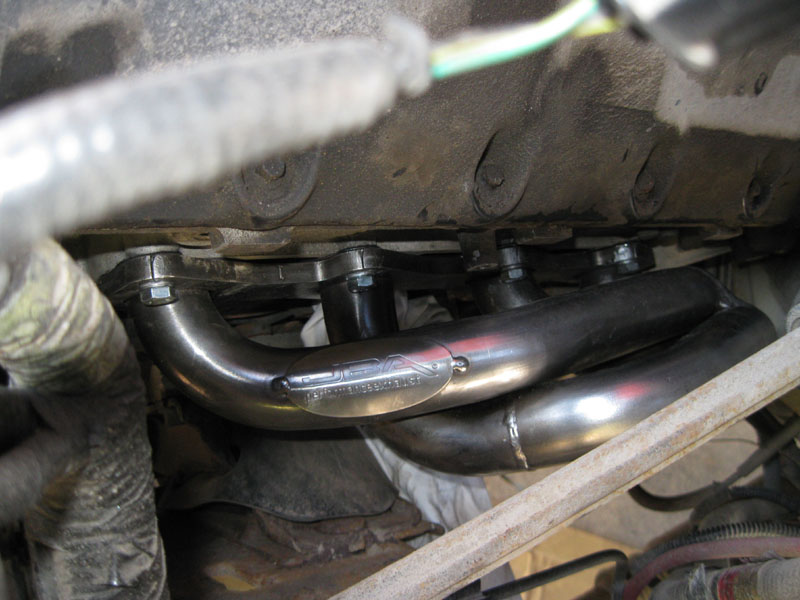
Next, I installed the header with the supplied gasket.
I tightened the 16 header bolts evenly in increments, in pairs, from the inner ones to the outer ones. The torque spec is 23 ft-lbs but, for some of them, it was impossible to get a torque wrench on, so I tightened them best I could to match the ones I could torque.
I left the y-pipe disconnected and the wheel liner out while I worked on the driver's side, so that I would have access during the y-pipe installation.
Now on to the driver's side. Remove the wheel & tire, mud flap, and splash shield, same as the driver's side.
For the splash shield, the number of bolts, screws, and clips are the same on the driver's side, but there's a few different things attached to it.
First, this nut.....
holds this on.....
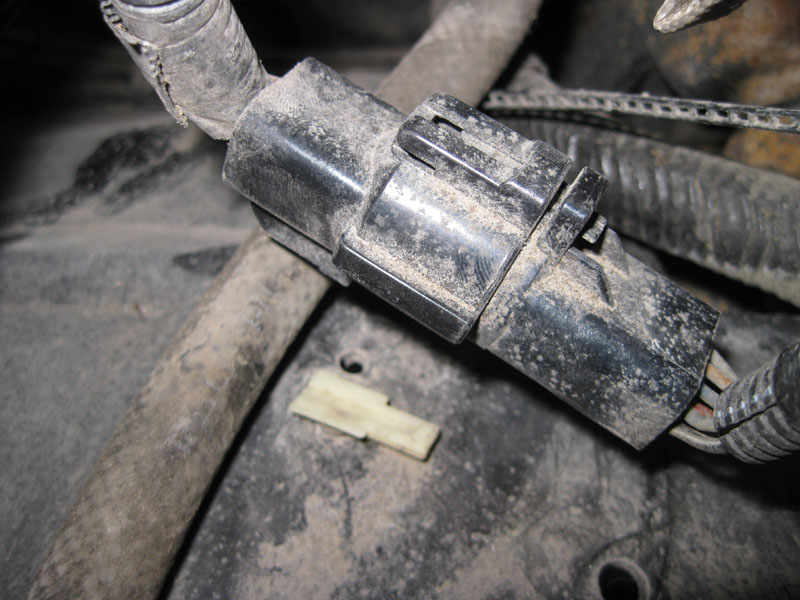
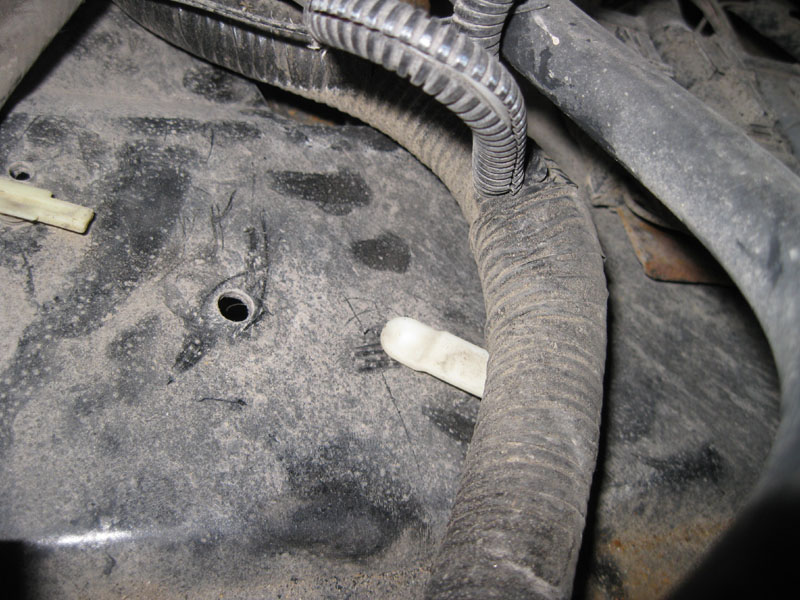
Next, this connector attaches to the white piece below it.
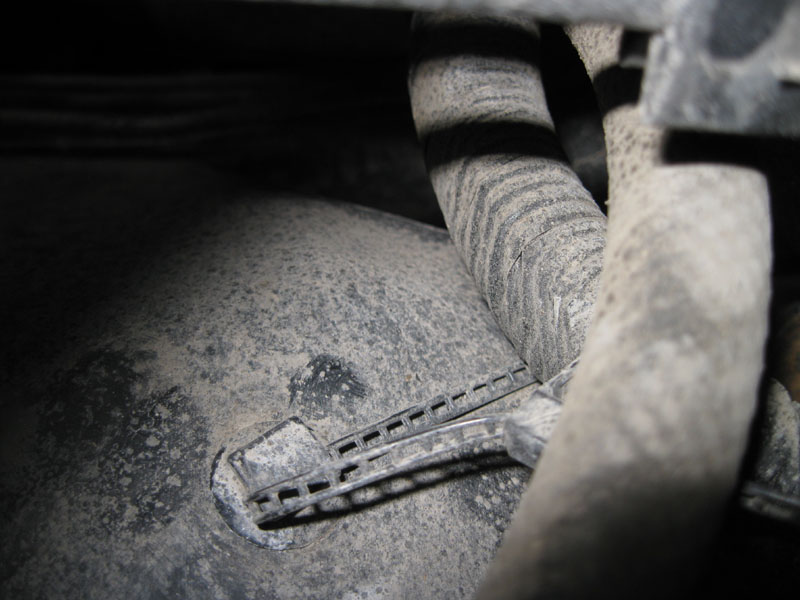
Next, a wiring harness attaches with this clip.
Next, inboard, and toward the front, this cable tie needs cut.
Next, this gang of connectors attaches with one plastic clip, near the firewall.
And finally, this connector is hiding on the inside edge, near the front and attaches with the black piece below it
Now the splash shield can be removed, same as the right side.
Access to the driver's side isn't as clear thanks to the additional wiring, and the steering shaft
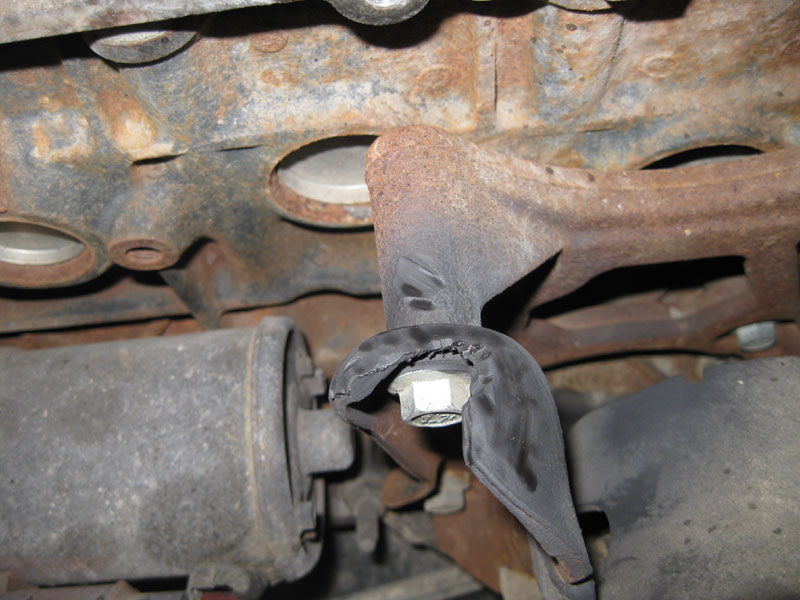
Now, a few shots of the studs
Luckily, all 8 studs came out with no problems! I was only able to get pics of the top ones.


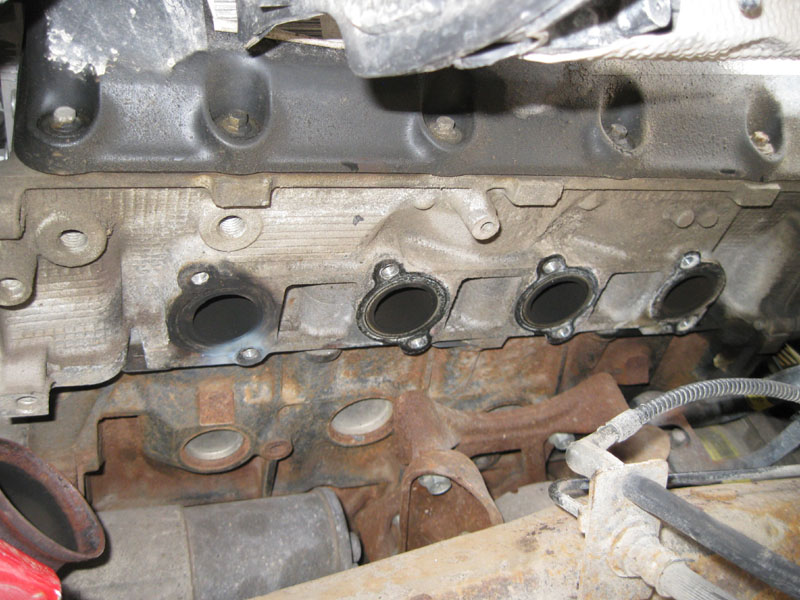
A shot of the exhaust ports with all the studs out
Another comparison shot of manifold vs header
The oil dipstick tube needs to be removed to allow the header to be installed. Just remove this bolt and it will pull up & out with a little persuasion.

Next, clean up the mating surface and install the header with the supplied gasket.
Next, reinstall the oil dipstick tube. Put a little motor oil on the o-ring before installing it.

OK... now that the headers are installed, its time to tackle the new y-pipe.
First,
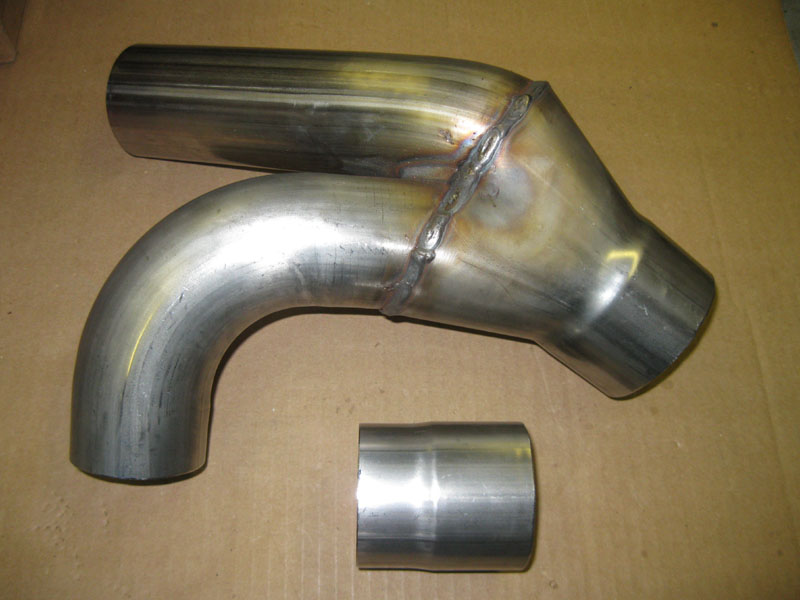
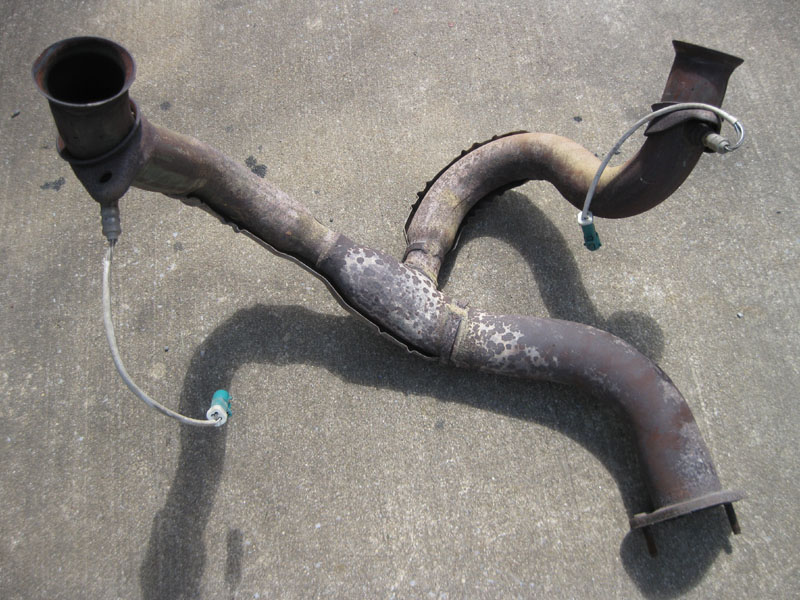
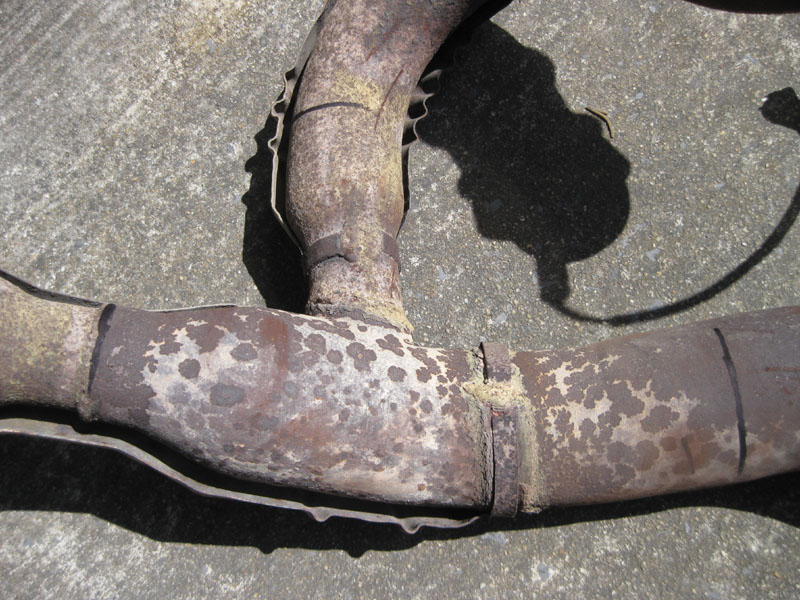
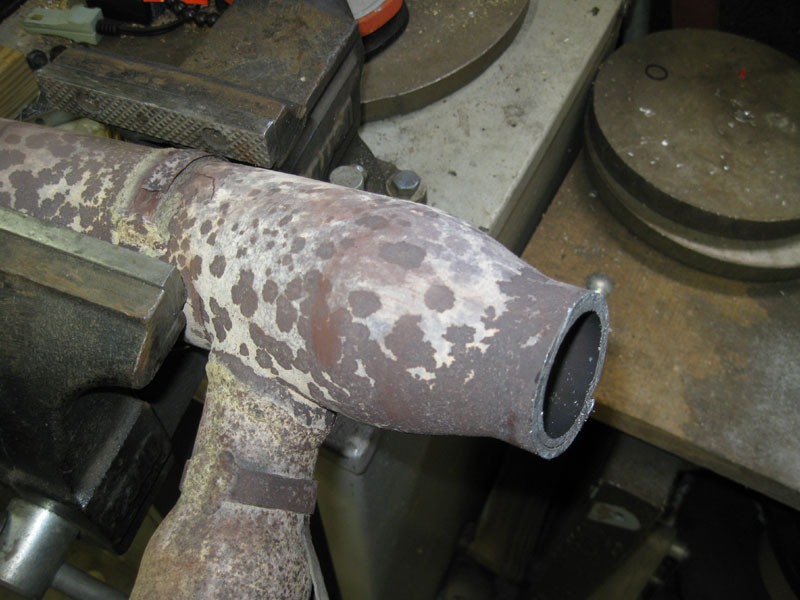
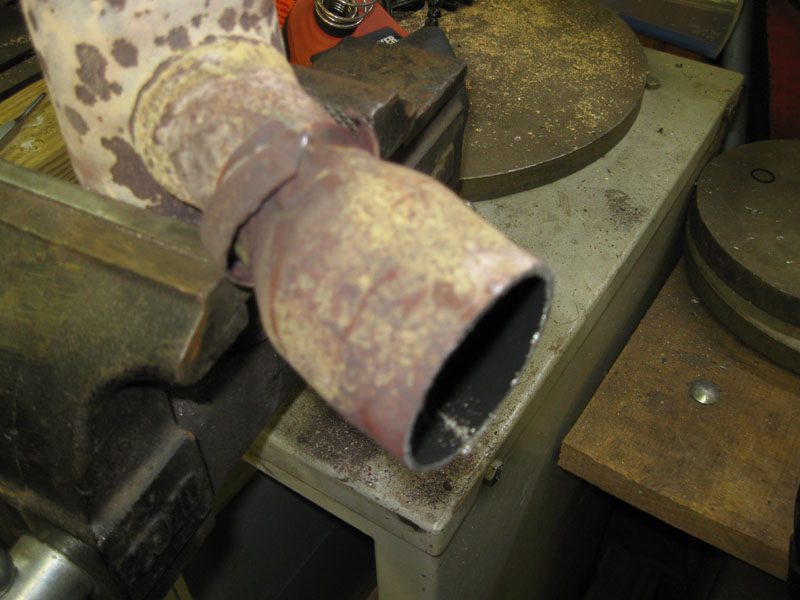
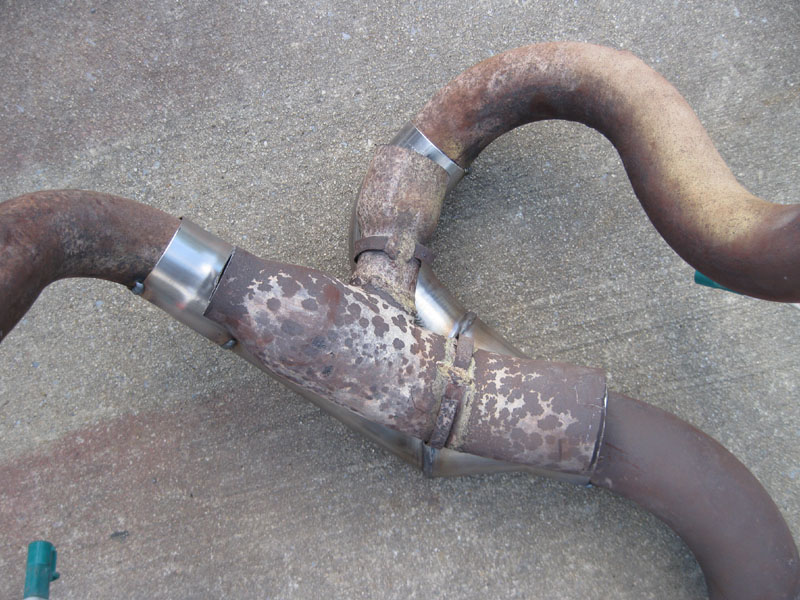
here's a pic of the original Y-pipe T-pipe
I started by laying the new one on the original, and marking where to cut, leaving some extra to play with
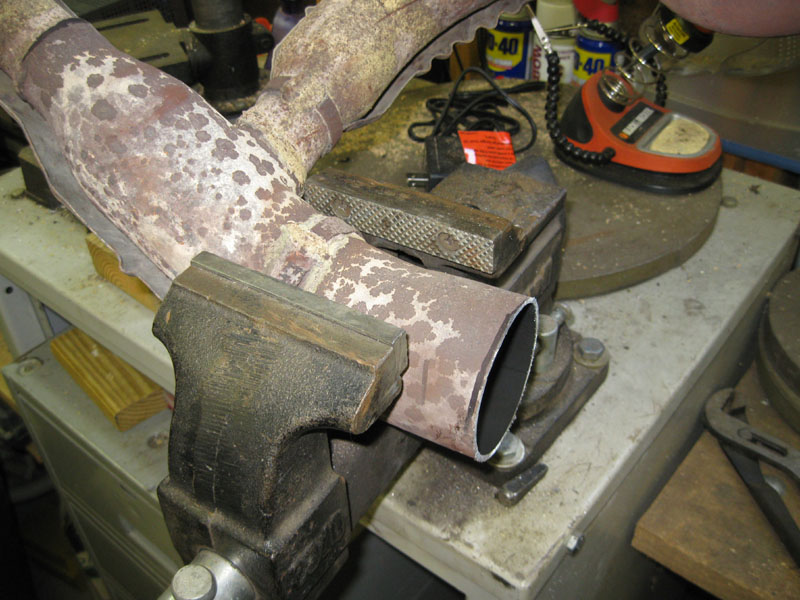
Then I used a sawzall to make the cuts. I also removed all the heat shields.
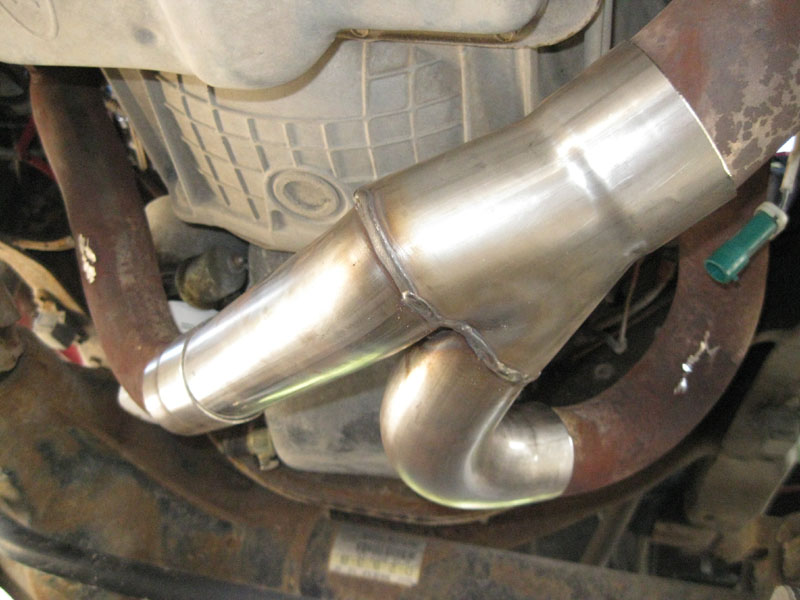
Next I attached the two pipes to the headers and the third one to the exhaust system and fitted the y-pipe in place. I marked the three edges of the new pipe, and removed it all again to re-cut the original pipes to remove any excess.
Then, I reinstalled it all once again, disconnected the battery, tack-welded it into place, and removed it, again, for final welding..
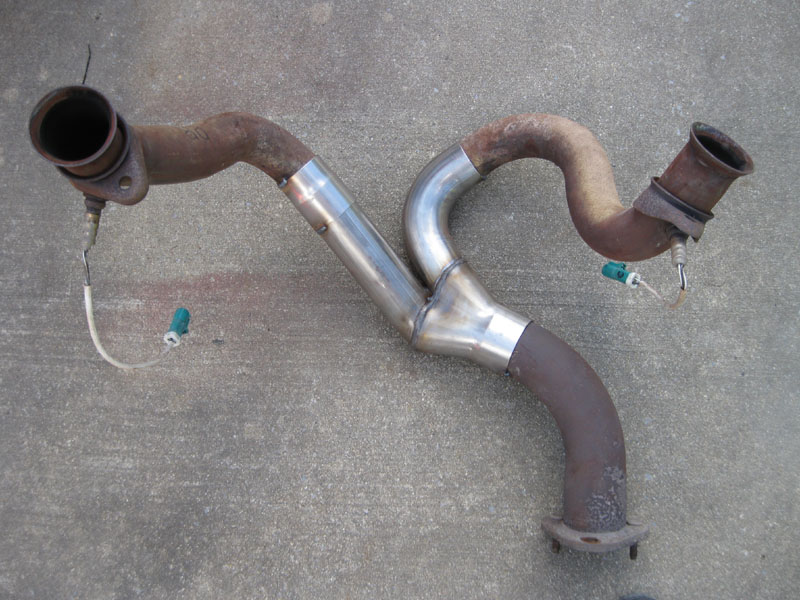
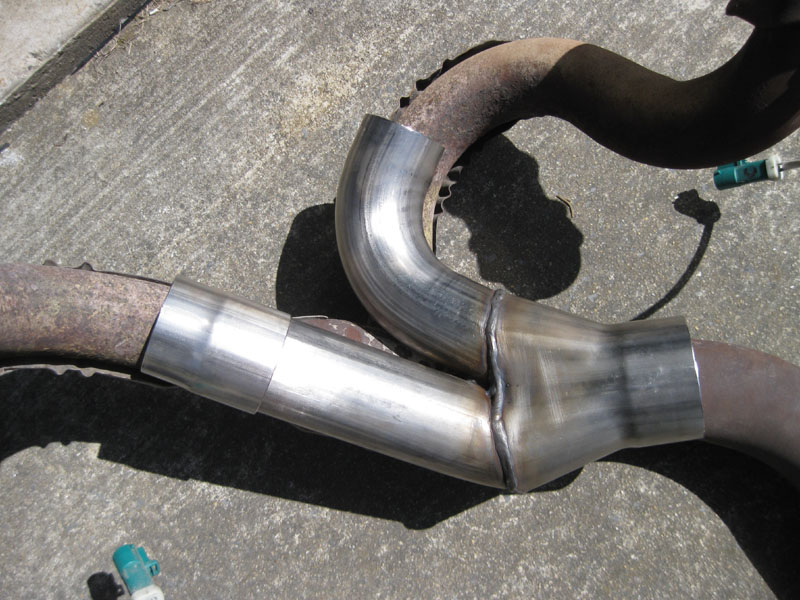
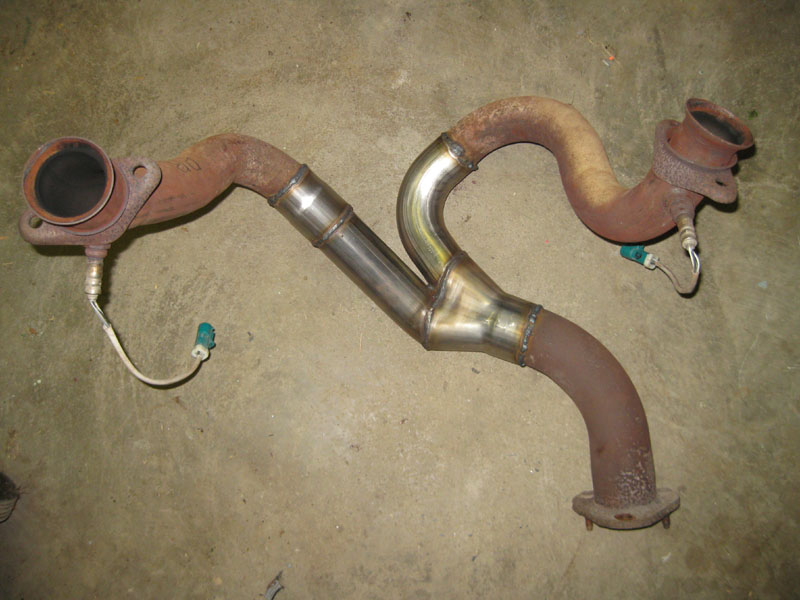
This pic shows the new y-pipe vs the original t-pipe.
After welding all the seams
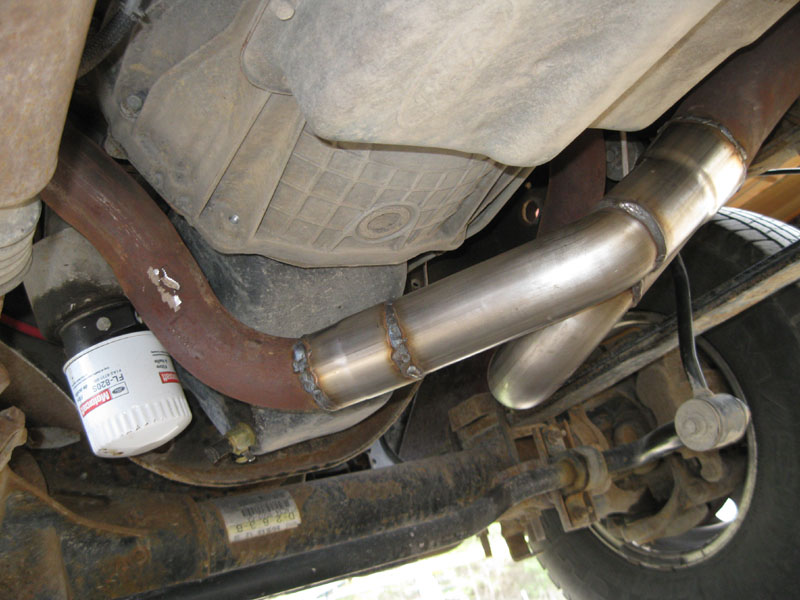
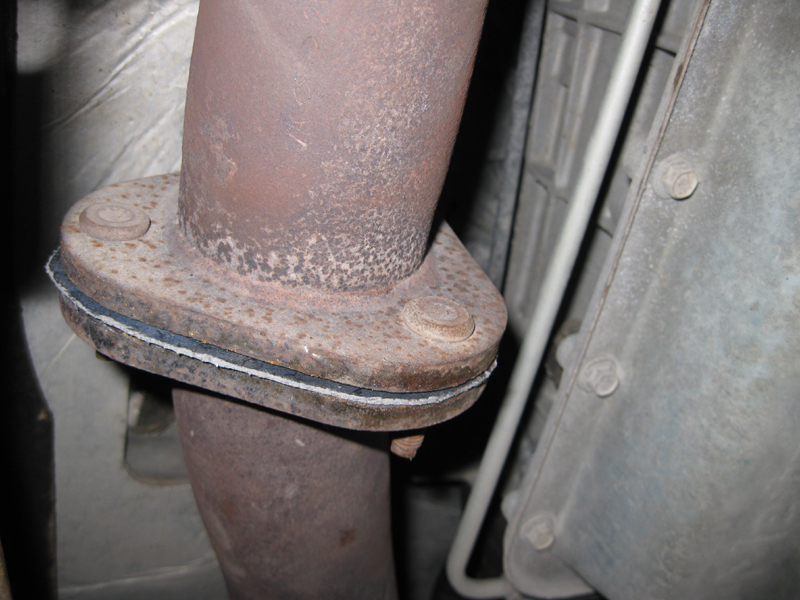
Then, after re-installing it on the truck
The last thing related to this is a gasket that didn't survive when I separated the y-pipe from the rest of the exhaust. After searching around a bit, I decided to just buy some Mr Gasket #5961 exhaust gasket material from Summit Racing and make a new one. For those interested, the Ford part number for this gasket is F6TZ5C226BA.
My paper template
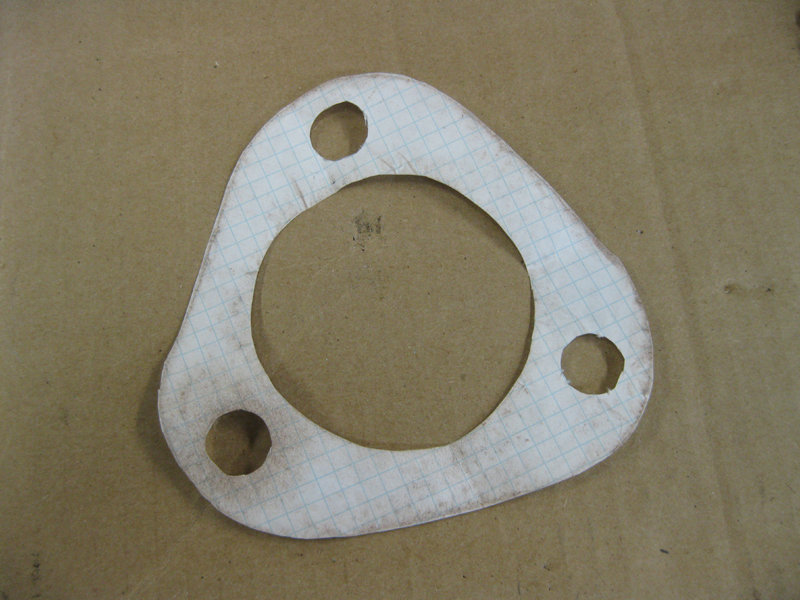
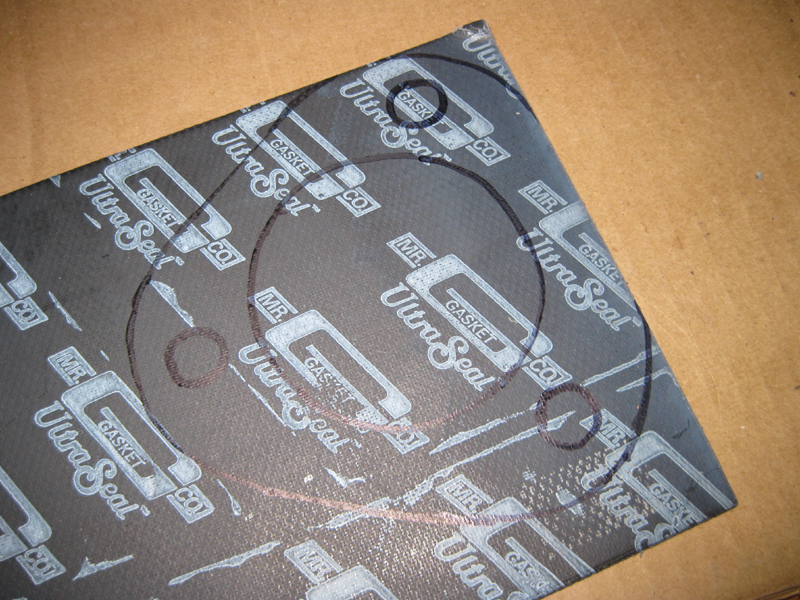
I used tin snips to cut the outer perimeter, a 9/16" hole punch for the holes, and a utility knife for the inside circle
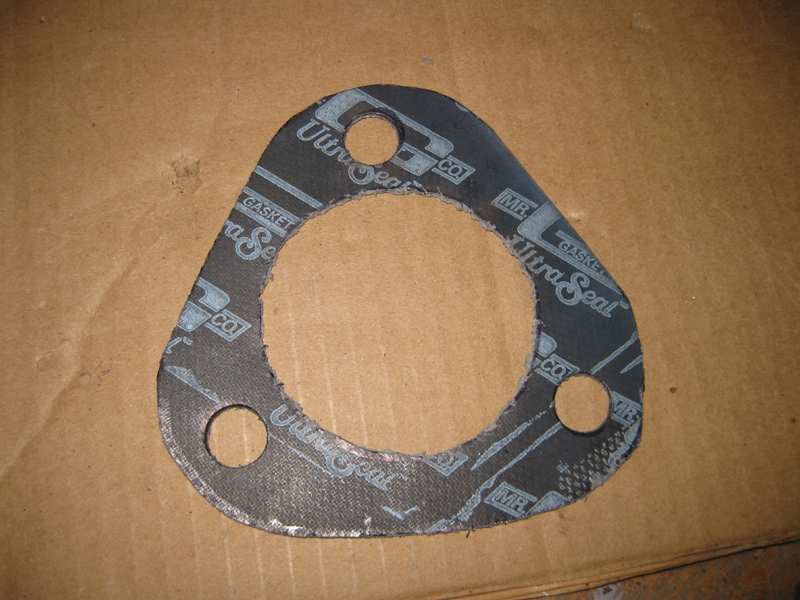
This should do the trick
After reinstalling the y-pipe, I connected up the oxygen sensors, and started the truck. I let it run for about 20 minutes and listened for exhaust leaks while it was getting up to temperature.
Then after it cooled back down, I went back and re-tightened all the header bolts.
After that, I reinstalled the splash shields, mud flaps, and tires and took it for a test drive.
After the first drive, my initial impressions are that this combo works really well! Throttle response is much better and it seems to have alot more pep off the line. Also, the truck seems to accelerate much more smooth now. Hard to say whether the headers or the y-pipe helped the most, but this combo certainly works well on my truck.
Questions or Comments? Email jmray@frontiernet.net