|
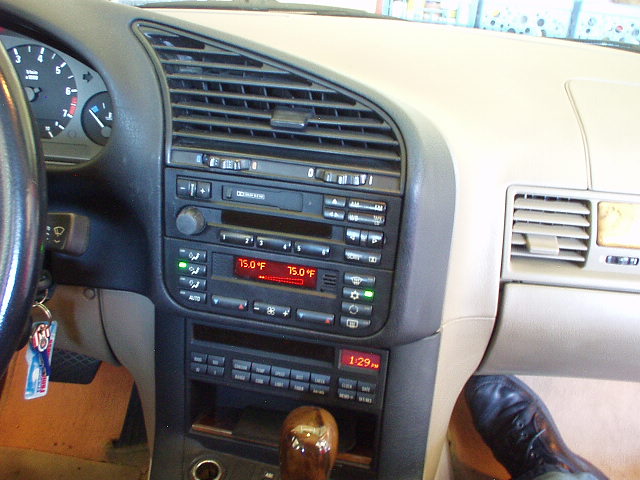
If your radio looks like this one and you can tell what station you are on only if the sun shines on it at just the right angle, these instructions may help you. |
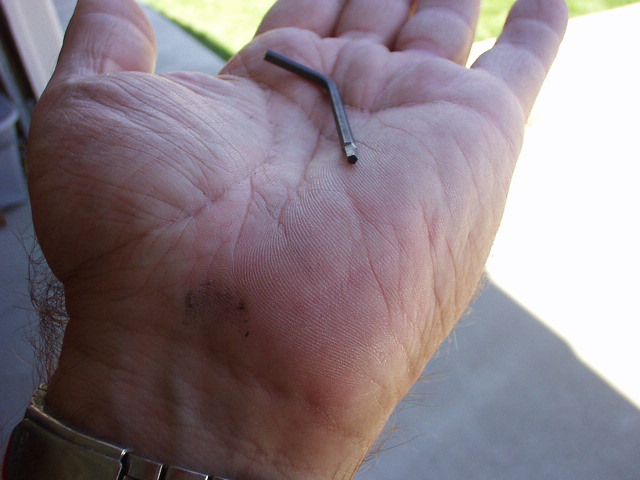
Step 1 - Parts and Tools Needed:
|
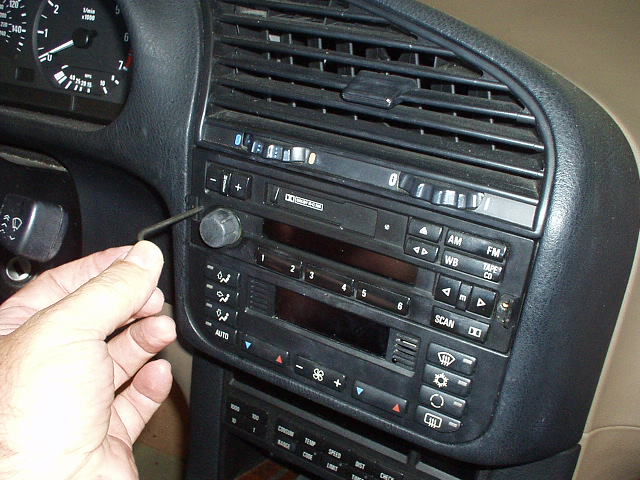 |
Step 2 - Flip open the little doors at either end of the radio face, and using whatever tool you have that will fit, loosen these clamp screws as far as they will loosen. |
 |
Step 3 - Pull out the radio, unplug the two antenna leads, and pry up on the latch that secures the main plug on the back of the radio. Even after this latch is fully pulled up (about 3/4"), you have to pull and pry really hard to get this plug off. |
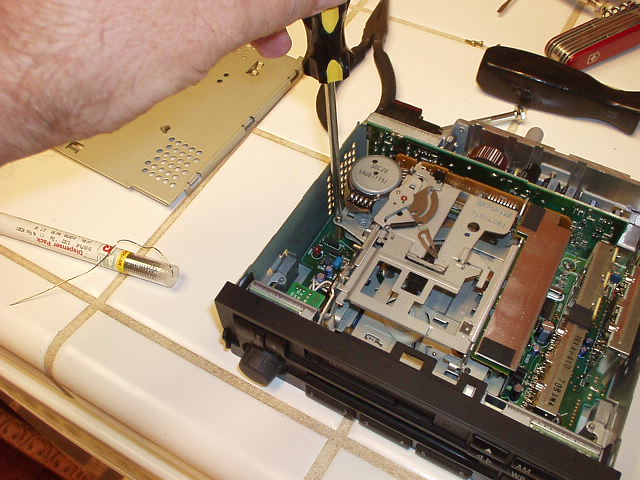 |
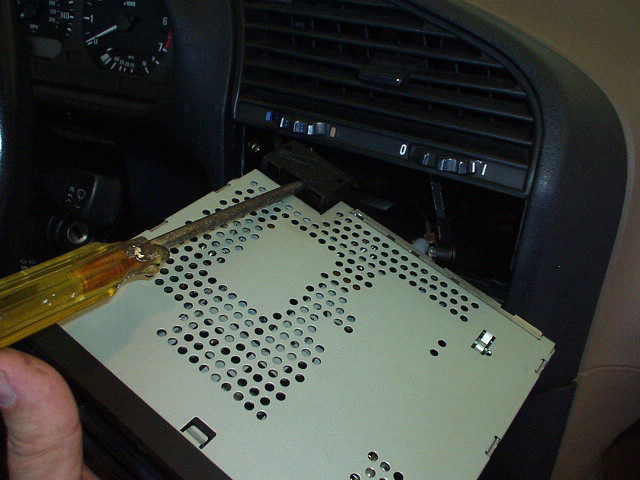
Step 4 - Remove the top cover (4 screws) and take out the cassette player (4 more screws). A magnet is handy because these screws tend to fall into cracks.On my first one, I had read enough on the Internet to know that I was likely looking for bad solder joints. At this point, I took the radio back to the car and plugged it in and turned it on. Then I poked things with a toothpick until the radio display flashed on. Then I knew that I had found the problem. On my second one, I could see through my magnifying glass that the same solder joints had failed so I did not need to take the radio back to the car. |
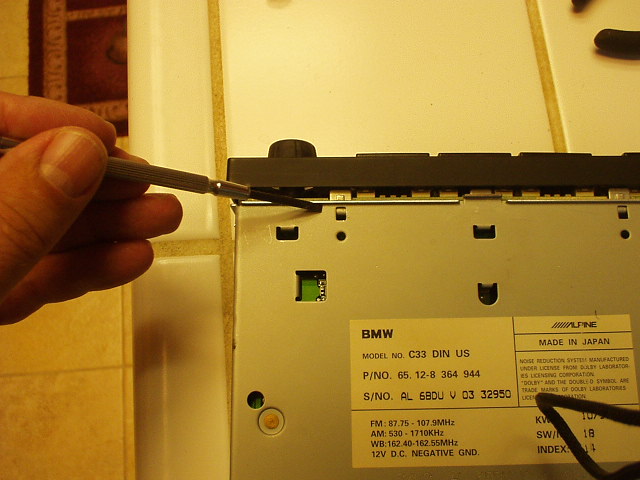 |
Step 5 - Since you have already removed the screws that held on the top cover, the only thing holding the face on the radio are these snaps all the way around the perimeter. There is one electrical plug near the volume control that is easily unplugged from the circuit board once the face is loose. |
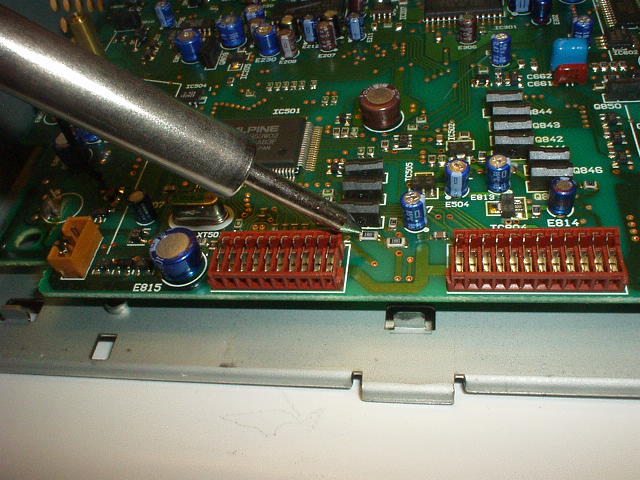 |
Step 6 - On both my e36s, the solder joints on these tiny surface mount resistors with the number 180 on them had failed. Use a needle or exacto knife to clean up the solder joints before you freshen them up with a sharp soldering pencil and fine electrical solder. |
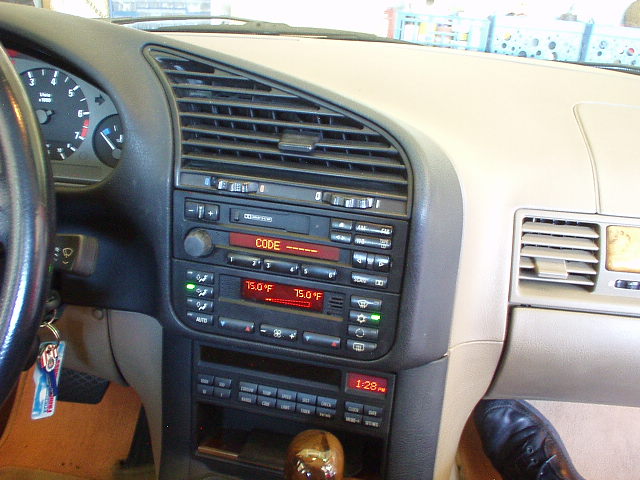 |
After freshening the solder joints, put it all back together and - Voila! Now, where did I put that card with the radio code?. |