|
e36 Door Speaker RepairIf
your door speaker(s) are buzzing, you have probably already
checked
with the dealer and found that replacement HK speakers
cost
$111 each. This is hard to swallow for speakers that look and
sound
like $10 speakers from a cheap TV set.Replacement
2.5" speakers are hard to find and expensive. That
leaves us with the option of trying to repair the speakers we have.Before
we start - if you have a late '97 or a '98, there are air bags in your
door panels. Disconnect the negative battery terminal before
removing
the door panel.
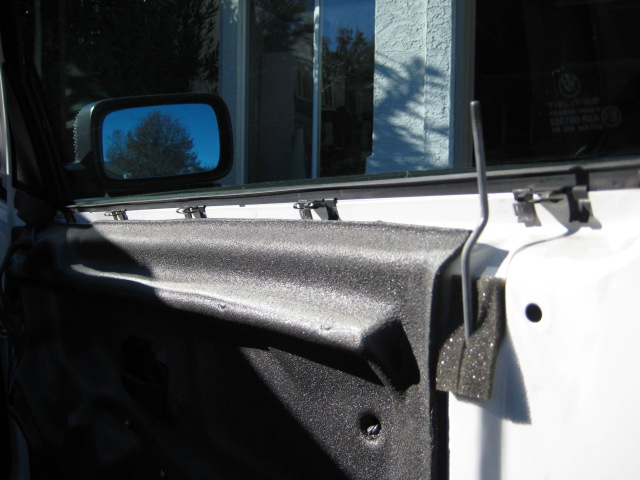
To
remove the door panel, first pull the door latch frame toward the front
of
the car to unhook it. Then remove the two Torx-head screws
that are
beneath the caps under the door handle.
|
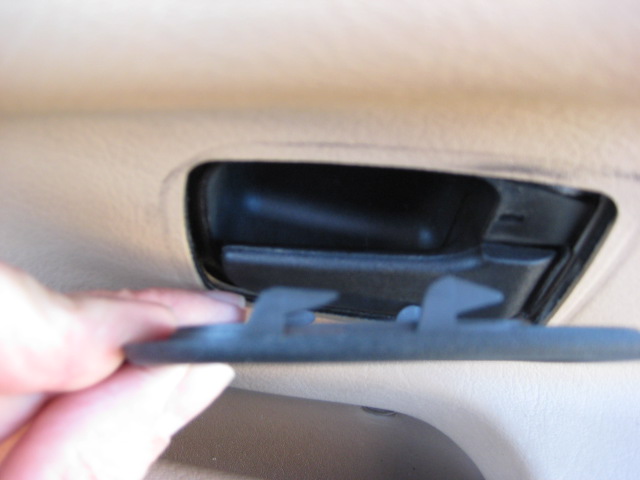
Next,
carefully unsnap the door panel from the door. This tool is
metal,
a stiff plastic tool would be better for the paint.
If you break a snap,
not to worry,
replacement snaps are available on line for about $0.20 ea.
This
is a lot easier to do on a warm day when the plastic snaps are soft. |
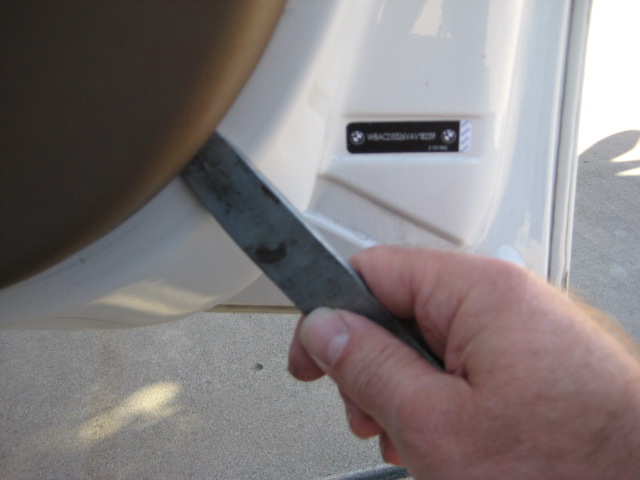
Unlike
most door panels, the panels on an e36 do not hook in the window
channel.
They snap straight outward all the way around. The
snaps along
the top are metal and are attached to the door
rather than to the panel. | 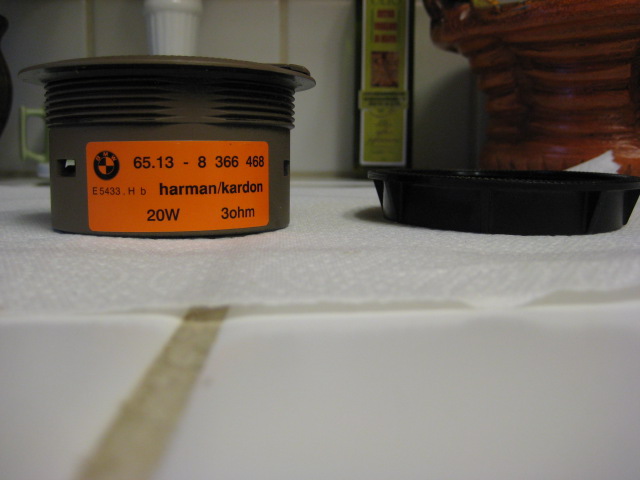
This is
the speaker housing and lock ring removed from the door panel.
Note
the part number for the passenger side (US) larger speaker.
I show
this because I saw speakers for sale on eBay that claim
to be HK speakers,
but they don't say HK on the label (?).
I think that the standard speakers
are 4 ohm rather
than 3 ohm found in HKs, but I am not certain. |
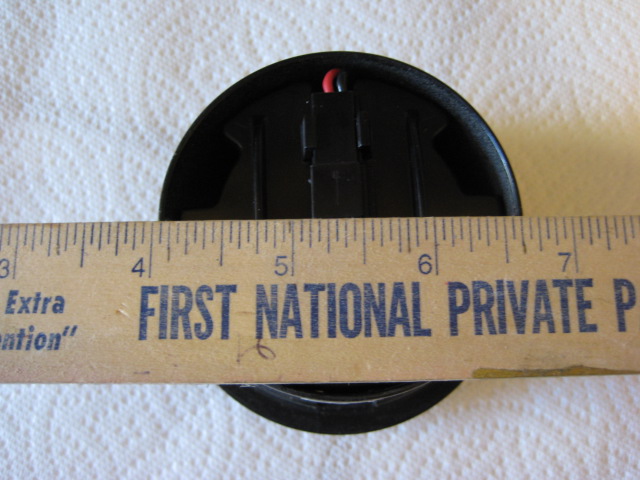
It
looks smaller due to the lense distortion, but I think this hole is a
full
two and a half inches. Just to be safe, better
pull yours out before going
shopping. Good luck
finding a replacement speaker that will fit in this
housing. |
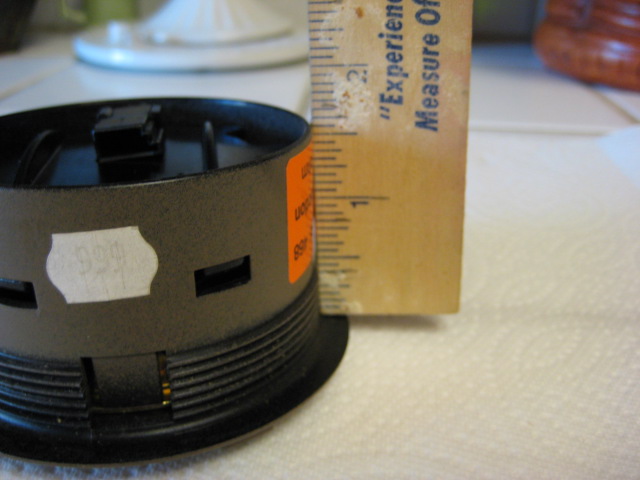
Speaker
is about an inch and a quarter deep, but this could be modified
with
a spacer or by cutting the rectangular holes bigger so that the cap
on
the back would allow for a deeper speaker.
Note the tab in the
threaded area. This must be carefully pressed outward
from
the inside to release the speaker from the housing. |
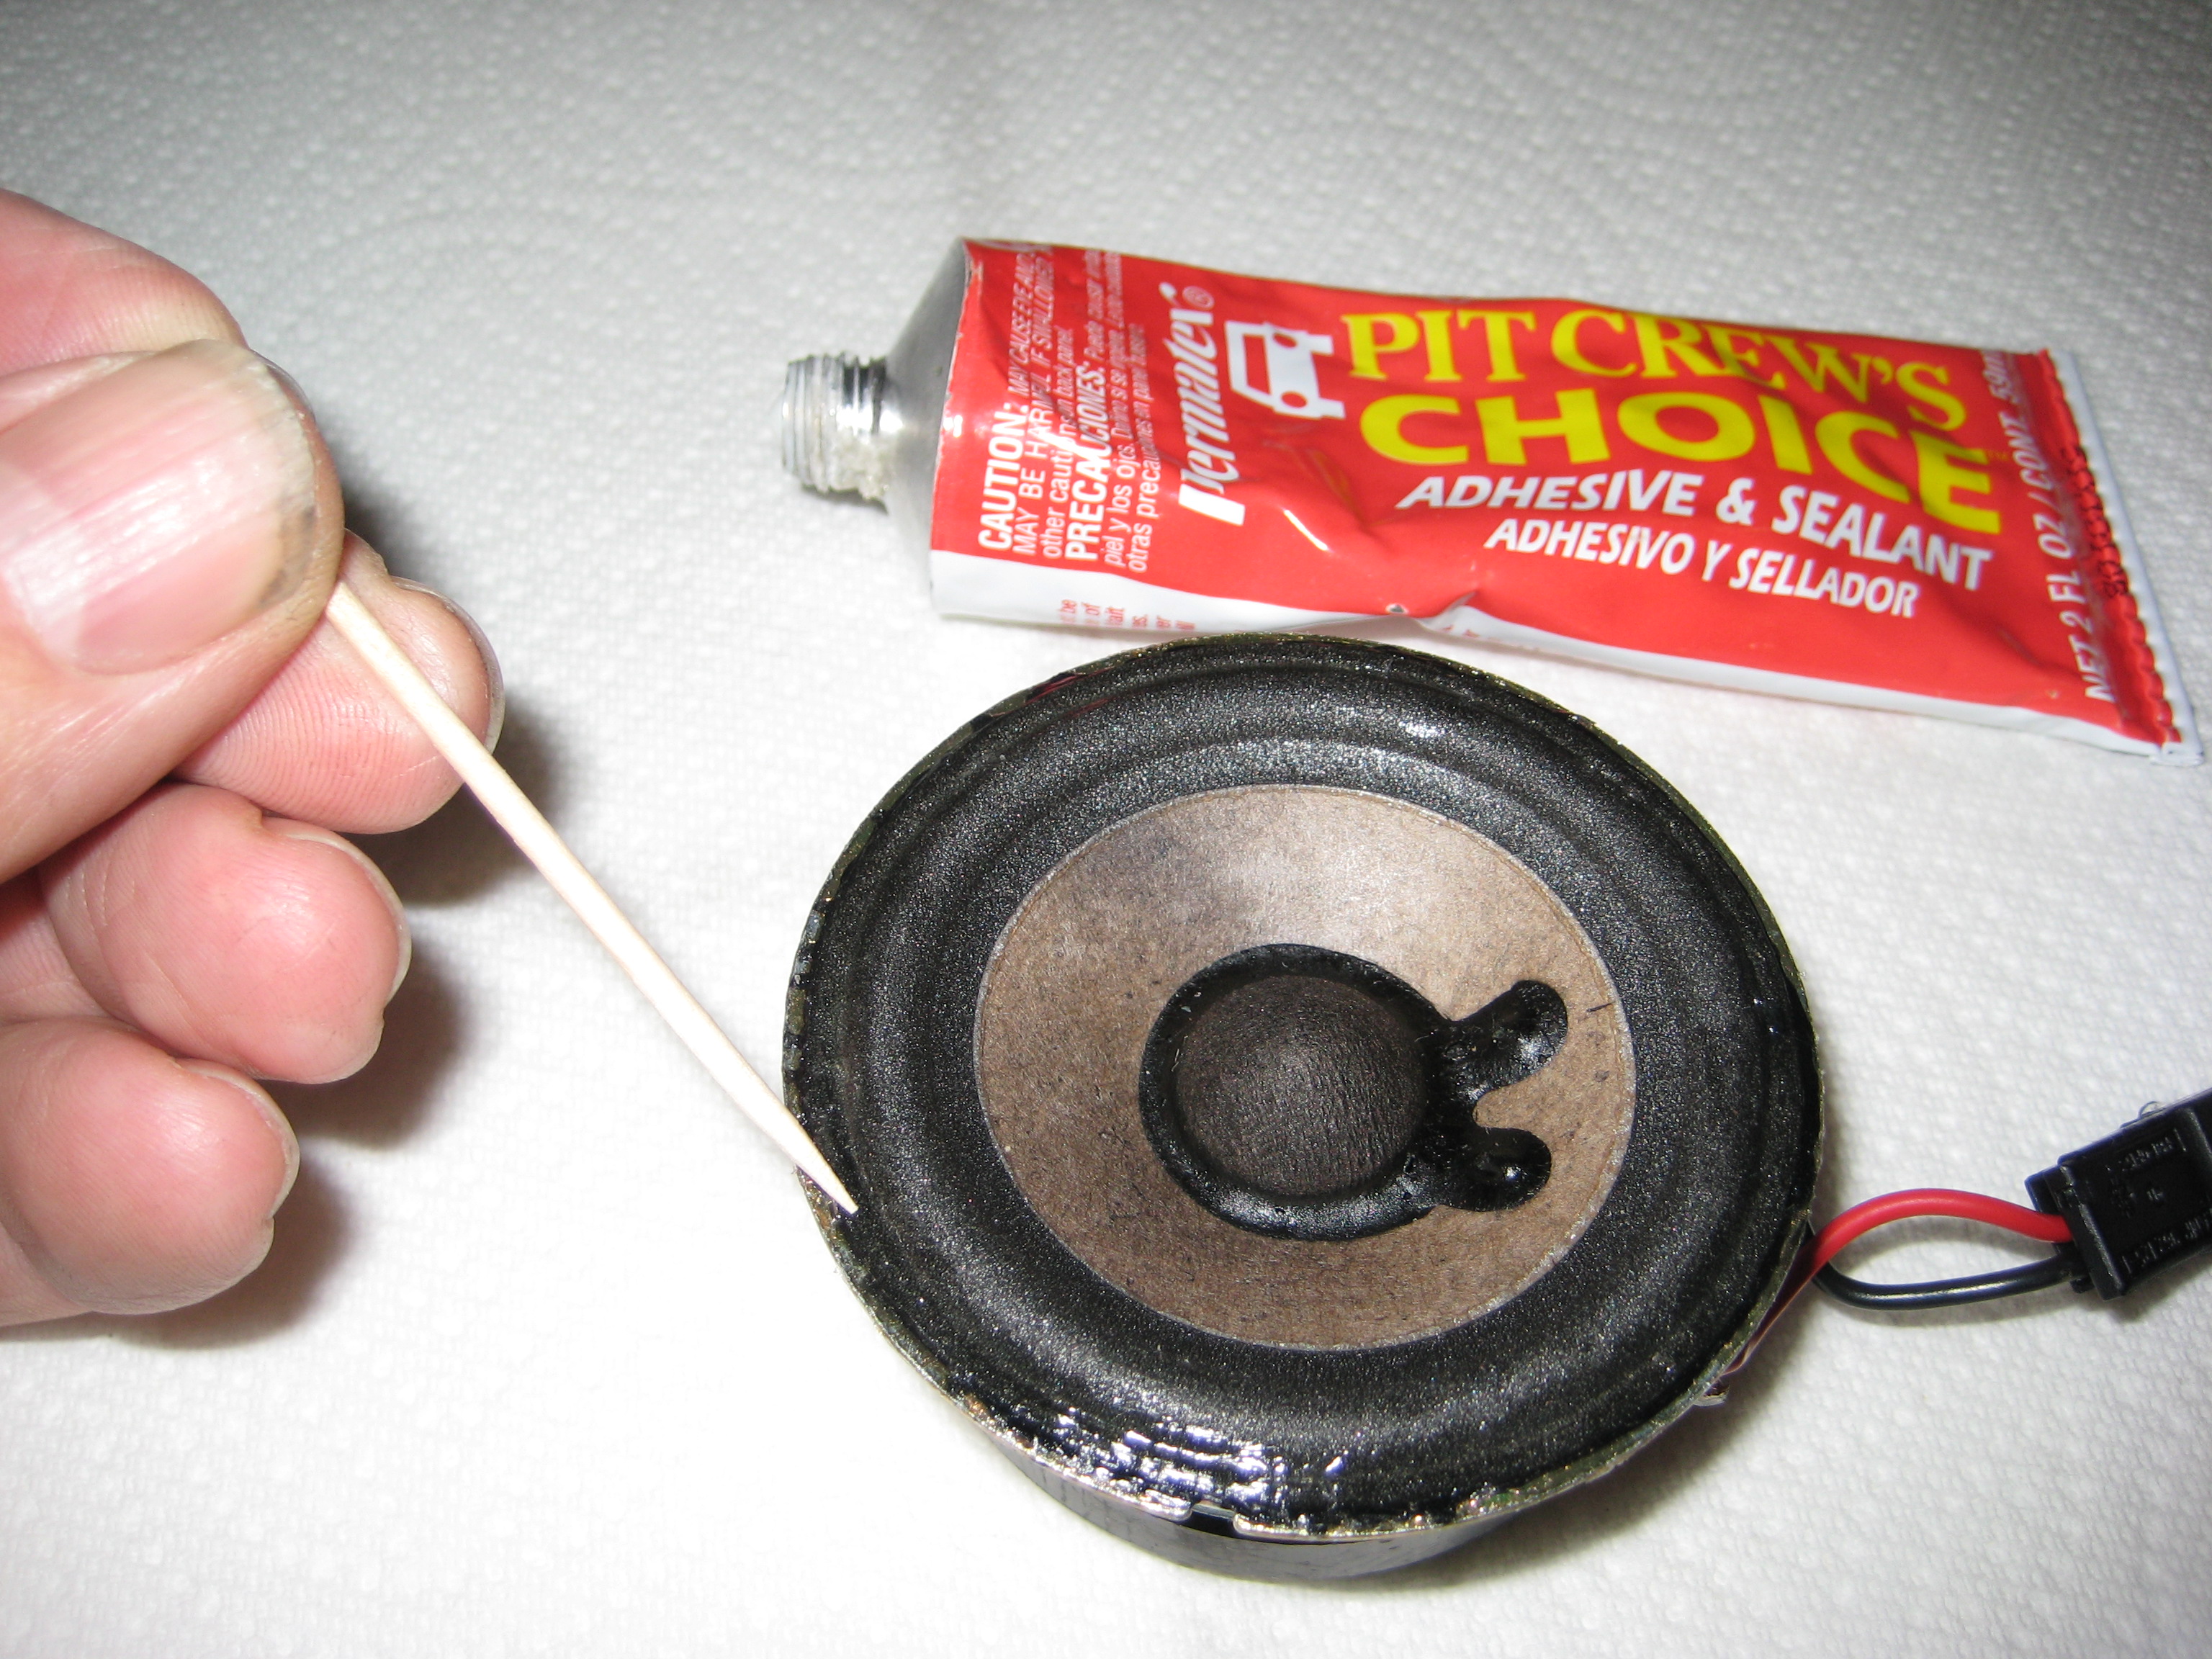
This
is where the speaker tears. I put down a thin bead of Pit
Crew's
Choice all the way around. I saw a
post where another guy used clear
silicone sealant.
I use Pit Crew's Choice for most all automotive glue
jobs
because it goes on white so you can see where it is, but dries
completely
clear and pliable (as you see here), and does not yellow
in
sunlight (at least, it hasn't so far, and some jobs are several years
old). |
Post-Script - One
year later - The foam in the flex part of the speakers tore right next
to the glue within a year. It was not clear whether the glue
actually attacked the foam and made it more brittle, or whether there
was just extra stress due to the glue, causing the speaker to fail at
the glue interface. We are now listening to the rear deck and
kick panel speakers - no door speakers at the moment. | Put
everything back where you found it, and crank
up the tunes.My repair is only two days old as I
write this, but it sounds as good
as it ever did, and I expect
(i.e., hope) that it will last for years.
|