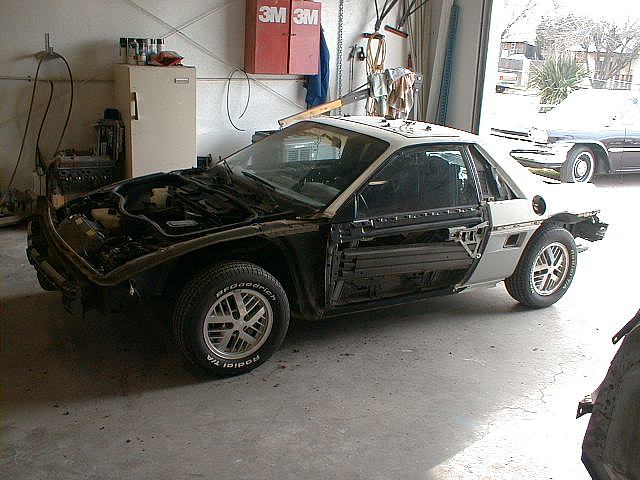
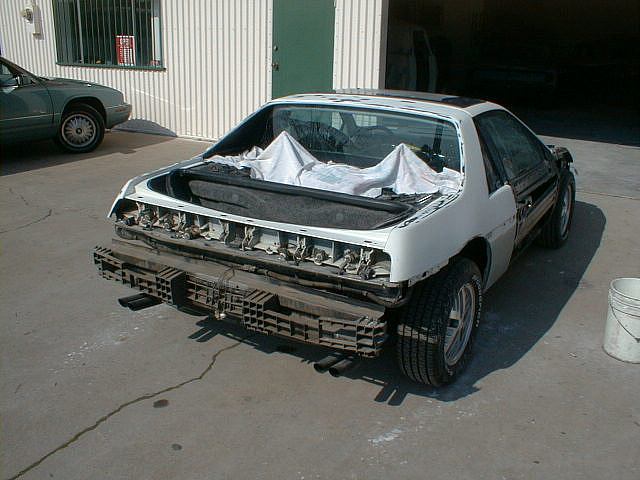
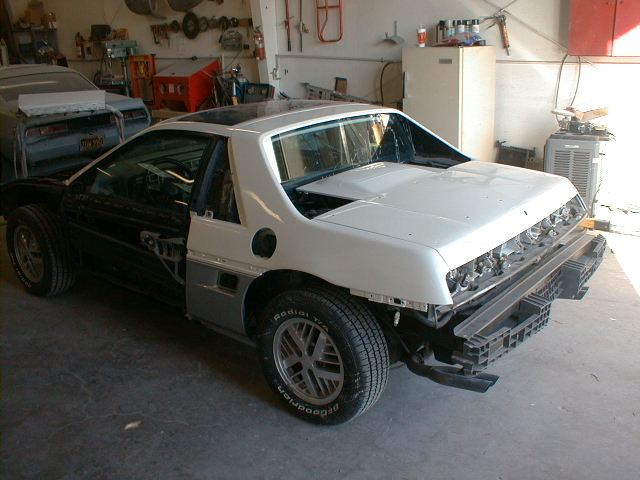
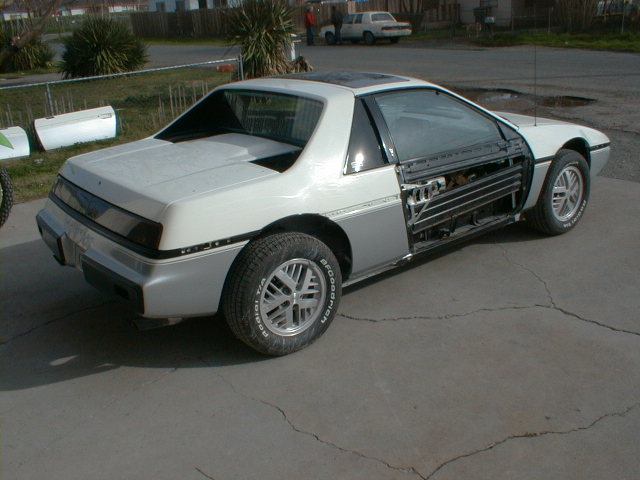
The more you can take apart, the better and more detailed the end results will be. The Fiero can be disassembled in a day. Invest in a few boxes of zip lock bags and as bolts, nuts, screws are removed place them in a bag and lable for its location.
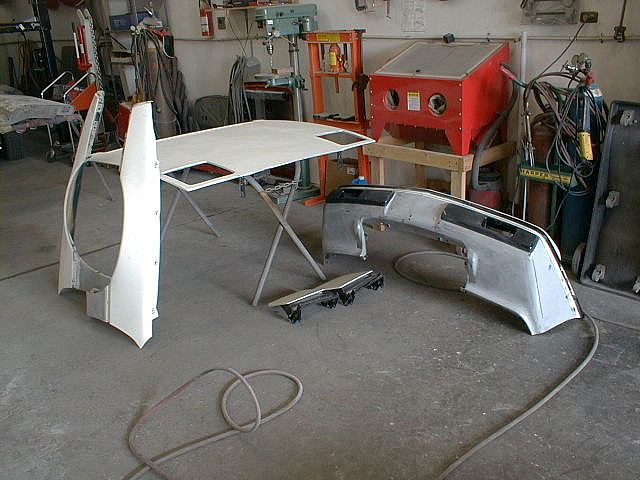
Easy to remove are the headlight doors, fender wells, air dam, grill, sail panels and more. One thing overlooked are the drip rails. Work slowly and they will come off. If you remove the windshield it is best for that perfect paint job (I did not). It is the little things that will give you the best end results. Here is the part with just the base coat and the second picture is with the clear coat applied.
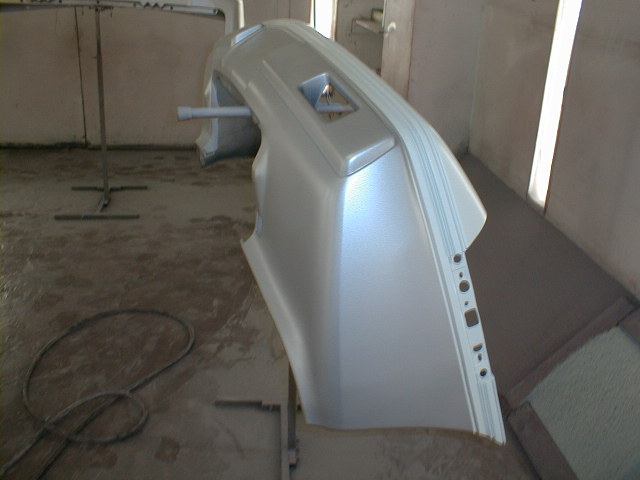
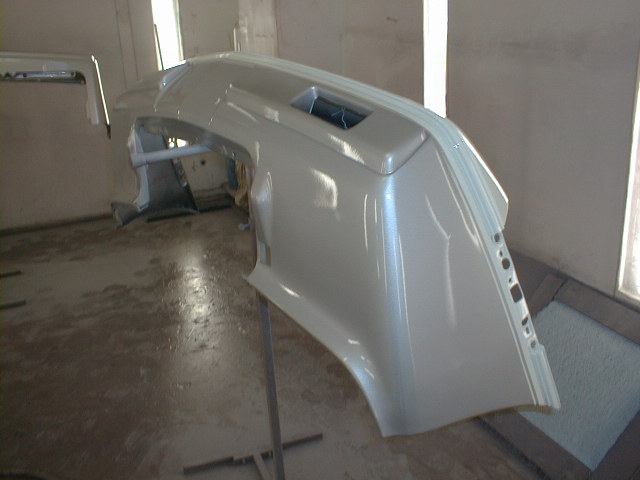
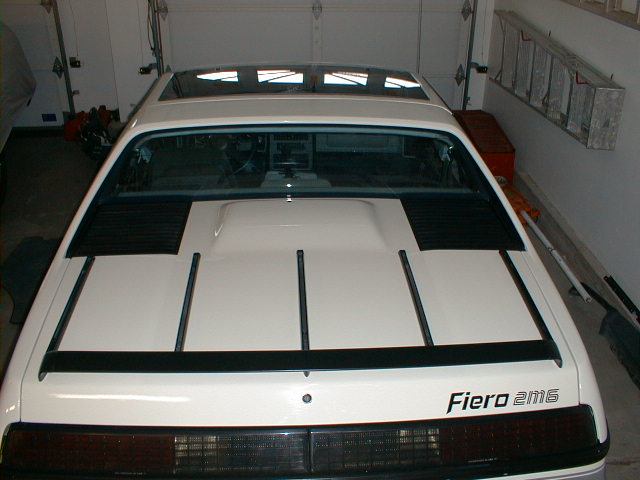
PPG DBU base coat, clear coat was used. For the areas of the car that are satin black I found that OSH makes an enamel (#602C) that dries quickly and looks great. For the half round or ribbed molding, bumper area, and mirrors I used Plasti-Kote flexible Bumper & Trim Color Gloss Black (#1894).
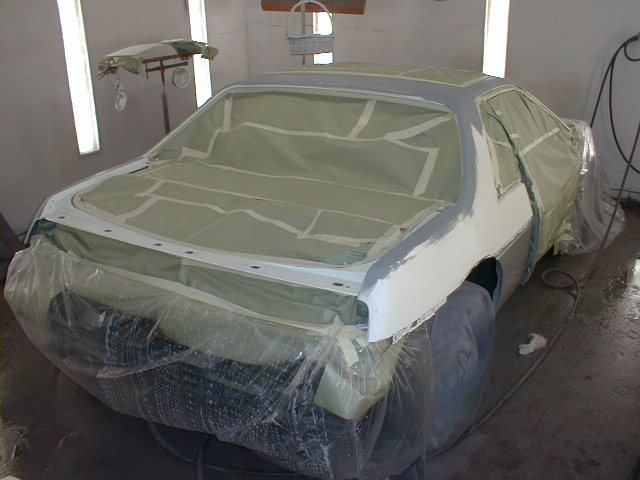
Starting to go back together. Well we had to wait a little long for the door locks than I wanted. But I do recommend you replace the lock if yours have been on your car for many years. With the door skins on I would never been able to get the clip out that holds the lock in place. This is also a good time to replace the dew wipes.

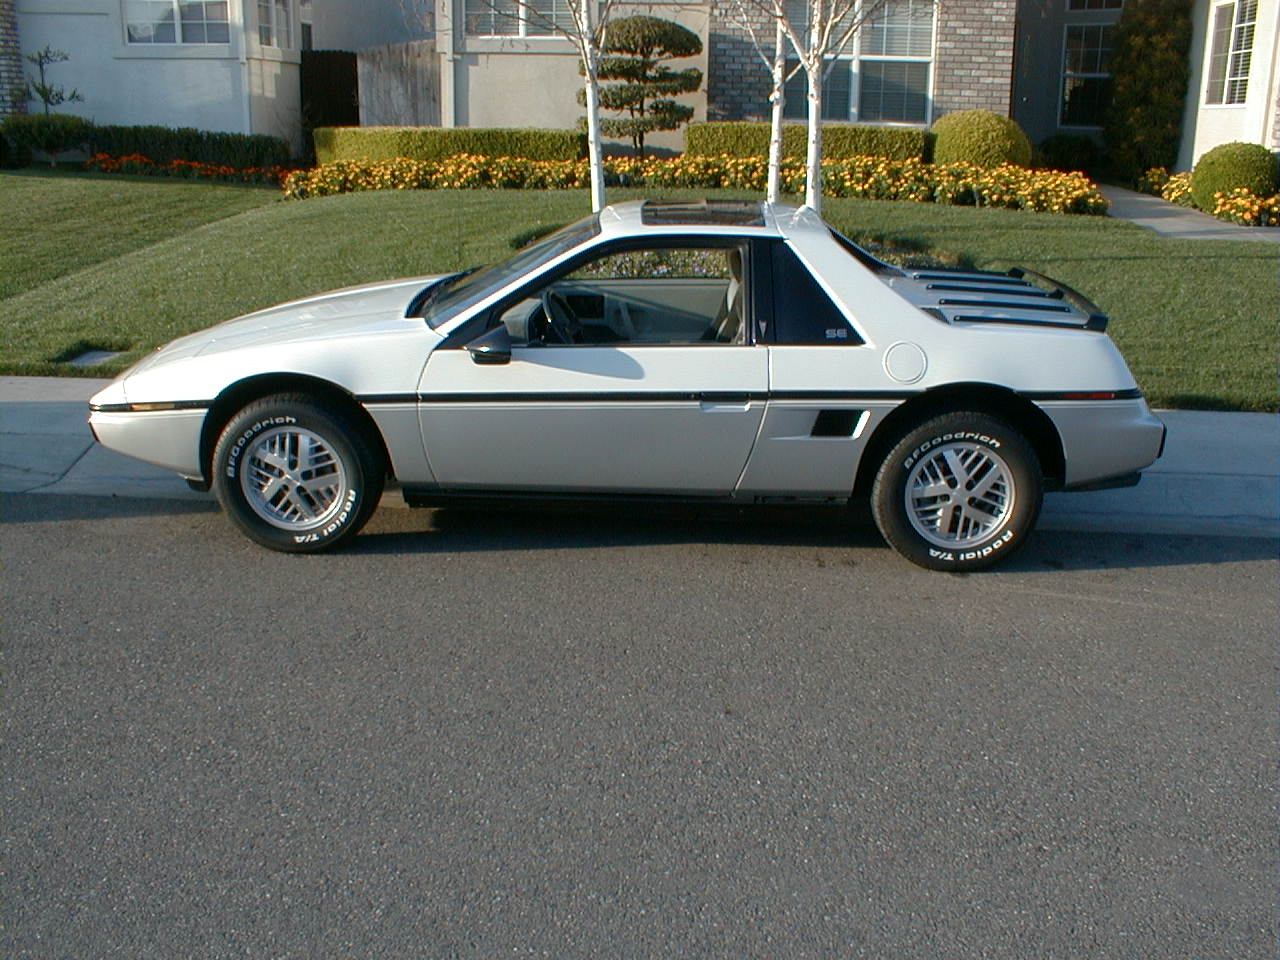
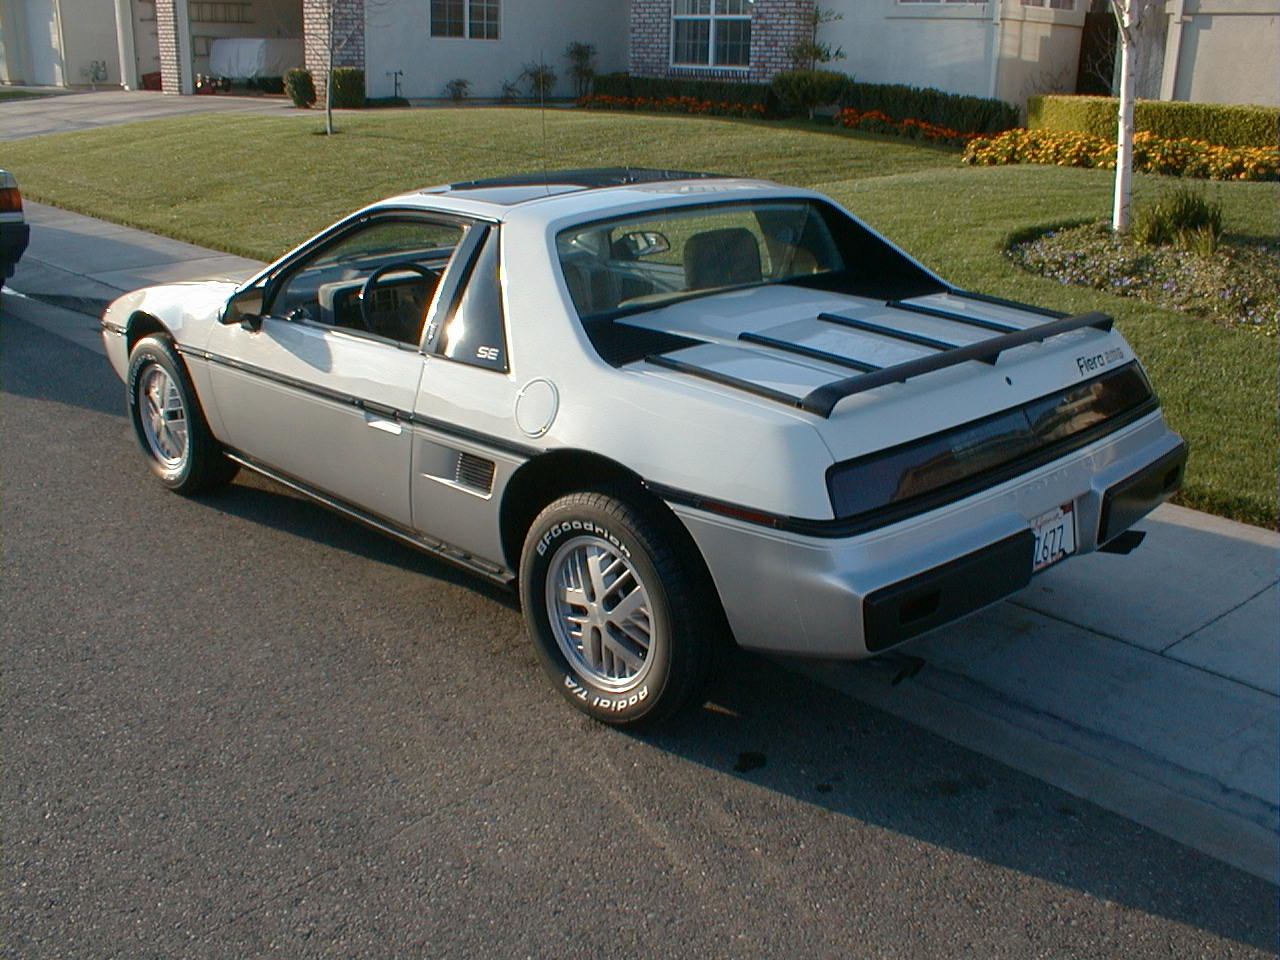
The last pictures are of the completed project. It took a little over four weeks.