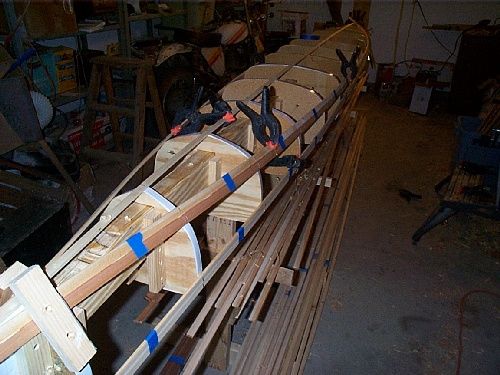
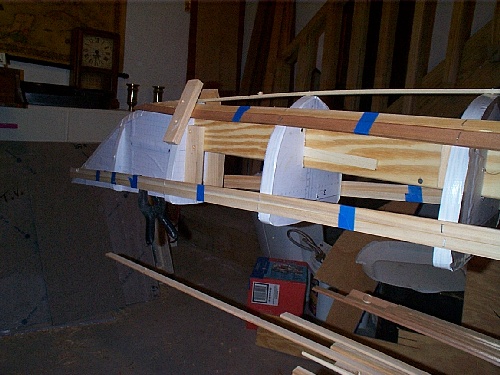
Another view of my big nine-strip night. I had to screw a couple of cleats right into form #2 to get the strips to hold to the form. I wrapped some tape around the strips between forms in a few places.

Establishing the stripping pattern:
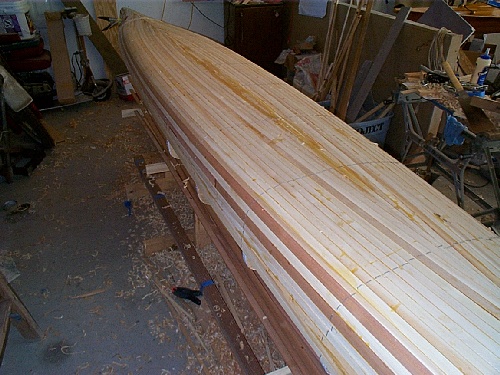
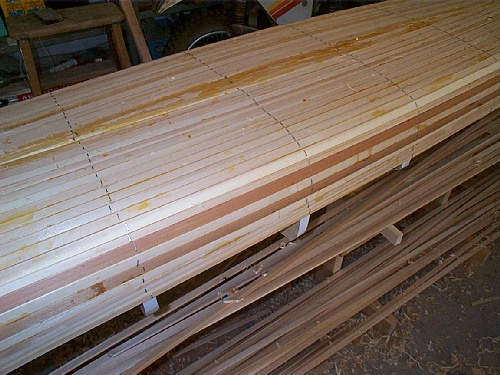
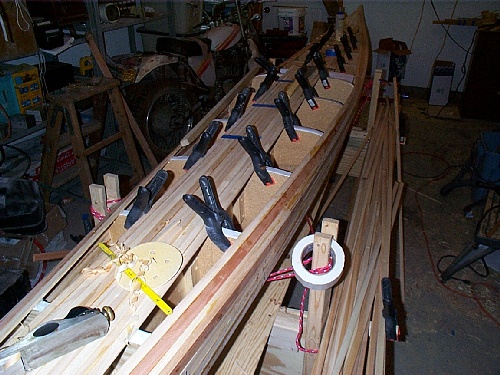
In the next picture, the form has been flipped upside down, and 9 strips have been added to the forms. Starting at the bottom: a strip has been stapled to the form to establish the seam between hull and deck. Another strip had been glued to it. A western red cedar strip has established the waterline of the hull. A white cedar strip has been glued to it. Lastly, a strip has established the centerline of the keel. Kind of pitiful for 3+ hours work.
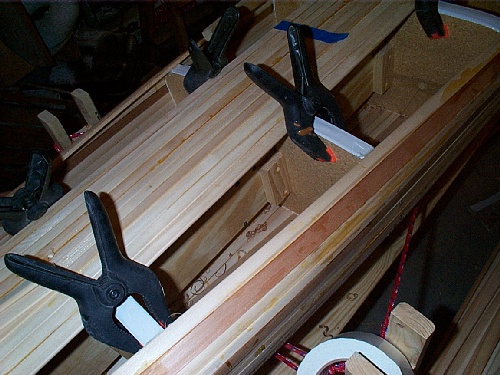
Notice how the waterline and shearline are quite close together in the middle of the hull, but diverge in the ends. I think it will look cool if I make the strips on the side come up parallel to the waterline, and meet that sweeping shear. This order of assembly will also make it easier to use some of the shorter length strips that I have. All that white cedar is 12 feet long, and the red cedar is 10 feet long. That means that if a full-length piece is needed, I must scarf two short pieces together. Incidentally, that is why you see the spring clamps all over the place. They are holding scarf joints while the glue dries.
Another view of my big nine-strip night. I had to screw a couple of
cleats right into form #2 to get the strips to hold to the form. I
wrapped some tape around the strips between forms in a few places.
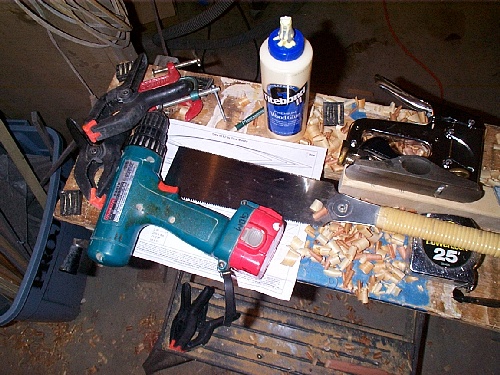
Some tools of the trade: Clockwise from 12:00: Titebond II
glue, T-50 stapler loaded with 9/16" staples, Low angle block plane,
tape measure, Japanese razor saw with one edge for ripping and the
other edge for cross-cutting, paper with some notes on it, too-old
Makita cordless drill, one bazillion clamps, pens and pencils, all
siting on an old Black and Decker Workmate stand/vise. Missing from
picture: big stereo that you had in college but your wife will not let
you keep in the house, college-boy refrigerator filled with beer.
Band-aids. Duct tape.
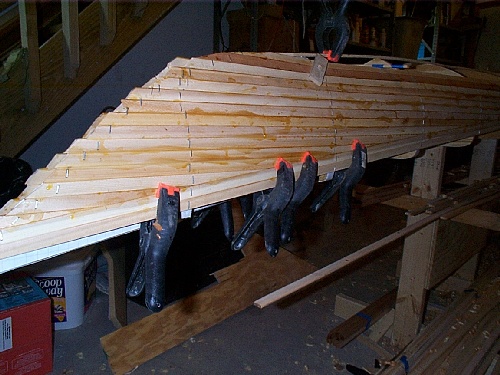
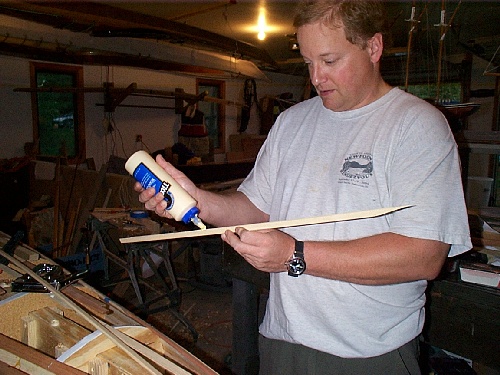
All those strip-ends are looking kind of raggety. I'll plane the stem, and glue a strip to it, which will tie everything together, and neaten up the appearance.
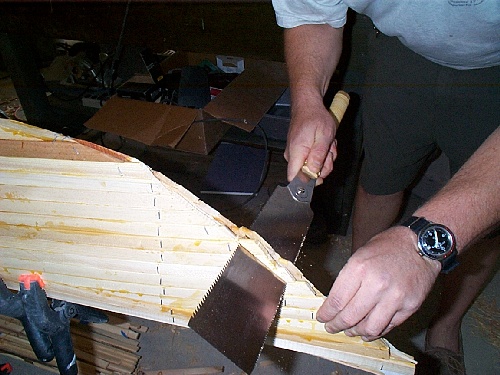
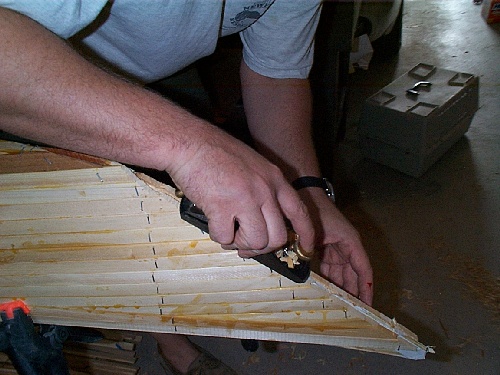
I start with a Japanese razor saw.

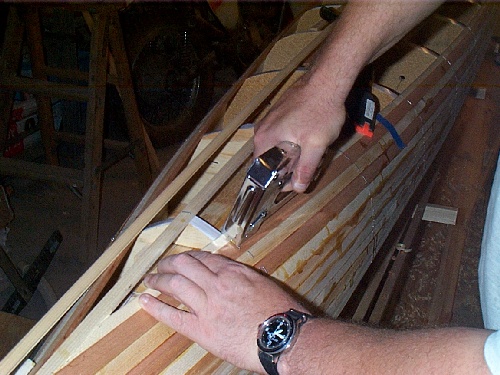
Next, I use the low-angle block plane to flatten out the stem. Guess what? You really should take out some staples if you ever attempt this. I forgot one, and put a gouge in the cutting edge of the plane iron. That resulted in 10 minutes in the "penalty box", grinding away to re-sharpen the plane iron.
Next, a strip is glued on.
After the glue dries, the excess is planed away.