Here I will outline a few changes to the procedure for forming the recess,
riser, and coaming lip. The coaming of my Greenland qajariaq works very
well, but it took a long time to fair it out. This time, I reasoned that
if I could improve the quality of the mold surface, I could mold a better
part, and have less finishing work.
|
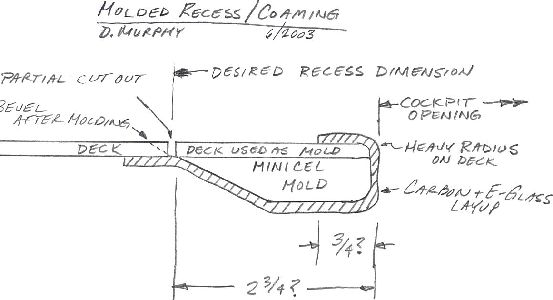
The sketch of what I am attempting. I will mold the recess/coaming in one piece, using the kayak deck as a molding surface. Then, certain surfaces will be discarded. |
 |
I intended to make the tool in plaster, because of its ability to take
on a smooth finish. A dam was built, and plaster troweled in. This material
is known as "Dura- Bond" and it was chosen for its properties that it resists
sagging, and it cures rather than dries. This is important because of the
relatively thick section. Dura-bond can be found at your local building
supply store, near the drywall.
Unfortunately, this plaster mold would not adhere to the deck, and it cracked in several places. So I broke it out, and started over. |
 |
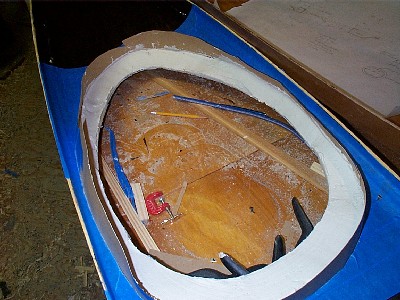
Here, minicel foam is glued in place. |
 |
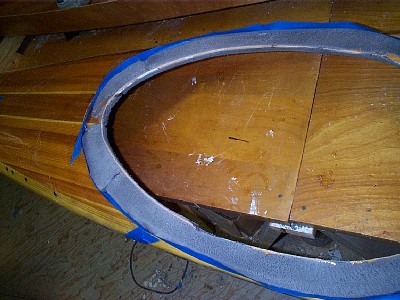
The minicel is covered in red automotive body putty, and sanded fair. Later, the mold was primed with gray sandable primer. The idea was to create a smooth, fair surface on which to mold. |
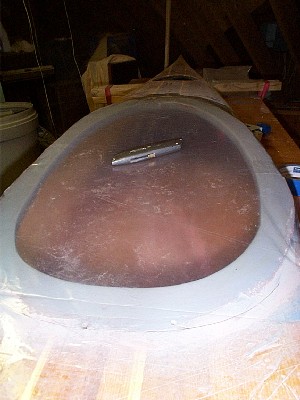 |
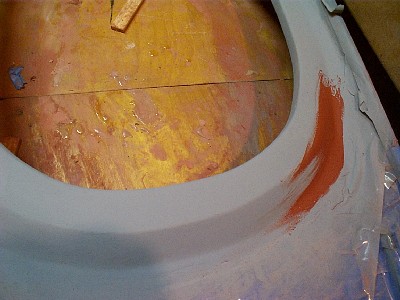
Here, the deck is upside down, mold up. A sheet of plastic has been taped below, to help the cloth stay against the mold while upside down. |
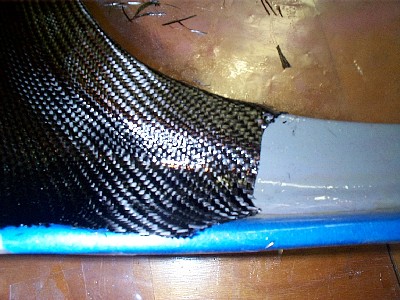 |
The mold was painted with PVA mold release prior to molding. Here, the first layer of carbon cloth is applied to form the recess and riser. Fiberglass layers followed. |
 |
There is a sheet of plastic taped to the table. Epoxy is rolled out onto the plastic, the strip of cloth is laid onto the resin, and then epoxy is rolled on top of the cloth. The strip of cloth is then applied to the mold. In this fashion, I attempt to control the resin/cloth ratio, but I'm sure that it is quite epoxy rich. |
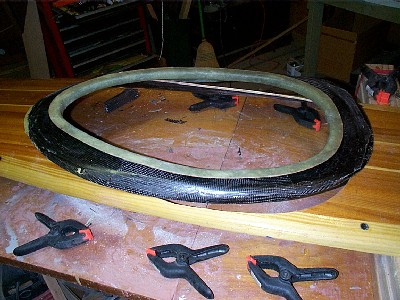 |
The mold is broken out, and the coaming is trimmed. |
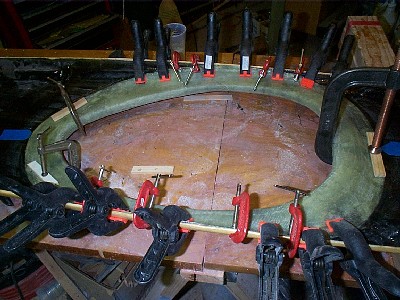 |
The coaming is glued in place. |
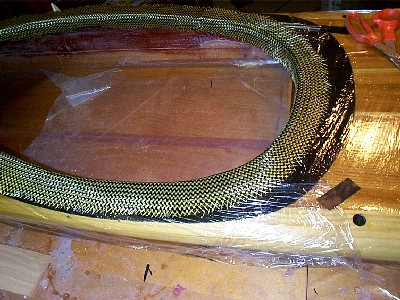 |
One last decorative layer is added after installation. This kevlar/carbon hybrid cloth is difficult to cut. A sharp knife did the trimming once the epoxy cured "green". |
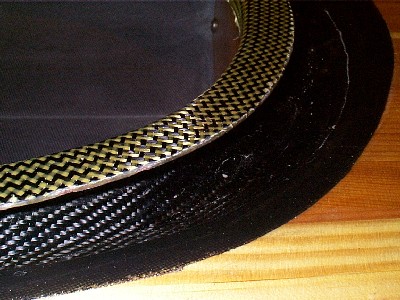 |
The finished comaing. |