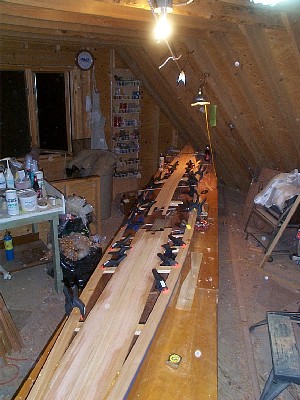
After the trial to determine paddler position, I know just where to
cut the coaming hole into the deck. Trouble is, there is no deck yet. I
decided to build it from cedar strips. I decided to make a deck assembly
featuring a shear clamp, to facilitate final joining of deck and hull..
|
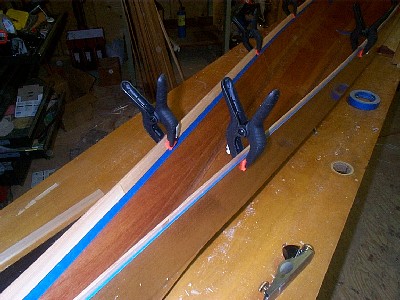
I used hot-melt glue to temporarily attach the shear clamps to the side panels. They were then planed to match the shear joint angle. |
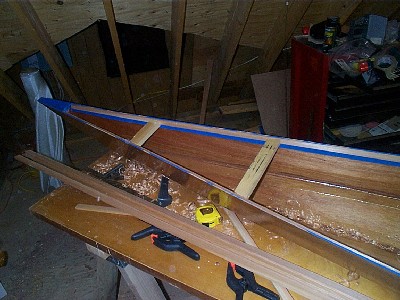 |
Forms were attached temporarily with hot glue. Here are a couple in the aft deck. |
 |
Gluing the shear strips turned out to be a monumental task. The strip is flat in the ends of the boat, but cambered up at the cockpit. I finally gained control by filleting the shear strip to the shear clamp with a mixture of epoxy, silica, and wood flour. |
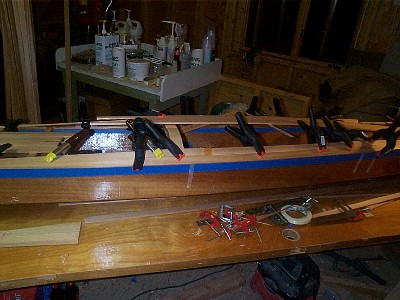 |
The second shear strip is glued. |
 |
After the difficulty of installing the shear strips, the rest were relatively easy. |
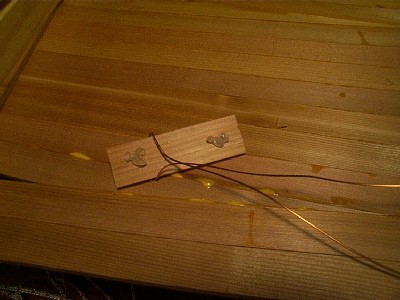 |
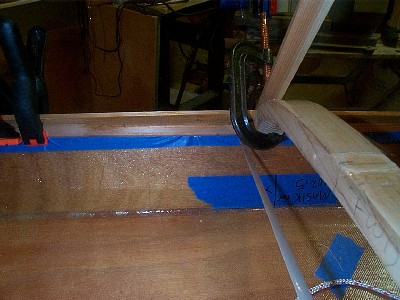
Here's a trick: If a strip does not end on a form, that end may sink below flush while gluing. I used a few "mini-forms" glued to the underside of the deck to solve this problem. Here, a scrap strip has hot glue applied... |
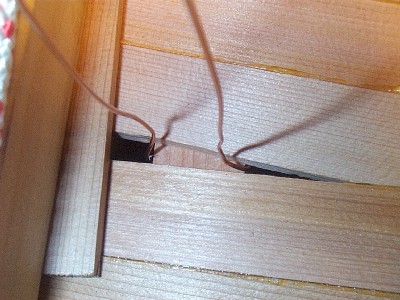 |
...and the wire guides it in place as the hot glue hardens. I will knock off this piece when the deck is separated. |
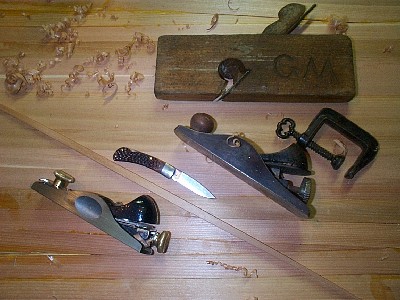 |
Never sell tools; yer kids may need them! Background: the aft deck. Left to right: My fancy Stanley low-angle block plane, The last deck strip(!), my father's jackknife, my grandfather's block plane, my great-grandfather's C-clamp. Top, my great-grandfather's plane. All scary-sharp and ready to go. All used in stripping the deck. |
 |
The deck, completely stripped. |