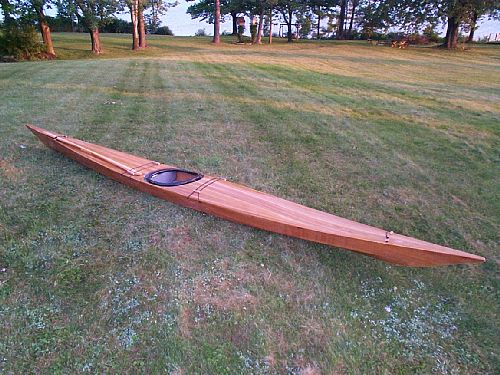
After all of that fancy work with the Coaming and Maroske Fittings, the rest seems trivial. It can be summed up as follows:
The hull was joined to the deck, using the integral shear clamp as a
gluing surface. Later, the shear seam received a layer of glass tape.
The hull and deck were scraped, faired, sanded, and varnished.
Bulkheads were fabricated and glassed in.
The kayak was then passed down through the second story window of my
workspace, to the hands of assistants below.
Outfitting
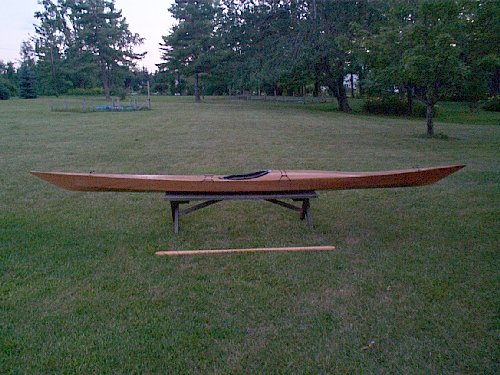
I opted for simplicity in the deck rigging. Fore and aft of the cockpit, decklines were fitted, with simple Inuit-style tensioning toggles.At the bow and stern, there are loops, elevated by wood balls, for the purpose of handling spare paddles.
The seat was fabricated from minicel foam, as were hip braces and knee braces. Instead of footpegs, an extra thickness was added to the front bulkhead using... you guessed it... minicel foam.
Screw-in style deckplates were installed internally in the front and rear bulkheads, to provide access for sponging out water.
Launching
The testing of this kayak is ongoing. So far, here are my impressions:
Although fairly narrow at 20 inches beam, the kayak has good primary
stability.
There is also quite a bit of secondary stability. Since this is my
first kayak built to proper fit, it is the kayak in which I first
learned
the Balance Brace.
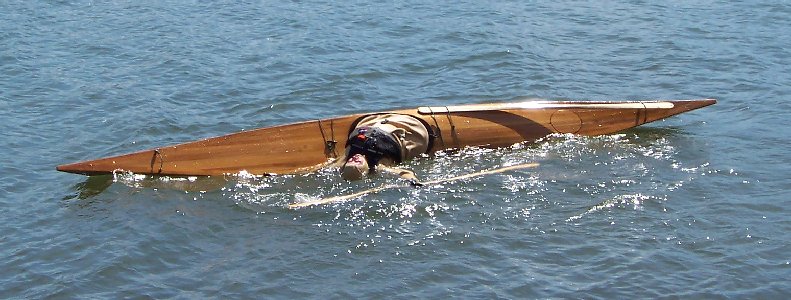
The maneuverability is excellent. When edged, the kayak carves a
nice
turn.