120 Gallon Hood
(click on any photo to view a larger image)


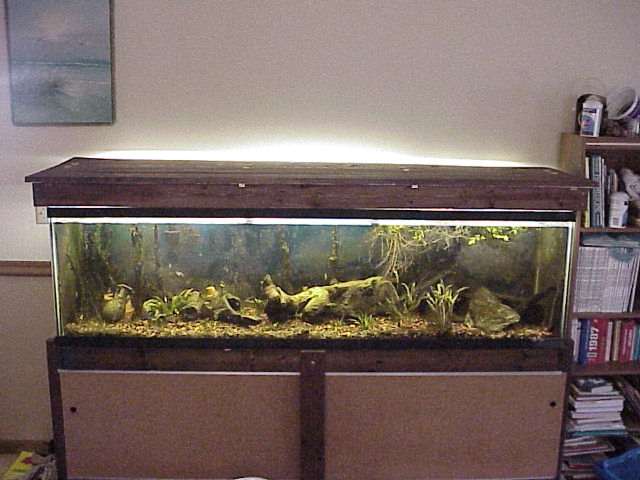
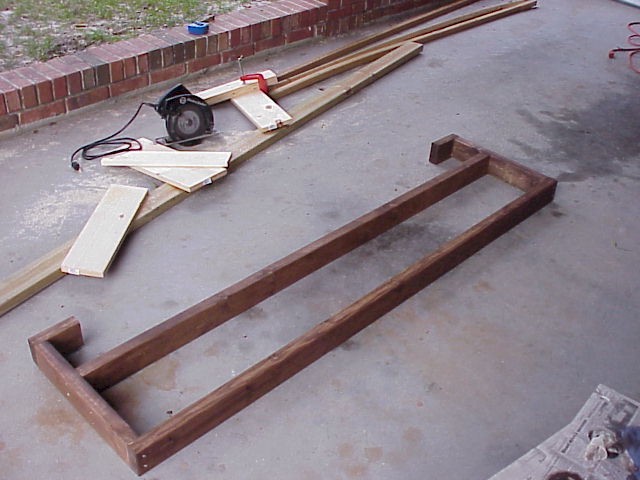
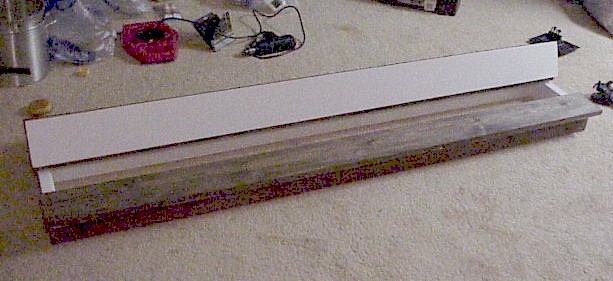
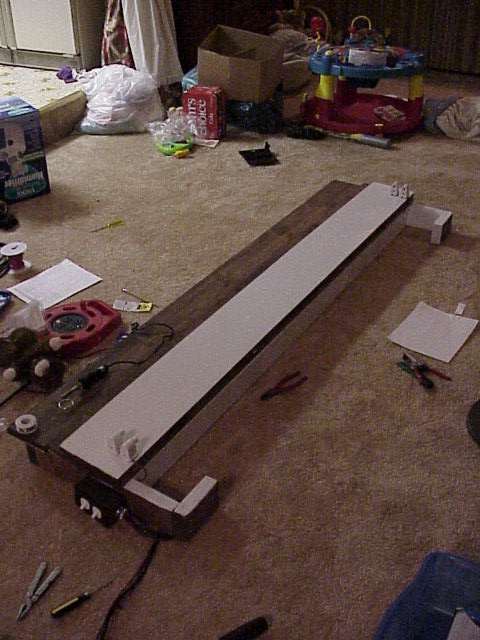
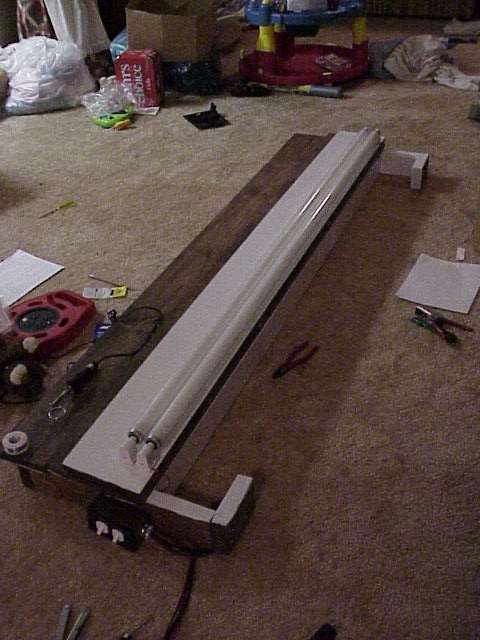
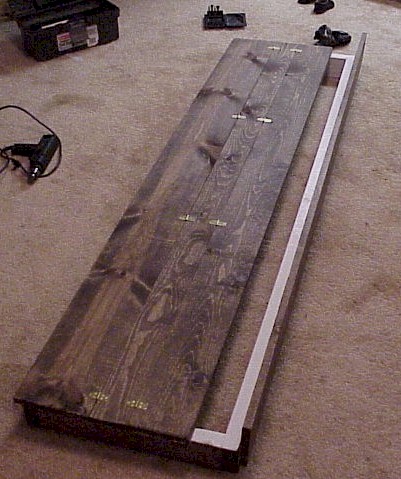
Well, after a year of operation my 120 gallon tank was the only tank where the algae would not go away and plants seemed not to grow well.  I noticed the tank was dimmer than my 10, 20, and 
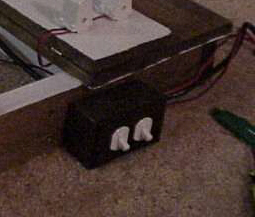
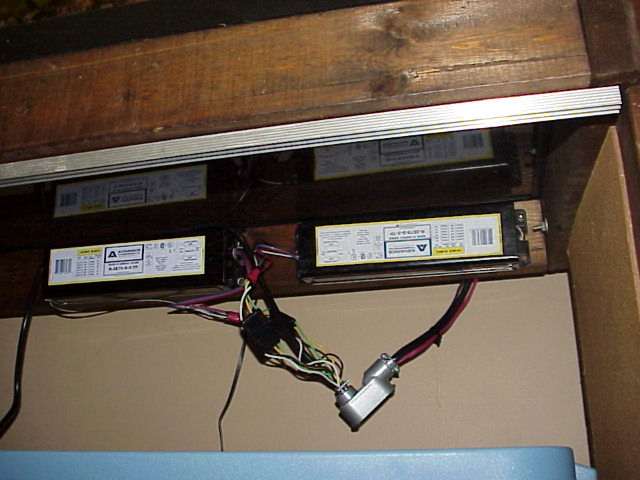
30 gallon tanks and decided to build a proper hood with 4 floursecent lights instead of the 2 lights my rain gutter hood allowed.  My hope being that if I can provide better conditions for my live plants they will out-compete the algae and drive it away (I have had prior success with this strategy).

 
     I decided to build a simple, rustic-type hood to match the 2x4-constructed stand that my 120 gallon aquarium already rested on.  As you can see in the picture the rear of the hood (to the upper left) does not have a complete 2x4 running its length.  This is to allow space for my two Penguin 330 filters that hang on the rear of the tank and also to make running the heater cords easier.  The tank is actually supported only by the 2x4 running along the front of the hood and the one running the full length down the middle of the hood.
The difficulty lay in that the 72" bulbs (with endcaps) were exactly the same length as my aquarium.  Therefore the sides of the hood had to be designed to hang over the aquarium slightly to allow the lights and their fixtures to fit between them.  This meant the hood had to rest on the long boards running the full length of the tank.
 
I wanted to have space for four 72" floursecent bulbs, a pair toward the rear of the tank and a pair toward the front.  I wanted them to be mounted separately so that one pair could be left down to provide light to the tank while the other was opened for bulb replacement or tank maintenance.
 
Also, to prevent being "blinded" while working in the tank with part of the hood open, I wanted separate switches for each pair of bulbs so that the pair being opened could be turned off while the pair still facing down into the tank could remain on.
 
     To minimize the weight on the tank, as the electronic ballasts for those big bulbs get very heavy, I wired the ballasts remotely so that they could be mounted on the stand below the tank.
I connected the ballasts to the wiring of the hood using 4-wire "trailer-hitch connectors" to allow them to be easily disconnected form the hood and remain under the stand should the hood need to be taken down momentarily.  It would be very awkward to remove the ballasts from the stand and pull them up by their wires behind the stand, just to try to balance holding them while moving a 6' hood.  It also makes it easier to replace a ballast, should it be necessary, without having to cut wires and resolder connections.

As you can see here, the small brass hinges I used on the lids of the hood allow the lids to flip 180° and rest flat on the rest of the hood.  This makes it very easy to change lights without having to hold any part of the lid open while balancing the 72" flourescent tubes.
 
 
As you can see here, there is one thin board (3") over the central 2x4. This is the ONLY board of the lid that is actually screwed down.  The other two boards attached to it hold the mounts for the flourscent bulbs and are hinged to this central board to allow them to open for maintenance.  Also, the small board at the front is hinged from underneath to allow it to open as shown when feeding the fish. Note: this is the only change I would have made, as it is hard to reach over the extra height of the open lid when cleaning the tank. I am adding hinges to allow it to flip up for feeding or lift out of the way during maintenance.

I will add the construction plans and wiring schematics for my design as soon as I have time to convert them to something that is viewable on a web page (scanning a hand drawing just never looks good to me over the web)

page last updated 10/31/2000