(click on any photo to view a larger image)
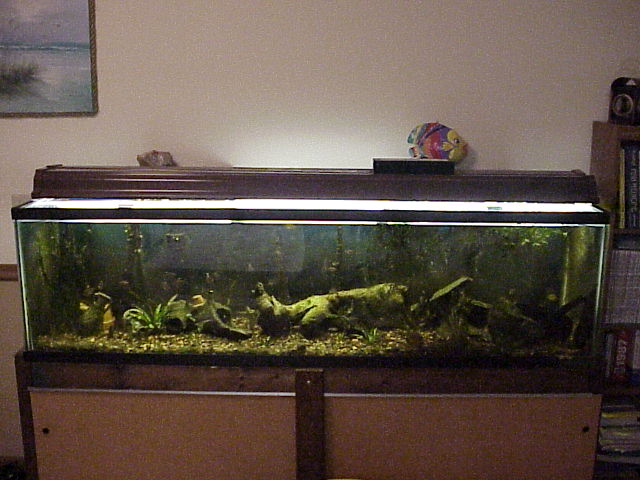
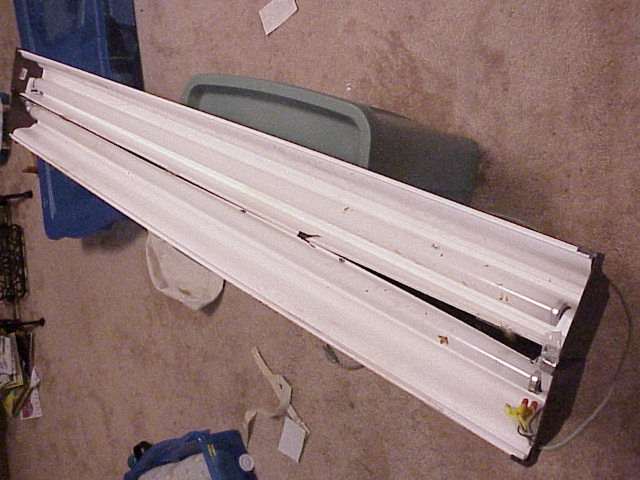
The cheap lights that came with my 120 gallon aquarium were entirely inadequate for the live plants I was adding. The tank was exactly the same length as the 72" fluorescent bulbs (including end caps), so my initial attempt at designing my own hood revolved around buying a ballast and installing it atop a pair of brown (matches the stand) plastic rain gutters that was cut to the length of my tank. The ballast has four mounting holes through which I simply drilled the plastic and bolted the ballast to the top of the gutters.
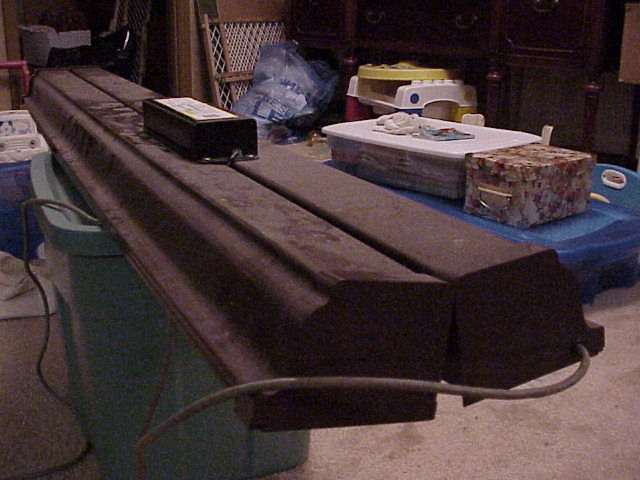
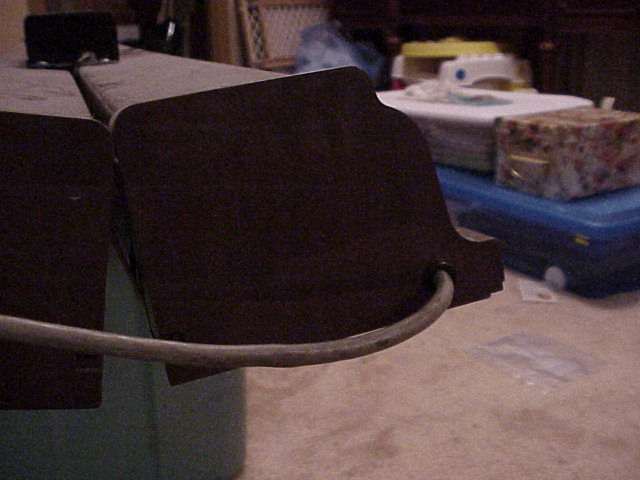
| The gutters were aligned with their flat (back) sides touching. The plastic mounts were attached to these flat sides by screwing into them from the outside of the hood (before placing them together). | |
 |
The wires from the ballast were run along the flat sides between the two hoods and thus were hidden from view when the two hoods were joined together. |
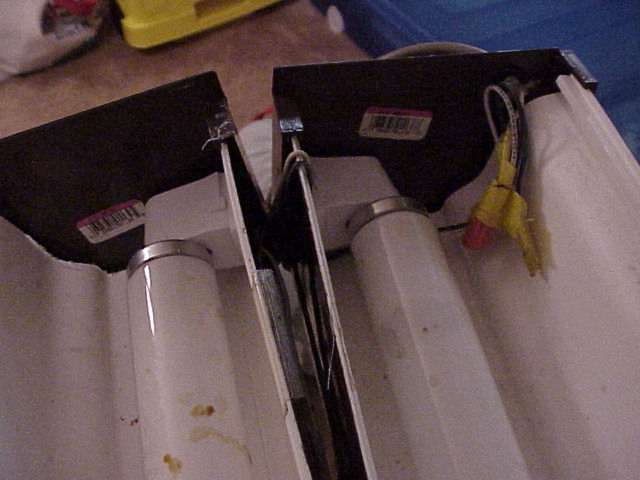 |
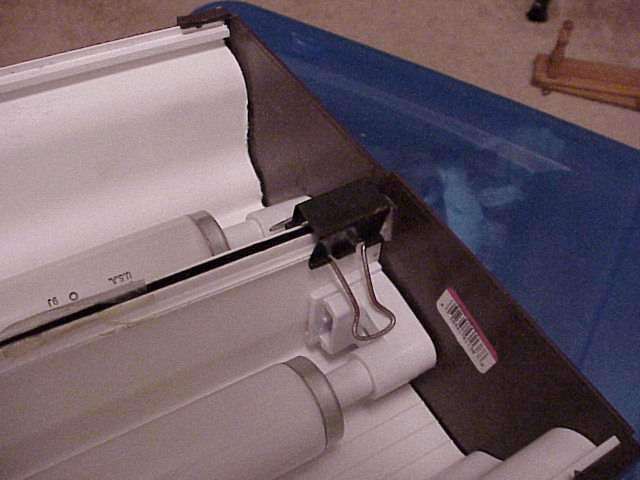
The end caps (bought with the gutters) were installed over the end of
each hood. The electrical cord was run through a hole drilled through
one cap with a small rubber grommet to keep the cord's insulation from
rubbing against the sharp plastic edge.
Pro's: rather cheap, looks good
(with the "contoured" gutters)
Con's: still a little flimsy, and
must flip the entire hood over to change a bulb.